Electrical Putty Transducer Installation
Not happy with the wet installation results of my transducer I remembered a Youtube video a friend of mine, John Oast, did about installing a transducer with Electrical Putty.
http://www.youtube.com/watch?v=3u1d3_UeD3k
http://www.youtube.com/watch?v=GEZ9_C1iKP0
I went back to watch how he did the installation and found another video of someone who tested it on 3 different Kayaks with a couple of different installations. I chose to follow what John did with his transducer.
Here are the materials needed, I did not photo the Marine goop but that is needed to secure the sponge to the Kayak in this method of installation.
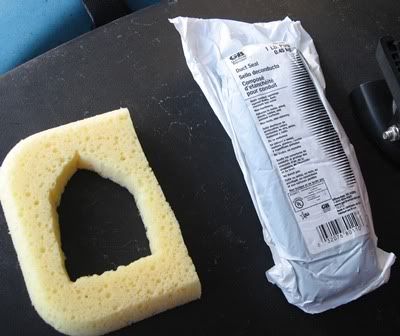
I like having the ring to be the guide for where the transducer is going to be installed.
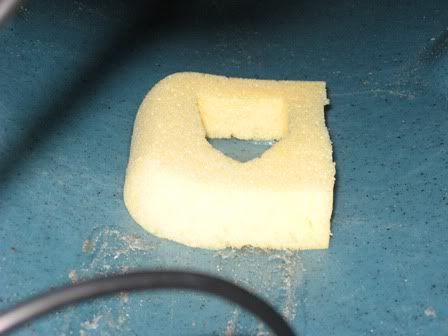
First I cleaned the area with alcohol prior to gluing the sponge. Then I glued the sponge into place and let that sit for about 5 minutes.
Then I opened the putty and cut off a little chunk. I then formed that into a small flat slab to put in the center of the sponge opening, making sure to really mush it around to fill the opening.
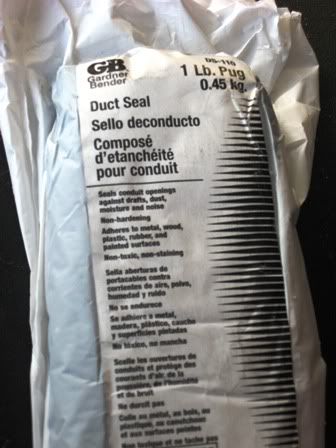
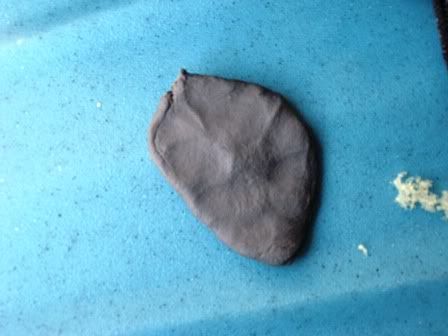
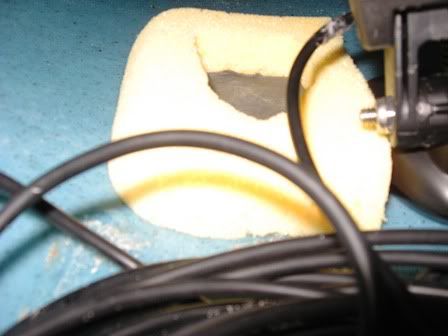
Then I stuck the transducer in the opening and rocked into place.
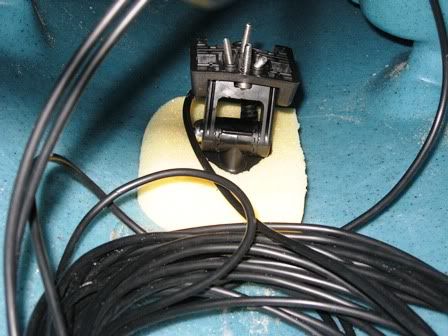
This Putty is sticky and does not let things slip. Prior to launching I made sure the transducer did not move and it had not.

I am very happy with the results I found that the readings were right on, depth wise, and temp wise. The best part to this is I can move the FF to another boat, or Kayak at any time.
Cost of the sponge - 99 Cents
Cost of Electrical Putty - $1.29 Home Depot
Marine Goop and Alcohol already on hand.
Time spent on installation including driving 30 minutes.
Watch the videos I have included there is a way to install without gluing anything to the hull. Great option if you don't want to glue anything to your hull.