Be careful if you decide to put water in the hull for a leak check. Water is very heavy and if you put too much in an unsupported kayak it may bend or distort the hull.
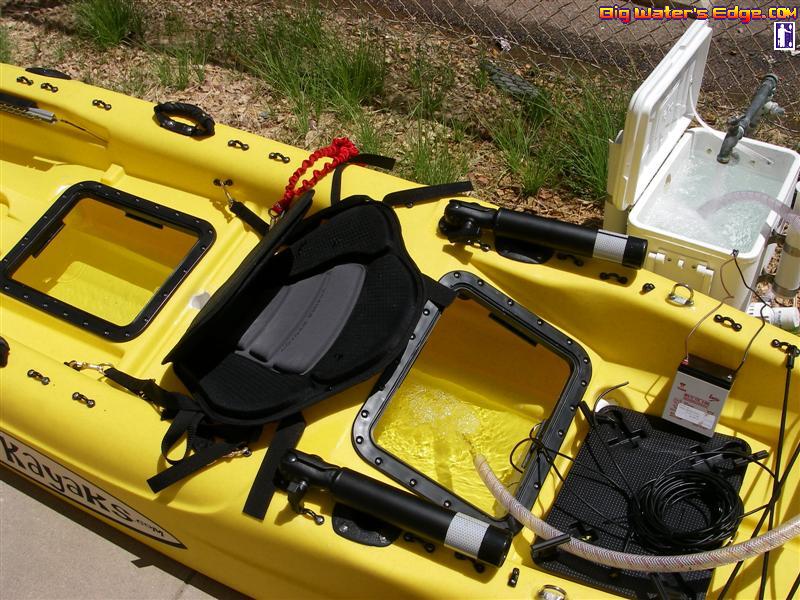
When I leak check mine I put it on a flat stretch of dry concrete. I use heavy foam blocks at a number of places under the hull to support the weight and keep the kayak stable. This allows me to fill it all the way to the hatches to check as much of the hull as possible. Be very careful when filling to not spill any water outside of the yak. After filling the yak wait for a few minutes and then check underneath for any leakage. Pump out the kayak with a bait tank/bilge pump if you have one. It is a bit of work to do it this way, but it will tell you conclusively if you have leaks.
I would try Andy's method of filling the scuppers first; before you do the whole yak. The scuppers are the most likely culprit. I have also heard of people using soapy water to leak check yaks. You put soapy water all over the yak, seal up all the hatches and then use LOW PRESSURE air to slightly pressurize the hull. It doesn't take much pressure to get a noticeable stream of bubbles off a leak. Of course you'll get leaks at hatches and any designed hull pass-throughs, but you're looking for holes in the wrong places; below the waterline.
I had a Prowler 15 that had a ton of pinhole leaks that were hard to find.
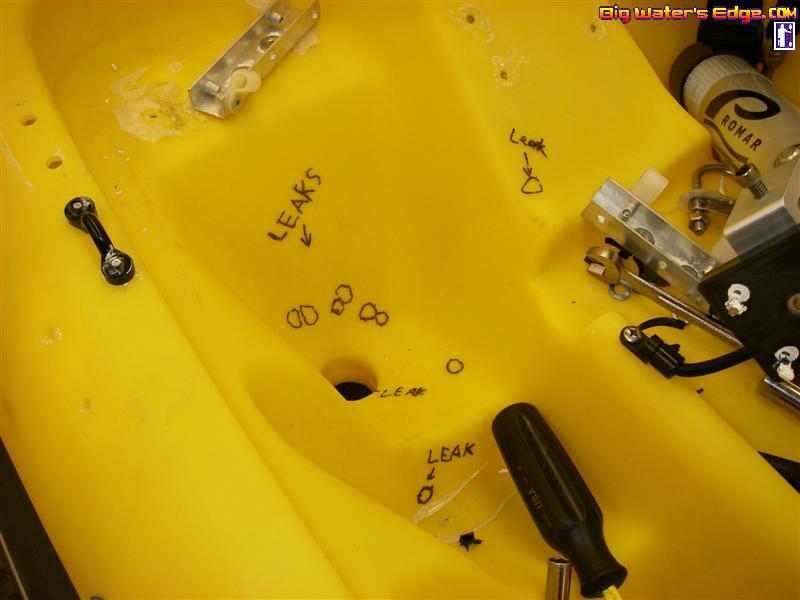
They didn't start passing much water at first, but after a few minutes they would have steady rivulets of water running out. OK gave me a new P15 without much hassle. I learned my lesson though; always leak check a rotomolded vessel before going out on the water. That leaky kayak cost me a lot of money in lost gear.