|
|||||||
| Home | Forum | Online Store | Information | LJ Webcam | Gallery | Register | FAQ | Members List | Calendar | Search | Today's Posts | Mark Forums Read |
|
|
Thread Tools | Display Modes |
 01-26-2013, 01:10 AM
|
#11 |
|
Senior Member
Join Date: Mar 2005
Posts: 116
|
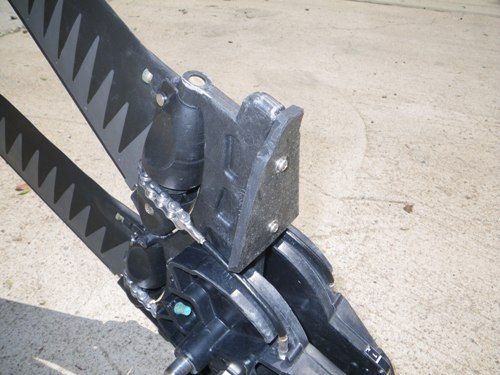
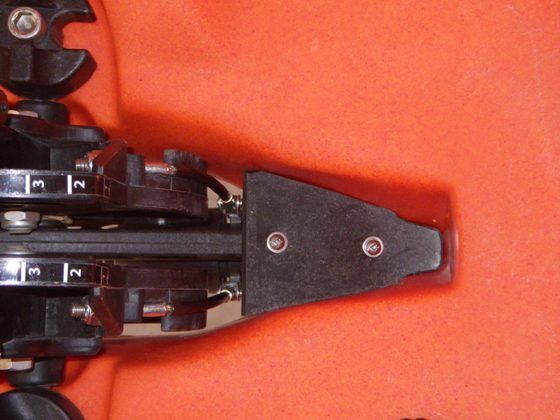
Mirage Drive Splash Dam
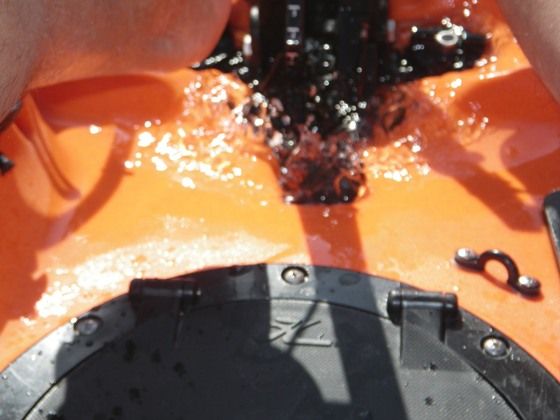
When a Hobie is cruising above 4 mph, the power produced by the turbo fins forces an excessive amount of water up through the Mirage drive opening. To minimize this, I cut a piece of 1/4" rubber to fit snugly at the end of the drive opening. 2 screws holds it securely to the drive unit. The last picture shows the amount of water in the kayak with the dam in place and peddling about 4.5 mph.
|

|

|
| Tags |
| kayak fishing inovations, kayak rigging ideas |
| Thread Tools | |
| Display Modes | |
|
|


 Threaded Mode