
 |
|
|||||||
| Home | Forum | Online Store | Information | LJ Webcam | Gallery | Register | FAQ | Community | Calendar | Today's Posts | Search |
 |
|
|
Thread Tools | Display Modes |
|
|
|
|
#1 |
|
Member
Join Date: Dec 2011
Location: Tehachapi
Posts: 81
|
Everybody makes these
I know everybody has made these to death, but I'm pretty happy with them.
|
|
|

|
|
|
#2 |
|
Senior Member
Join Date: Nov 2014
Location: SGV
Posts: 848
|
Neat design. So you just slid the outer layer of the paracord onto the weed whacker line?
|
|
|

|
|
|
#3 |
|
Member
Join Date: Dec 2011
Location: Tehachapi
Posts: 81
|
|
|
|

|
|
|
#4 |
|
Junior
Join Date: Nov 2015
Location: San Marcos, CA
Posts: 28
|
|
|
|

|
|
|
#5 |
|
Senior Member
Join Date: Mar 2005
Posts: 116
|
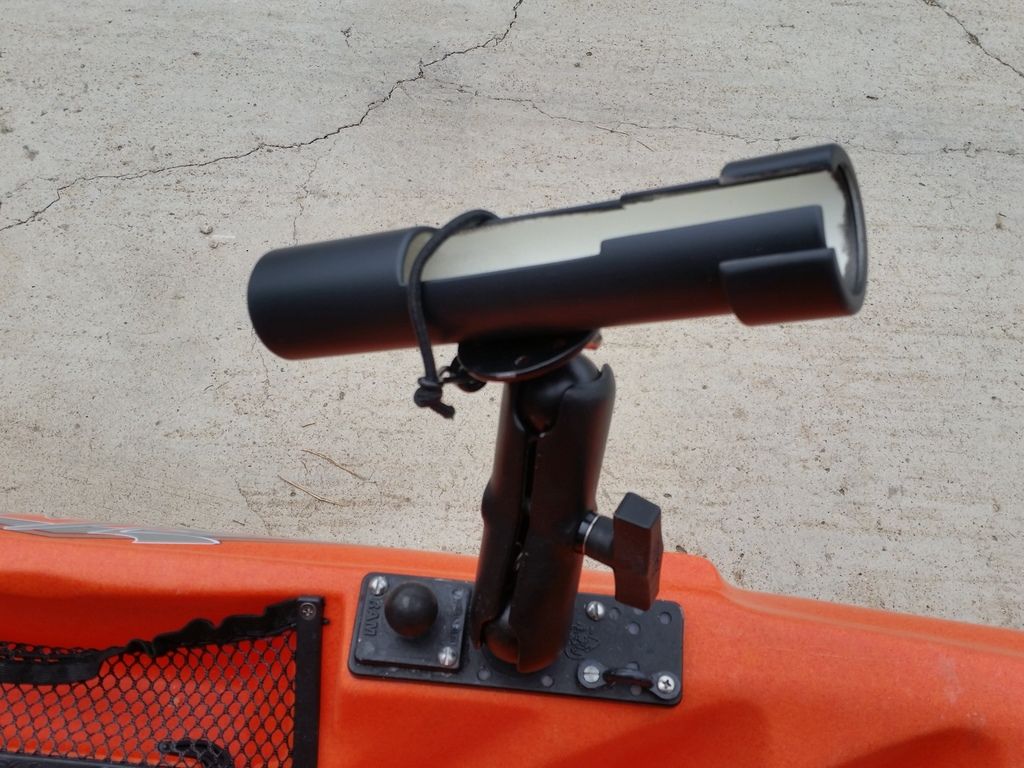
I haven't posted on here in a while, so I'll share a few things I made. The first is a fly rod holder. I have some extra RAM accessories so I made it for a RAM 1.5" ball mount. I originally used a bungee cord and lashing hook (OEX) to secure the rod to the rod holder. Recently I modified it to have a rotating collar, like the Scotty Power Lock.
 The next are check valves. These will be used in place of the seat plugs in my Hobie Adventure. The parts list: 3/4" PVC male adapter, 3/4" PVC pipe, syringe plunger, and 1/8" SS rod. The video I saw used a 3/4" acrylic ball, but I couldn't find any for the right price. Instead, I found a 6-pack of syringes at Party City for $7. I cut the rod at the indentation, then filed the fins of the plunger so it would slide in the 3/4" PVC pipe. Do not push the pipe all the way into the adapter because you want to allow a gap for more water to pass through. The hole I drilled in the pipe allows the plunger about an 1/8" of clearance from the top. The threaded portion was sawed off above the last 3 threads.  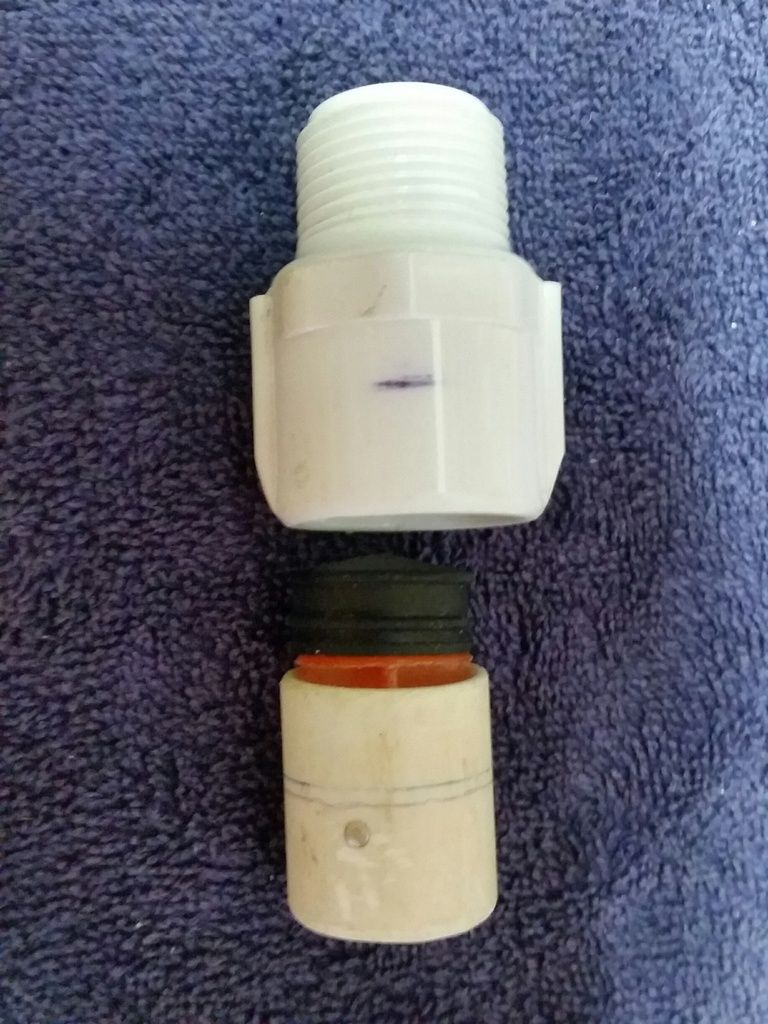
|
|
|

|
|
|
#6 |
|
Senior Member
Join Date: Mar 2005
Posts: 116
|
Seat Riser
The Adventure/Islander seat is below the water line, so the seat plugs must be in place. When water comes over the side, which is frequent, you end up sitting in a pool of water. I found a video on YouTube (AI Seat Riser) that addressed this problem. He used 2-part foam (8 lb) to build up the seat area about 1.5" - 2". Since the water line is now below the seat, he replaced the seat drain plugs with 3/4" PVC pipes. Watch the video if you are interested in making one.
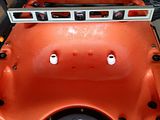 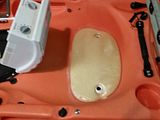 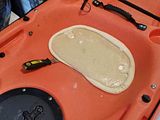 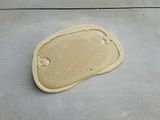 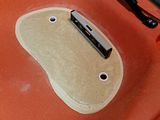 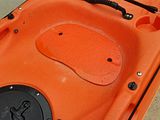 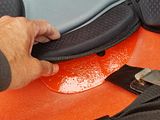 In my build, I used the check valves in place of the 3/4" pipes (see my previous post). The keys to remember are: 1) be sure kayak is level, 2) use a release agent on the seat, 3) work fast with the foam since it will set up within 3 - 4 minutes, 4) concrete needs to be rough in order to quickly shape the foam, 5) before painting, use acetone to remove any chemical residue from the foam. A coat of Polyurethane over the paint will make it more durable. Since the seat covers the drain holes, I added channels to the seat riser so the water will be able to drain. 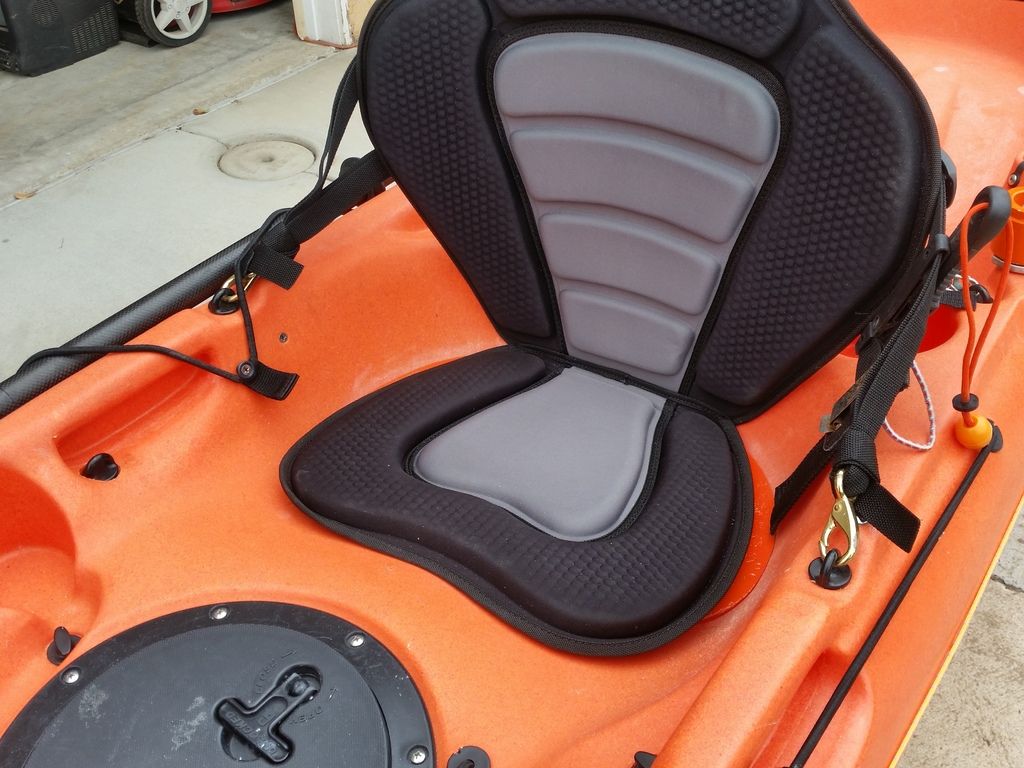 Due to the seat being higher, the mounting position for the back rest was also raised. I removed the bungee screw-in plugs used for the paddle keepers and replaced them with the D-ring plugs. The backrest is more comfortable clipped here. Plus it is easier to enter and exit the kayak with the shorter straps. The last modification was to secure the paddle bungee. It is now using a part of the Islander (sail) rigging. I tested it out on a snotty day on the bay. As was expected, a lot of water came over the side, however, it drained out just as it was designed. The only negative was the hardness of the seat. I'll have to go back to sitting on my kneeling pad. Since I no longer need it under my seat (to raise me up), I'll now use it on top of the seat. |
|
|

|
|
|
#7 |
|
Sea Hunter
|
What does a 72in tent pole shrink wrap a pvc cap tread and one eye have in common
Bingo home made bait rod
__________________
Duke Mitchell |
|
|

|
 |
| Tags |
| kayak fishing inovations, kayak rigging ideas |
|
|