|
|||||||
| Home | Forum | Online Store | Information | LJ Webcam | Gallery | Register | FAQ | Community | Calendar | Today's Posts | Search |
 |
|
|
Thread Tools | Display Modes |
|
|
 04-14-2010, 02:42 PM
|
#1 |
|
Senior Member
Join Date: Feb 2009
Location: torrance
Posts: 155
|
wet mount question for malibu guys.
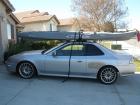
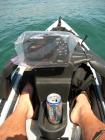
hey guys, anyone w/ malibu yak done the wet mount yet and has pics? i have been trying to find a spot to do the mount but cant find a real good spot in the front for the 3" tube.. any pics would help..
|

|

|
|
04-14-2010, 03:16 PM
|
#2 |
|
Rum Pirate

Join Date: Mar 2010
Location: Wilds of Mira Mesa
Posts: 388
|
I have a 4 inch pvc threaded cap and end that I'm making for a wet mount. I just tested my transducer off the back of my x-factor and did not like the overhang. The thing was getting abused during loading and launching of the yak. I just siliconed the transducer to the inside hull to see the difference. I have a humminbird 385ci. If I don't like the way it functions I'm going to install the wet mount. I was going to talk to the guys at Ridout plastics in San Diego to see the best way to bond the pvc to the hull.
|
|
|
|
|
04-14-2010, 04:51 PM
|
#3 |
|
Olivenhain Bob

Join Date: May 2008
Location: Olivenhain, CA
Posts: 1,121
|
Sandydiego,
If you know the guys at Ridout Plastic see if you can score a piece of clear pipe that your cap will fit on. I know they sell it. That will be better than the ABS because you will always be able to see if there is water in the well. As for attaching the plastic, (any kind) to your hull, marine goop works great. Just sand the area a bit and wipe with alcohol before putting the goop on the pipe. Be careful not to use too much goop, especially on the inside of the well. Mine ended up flowing all over the hull inside the well. After everything set up, I had to carve the excess goop away as it had a bunch of bubbles. I believe that the best way to install the pipe to make your well is to shape the bottom of the pipe so that it fits the contour of your hull as closely as possible. Put a bead of goop on the edge of pipe and set it in place. Put something on the top of the well, (like a book), which will apply a little downward pressure and let everything set up. When the goop has cured, caulk the outside edge with a little more goop just to make sure that all gaps are filled. When that has cured, fill the well with water to check for leaks and you are done. Bob |
|
|
|
|
04-14-2010, 10:02 PM
|
#4 |
|
Senior Member
Join Date: Feb 2009
Location: torrance
Posts: 155
|
thanks for the tip bob..

|
|
|
|
|
04-15-2010, 07:59 AM
|
#5 |
|
Senior Member

Join Date: Jul 2009
Location: Baja fish camp
Posts: 478
|
Dsafety convinced me on the wet mount, but alas it was problematic geting a big enough pipe for a Lorance transponder and shaping it for the Malibu stealth hull.
Then I stumbled on a cheap easy solution. For $2.57 I bought a 1 1/4 inch terminal box. I made a paper template of the keel and trnsferred it to the ends of the terminal box. Holding the terminal box against a belt sander (coarse) at the angle I sanded, checked, sanded checked until thebox fit perfectly in the keel channel. Next I mounted the transducer where the the bottom of sides terminal and the bottom of the trans duce are the same. Which makes the 60 degree transducer shoot thru the keel. Mounting was done by drilling a hole side to side in the terminal box and using a stainless steel thread bolt and nuts. A little marine goop it's water tight. I' didn't take many pictures when creating this thing, but I'll take some more and explain what I did in more detail if any malibu people are interested. Unfortunately I didn't think to take pictues while building. A 1 1/4 inch to 3/4 inch reduce was cut in half for the top and rear opening to keep a low profile. in the rear a rubber cork had a hol drilled the diameter of the wire, split fro the side with a razor to get the wire in, gooped and pressed int the reducer. I added silcone around to ensure it was watertight (overkill). The front O addea a 3/4 inch to threated 1/2 inch reduce and screwed in a 1/2 plug. I add water and check the water here, so far no lost water. This works great and the sanding is easy with a belt sander as long as you keep checking as you go. All the pvc parts were glued together with pvc cement, but I added silcone around them (overkill). |
|
|
|
|
04-15-2010, 08:49 AM
|
#6 |
|
Rum Pirate
Join Date: Mar 2010
Location: Wilds of Mira Mesa
Posts: 388
|
I like the terminal box setup. I may go with that instead. Thanks Walrus.
|
|
|
|
|
04-15-2010, 09:29 AM
|
#7 |
|
Olivenhain Bob
Join Date: May 2008
Location: Olivenhain, CA
Posts: 1,121
|
Terrific new ideas are showing up every day. This is great.
Bob |
|
|
|
|
04-15-2010, 05:46 PM
|
#8 |
|
Member

Join Date: Jan 2010
Location: Northern Virginia
Posts: 50
|
3m 5200 is great stuff too.
|
|
|
|
|
03-05-2011, 09:37 PM
|
#9 | |
|
Senior Member
Join Date: Feb 2011
Location: Corona, CA
Posts: 472
|
Quote:
Where did you get the terminal box? I don't recognize it as something in the electrical department at Home Depot. Please share the details. Thanks |
|
|
|
|
|
03-06-2011, 03:28 PM
|
#10 |
|
Senior Member
Join Date: Jul 2009
Location: Baja fish camp
Posts: 478
|
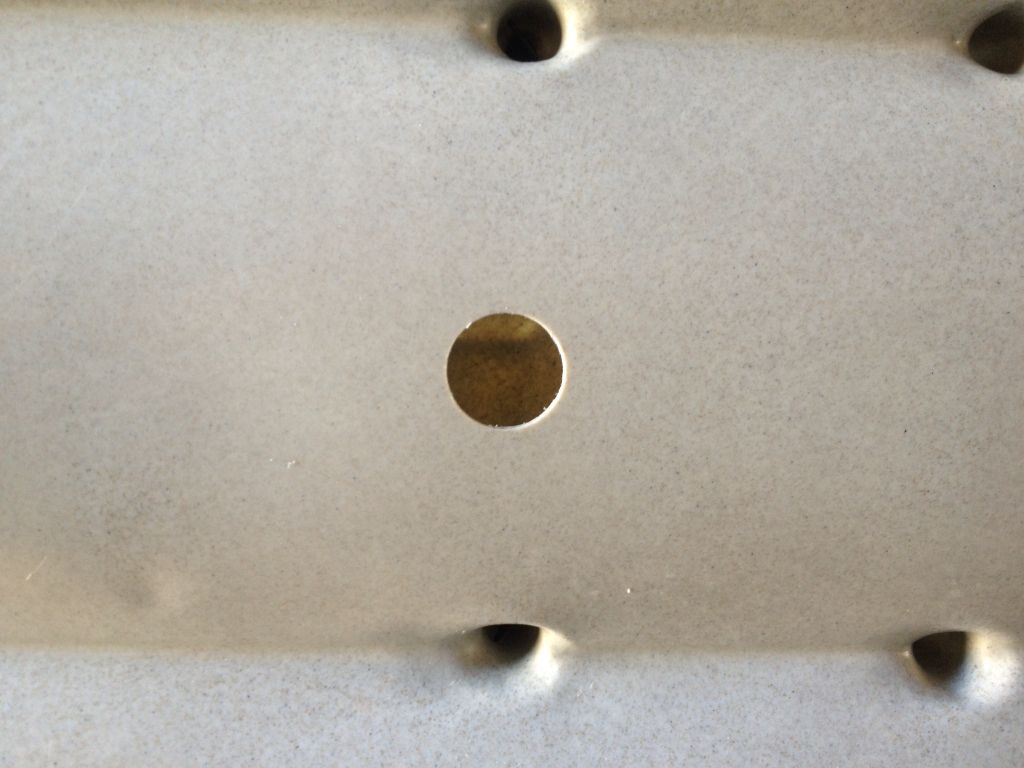
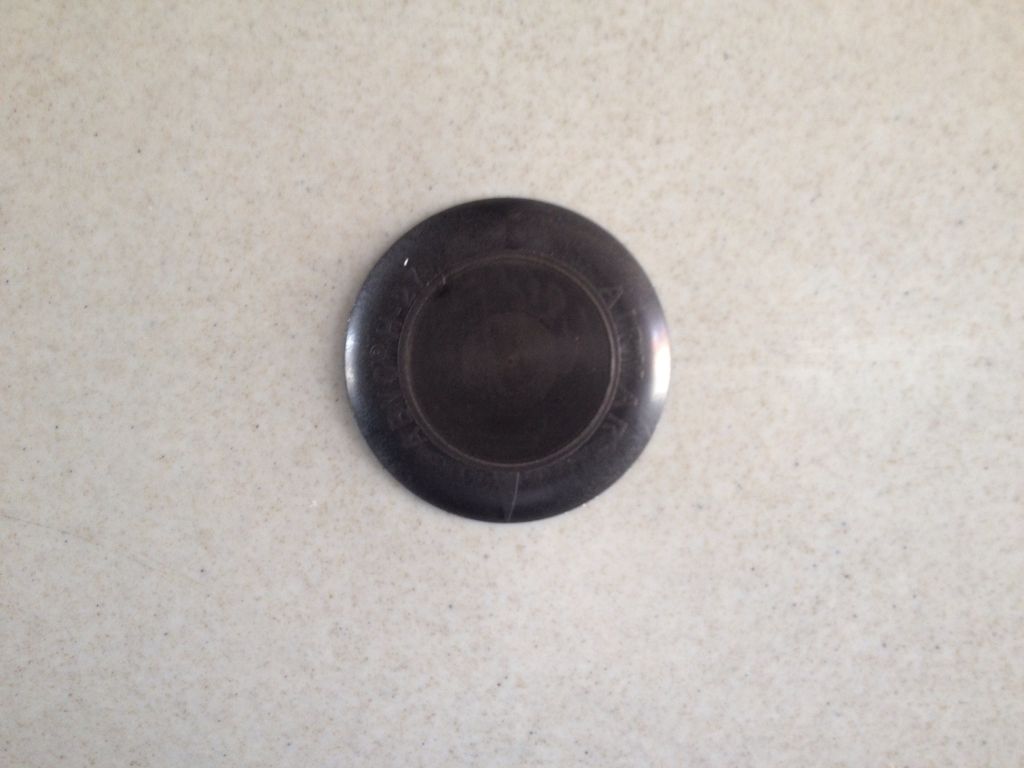
I just took off the wet mount to change the transducer for a new ff.
I have attached some pictures to help you identify the parts at the hardware store and a set of instructions I drew up. Instructions-one.jpg Instructions-two.jpg Instructions-three.jpg Instruction-four.jpg Transducer1.jpgTransducer2.jpgtransducer3.jpg I hope this helps. I never had any trouble with this mount and it was real tough to get off. It will be back on in a day or so with the new transducer and ready for spring. |
|
|
|
|
03-06-2011, 04:21 PM
|
#11 | |
|
Senior Member
Join Date: Feb 2011
Location: Corona, CA
Posts: 472
|
Quote:
Awesome detail..you must be a photoshop whiz. With these instructions and illustrations I don't think a 10 year old could screw this up. Okay..so what do I owe you?...haha My only question: Is that terminal something I can find at Home Depot or Lowes? How would I refer to it...What is it called? If I know what is called..'technically' I should be able to call around and locate one before taking to the road. Again...THANK YOU! |
|
|
|
|
|
03-07-2011, 06:09 AM
|
#12 |
|
Senior Member
Join Date: Jul 2009
Location: Baja fish camp
Posts: 478
|
It a terminal box and it goes on galvanize conduit pipe. the boxes are next to the pipe.
Print the picture take it, with you and you should have no problem with the clerk finding it for you. In one store I go to it's above the pipe, the other below th pipe it kind of depanss on how the store is set up. |
|
|
|
|
11-16-2012, 05:13 AM
|
#13 |
|
Team Keine Zugehörigkeit

Join Date: Nov 2010
Location: Way out there
Posts: 2,854
|
bump
__________________
 Não alimente os trolls------------Don't feed the trolls---------------インタネット荒らしを無視しろ 
|
|
|
|
|
11-16-2012, 06:50 AM
|
#14 |
|
Senior Member

Join Date: May 2010
Location: Cypress, CA
Posts: 789
|
New project for Maui, I just started getting a bad read bubbles on the goop mount, not bad for a few years...
__________________
 
|
|
|
|
|
11-16-2012, 06:25 AM
|
#15 | |
|
Senior Member

Join Date: Mar 2010
Location: San Diego
Posts: 2,385
|
Quote:
http://www.youtube.com/watch?v=3u1d3_UeD3k http://www.youtube.com/watch?v=GEZ9_...eature=related for $1.50 at home depot you can pick this up and install it. Doesn't move when the Kayak is transported, gets excellent readings, and there's no marine goop involved.
__________________
No better time than being on the water, God Bless, JimmyZ 
|
|
|
|
|
|
11-16-2012, 06:47 PM
|
#16 | |
|
Senior Member
Join Date: Feb 2011
Location: Corona, CA
Posts: 472
|
Quote:
|
|
|
|
|
|
11-16-2012, 07:34 PM
|
#17 |
|
Emperor

Join Date: May 2009
Location: Buena Park
Posts: 3,649
|
Just cut the hole!
__________________
There's nothing colder than yesterday's hotdog. |
|
|
|
|
11-16-2012, 07:50 PM
|
#18 | |
|
Senior Member
Join Date: Feb 2011
Location: Corona, CA
Posts: 472
|
Quote:
Unfortunately that transducer won't work with my down imaging 597...SUCKS! |
|
|
|
|
|
11-20-2012, 06:33 PM
|
#19 |
|
Senior Member
Join Date: Feb 2011
Location: Corona, CA
Posts: 472
|
I may try the two methods combined....electrical terminal box...but sealed with duct seal rather than marine goop. I like the idea of my transducer being covered and protected by something because I store my paddle, net and gaff in the hull and I know it bangs around in there while transporting.
|
|
|
|
|
11-20-2012, 08:22 PM
|
#20 | |
|
Senior Member
Join Date: Mar 2010
Location: San Diego
Posts: 2,385
|
Quote:
__________________
No better time than being on the water, God Bless, JimmyZ
|
|
|
|
|
|
|
|


 Hybrid Mode
