|
|||||||
| Home | Forum | Online Store | Information | LJ Webcam | Gallery | Register | FAQ | Community | Calendar | Today's Posts | Search |
 |
|
|
Thread Tools | Display Modes |
 01-15-2008, 02:11 PM
|
#1 |
|
Senior Member
Join Date: Mar 2005
Posts: 385
|
Easy and Effective upgrades for Hobie Kayaks
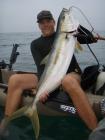
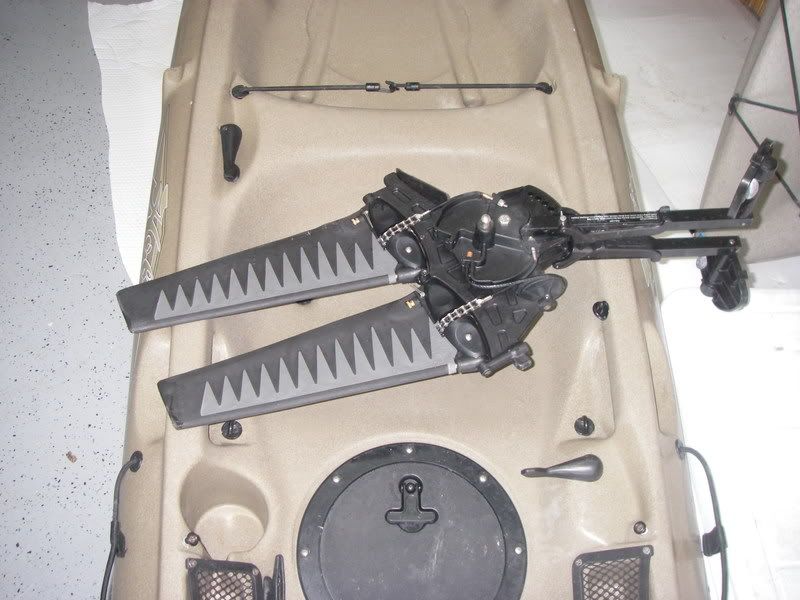
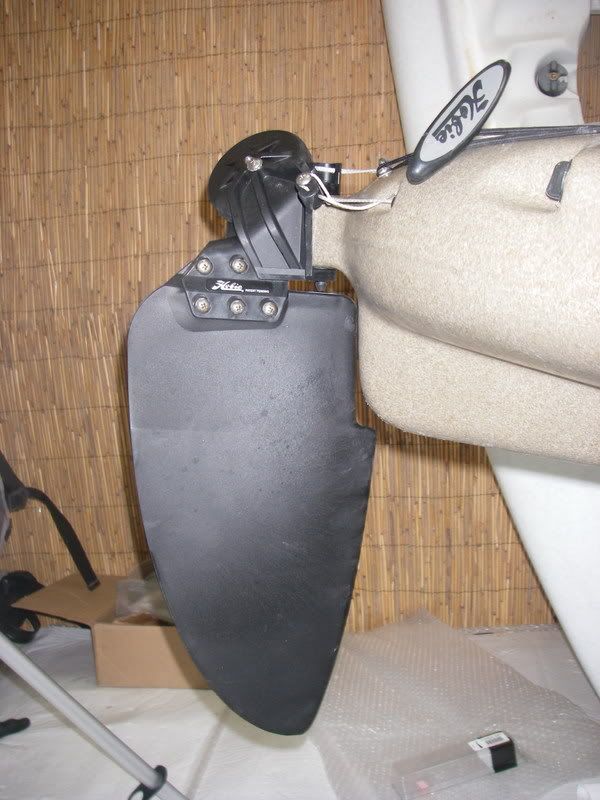
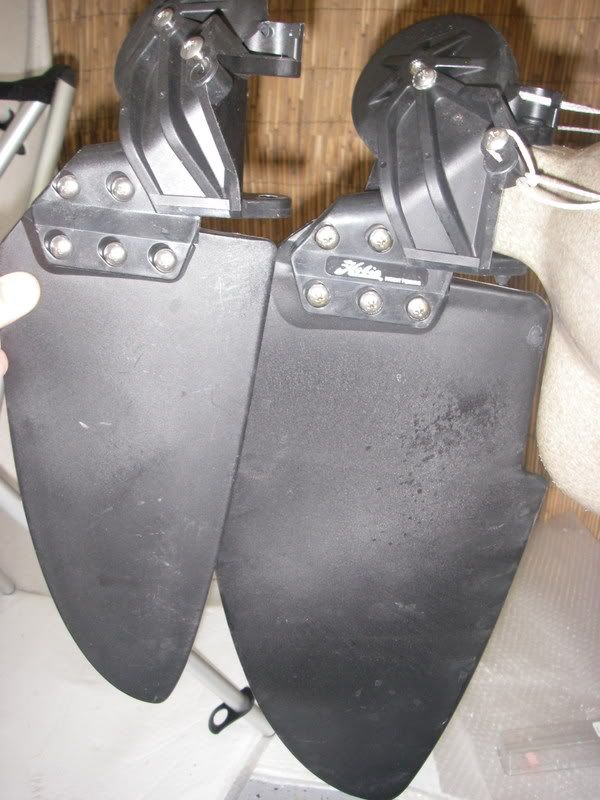
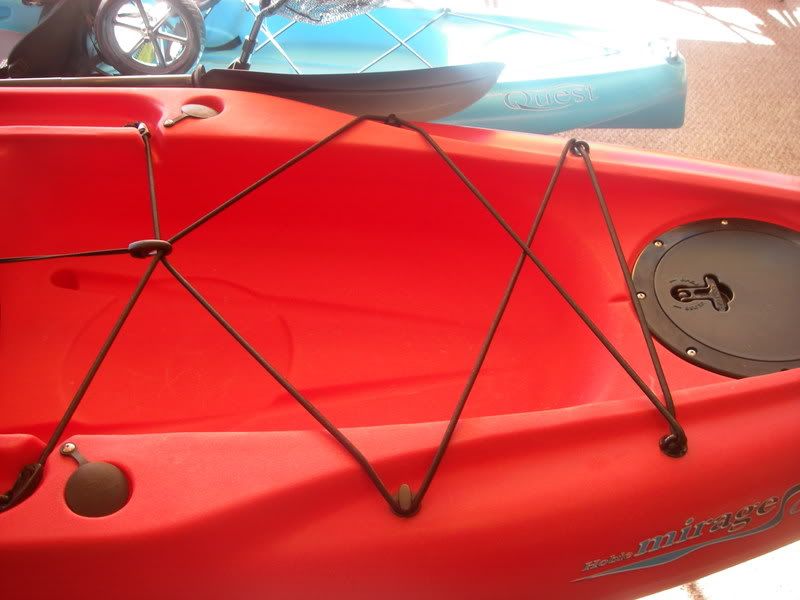
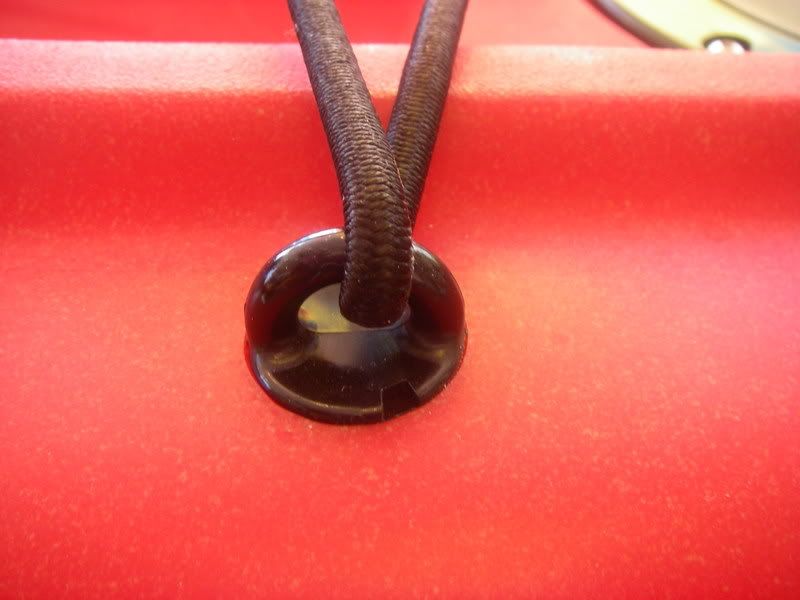
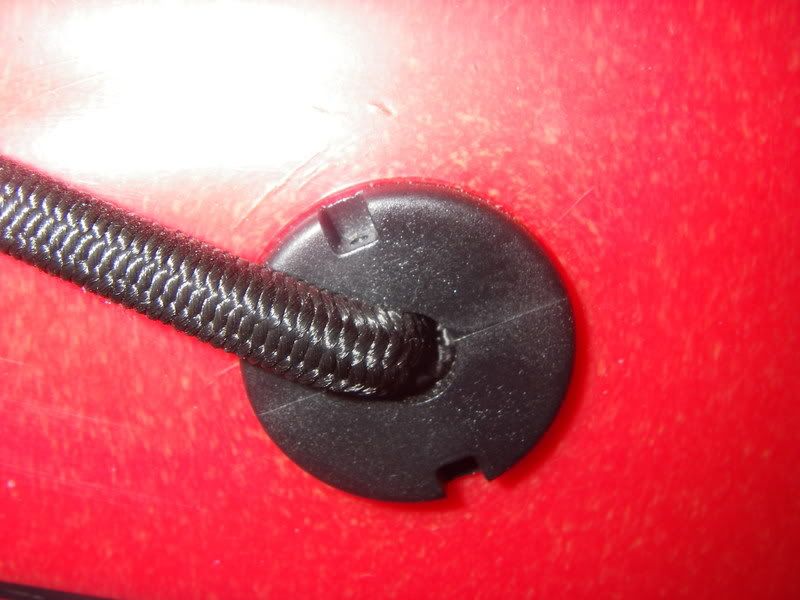
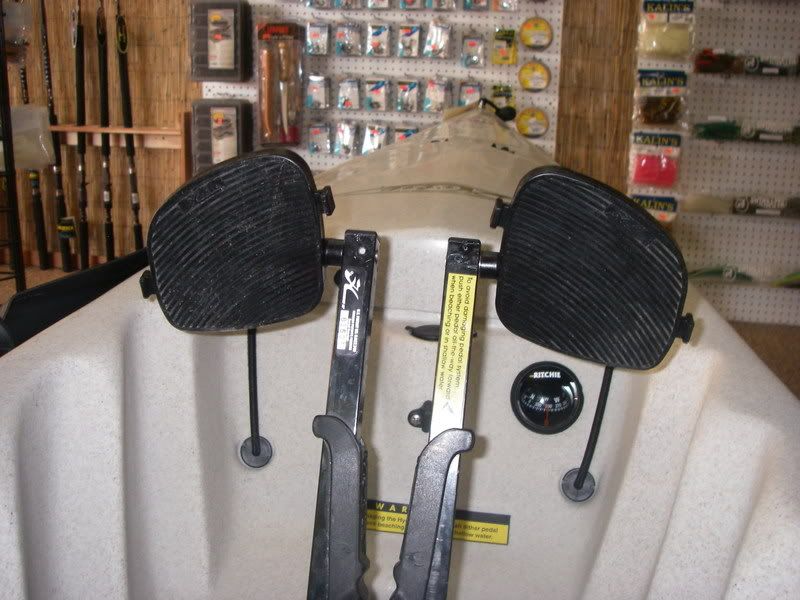
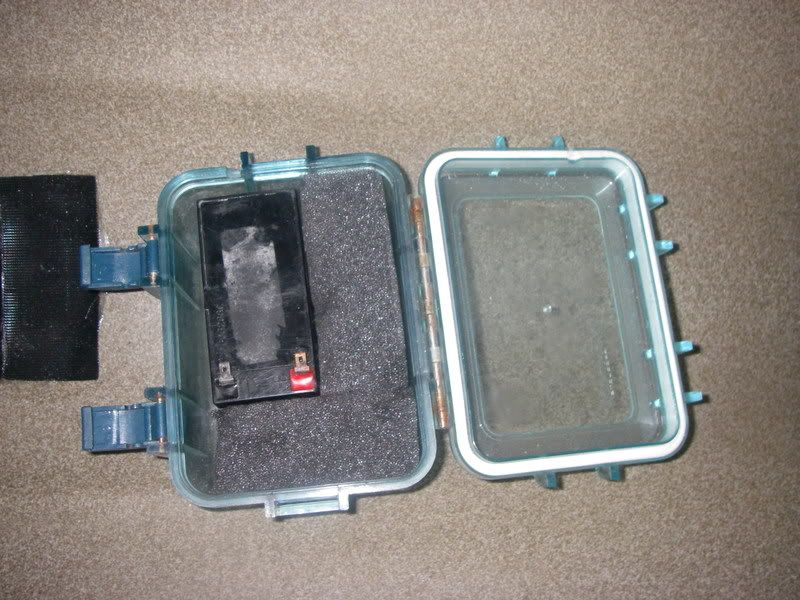
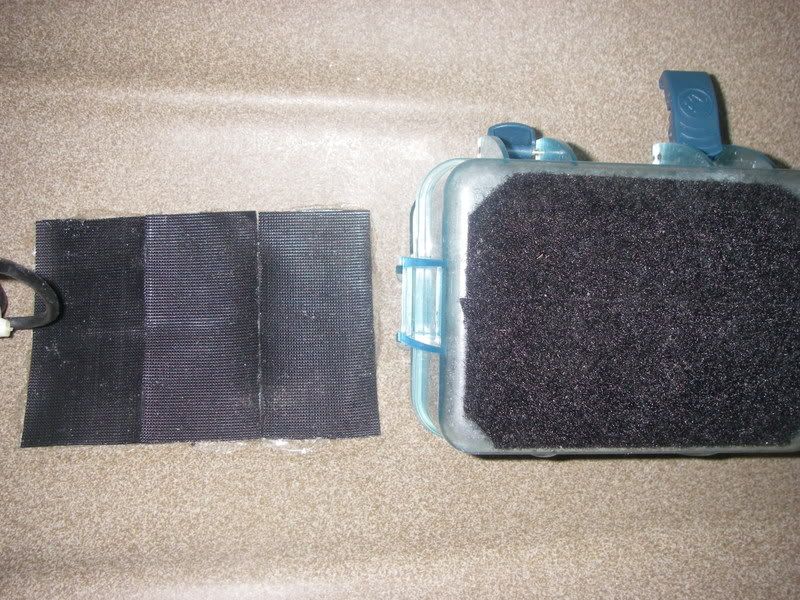
I’ve had my Hobie Revolution for about 3 months now. I love it, but felt that I needed to upgrade a few things for maximum performance. I’ve added a few pictures for reference.
__________________

|

|

|
|
01-15-2008, 02:31 PM
|
#2 |
|
Senior Member
Join Date: May 2005
Posts: 754
|
Cool post Steam, I didn't know about the interchangable hardware. Slick Hobie engineering...
|
|
|
|
|
01-15-2008, 02:33 PM
|
#3 |
|
Member

Join Date: Mar 2007
Location: Long Beach / Lakewood
Posts: 85
|
Great ideas
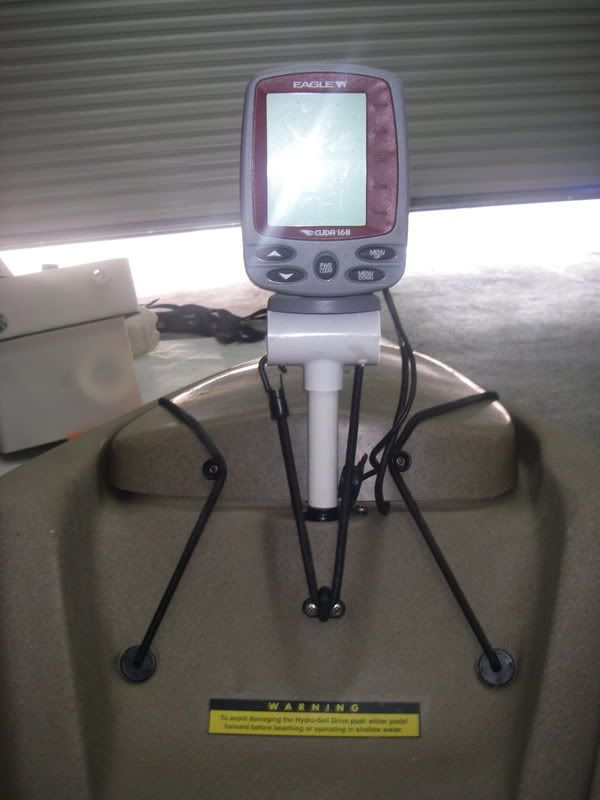
I added the ST turbo fins , never thought about the sail rudder though, hmm In response to your fish finder. I did the same thing However, for a clean install i ran the power/tranducer wire through the sail mast receptacle. The sail mast receptacle unscrews. Although a solid piece of plastic it has a solid divider to form a 2 or 3 inch female end which is placed on the male end that is part of the interior of the hull. One hole drilled above the divider and a pass through is formed I also use some electrical tape to seal it up better and minimize any swing on the FF pipe I have to redo it , since I had a warranty replacement, I'll send some pix. MikeG
__________________
Hobie Mirage Revolution Prowler 13 - Look ma no hands |
|
|
|
|
01-15-2008, 02:58 PM
|
#4 |
|
bing!
Join Date: Mar 2007
Location: socal
Posts: 246
|
The sailing rudder is a great upgrade. I like mine.
the weights on the pedals help put your feet in, but if you think about it, that an ounce more that you needs to push and pull a few hundred times each outing. /bing |
|
|
|
|
01-15-2008, 03:24 PM
|
#5 |
|
Senior Member
Join Date: May 2005
Posts: 754
|
Must be my question day. My rudder up / down cables have never worked smoothly. Does the extra swing weight of the sailing rudder cause any problems or make lifting the rudder more difficult?
|
|
|
|
|
01-15-2008, 03:26 PM
|
#6 | |
|
Senior Member
Join Date: Mar 2005
Posts: 385
|
Quote:
It feels the same with either rudder. Bring your boat by the shop and I'll tinker with your rudder. I've gotten pretty good at adjusting them.
__________________
|
|
|
|
|
|
01-15-2008, 04:17 PM
|
#7 |
|
Senior Member

Join Date: Mar 2006
Posts: 1,053
|
That's a cool post Nate.
|
|
|
|
|
01-15-2008, 05:35 PM
|
#8 |
|
Member
Join Date: Mar 2007
Location: Long Beach / Lakewood
Posts: 85
|
Guess you got the electrical tape too, can't see pix at work

__________________
Hobie Mirage Revolution Prowler 13 - Look ma no hands |
|
|
|
|
01-15-2008, 05:53 PM
|
#9 |
|
bing!
Join Date: Mar 2007
Location: socal
Posts: 246
|
FYI out in Feb 2008
Ram Hobie sail mast mount  Ram hobie sail gps ff mount  see it mounted here ...http://www.ram-mount.com/mount/ram_kayak_mount.htm I like the accessibility of rail mounting stuff. And they dont get in the way as much one would think.  
|
|
|
|
|
01-15-2008, 06:01 PM
|
#10 |
|
Member
Join Date: Mar 2007
Location: Long Beach / Lakewood
Posts: 85
|
Very kewl
Where do you run the wires ?
__________________
Hobie Mirage Revolution Prowler 13 - Look ma no hands |
|
|
|
|
01-15-2008, 06:06 PM
|
#11 |
|
bing!
Join Date: Mar 2007
Location: socal
Posts: 246
|
I like the Blue Sea System Cable Clams.
 You can see it as the one round thing on my deck. You punch anything from a 1/2 inch to a 1.25 inch hole on your kayak depending on the clam size and the connectors you use. Mount the cable clam (in your chosen location) and run your cable thru. They are serviceable, adapts lightly curved surfaces, you can change FF cables easily, and I have taken out the cable entirely and capped the cable clam with a thin round cut out rubber and it looks very clean. /bing |
|
|
|
|
01-15-2008, 06:27 PM
|
#12 |
|
Member
Join Date: Mar 2007
Location: Long Beach / Lakewood
Posts: 85
|
This is my design
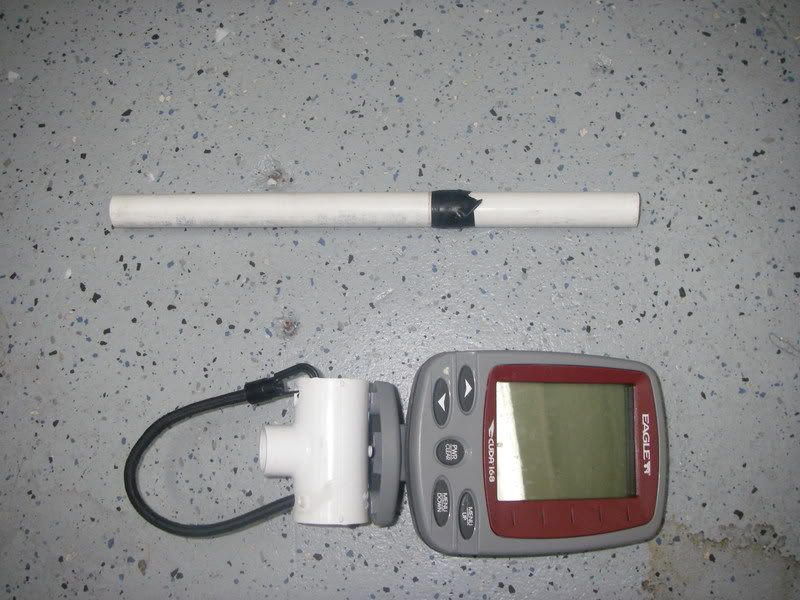
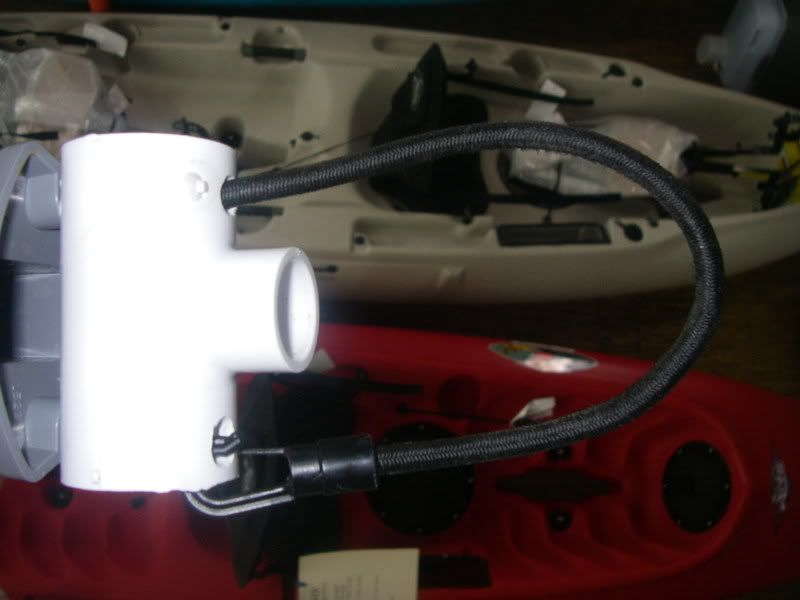
Using the sail mast receptacle However I detached the original base and crafted a double pivot base with a transducer wire pass through Hope this is helpful None of the pieces are glued down especially the cap Sometimes you might need to take a section off to more easily pass the wire The whole assembly goes into the sail mast receptacle including the pass through wires Just 1. 1 2ft piece of 1/2 PVC 2. 1 four-way T 3. 4 90deg elbows 4. a 1/2 cap -drilled 5. 4 spare sections of 1/2 pvc l(like 2 in maybe each) 6. 4 in or so piece of 1/2 in pvc 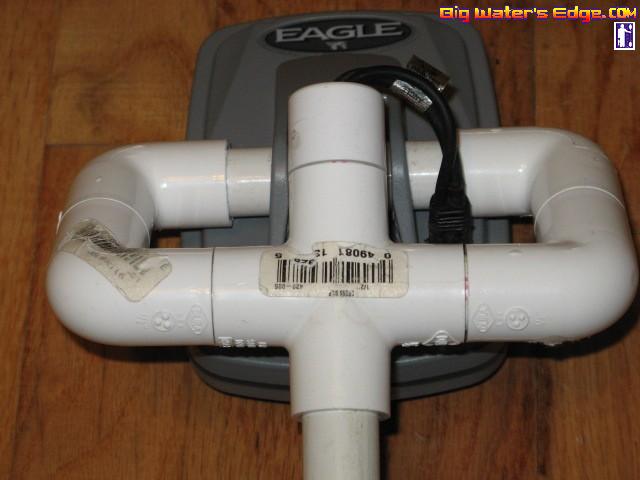 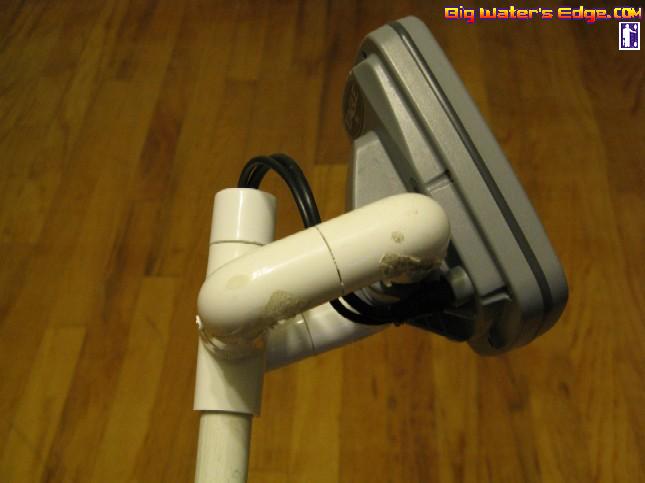 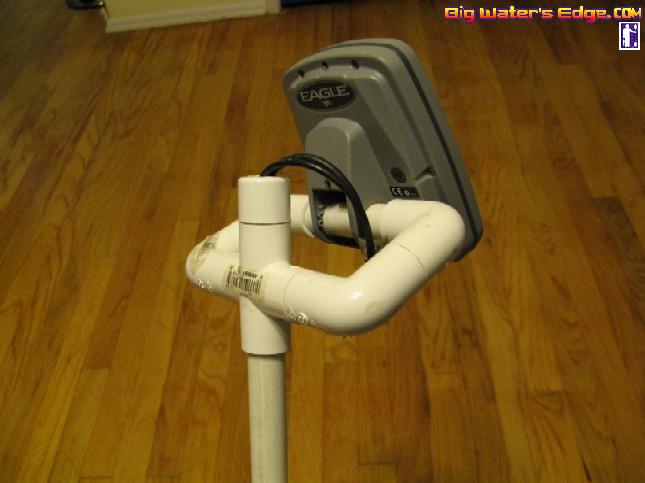
__________________
Hobie Mirage Revolution Prowler 13 - Look ma no hands Last edited by mg2969; 01-15-2008 at 08:03 PM. |
|
|
|
|
01-16-2008, 04:43 PM
|
#13 |
|
Administrator

Join Date: Mar 2005
Location: 1-2 miles off the point
Posts: 6,943
|
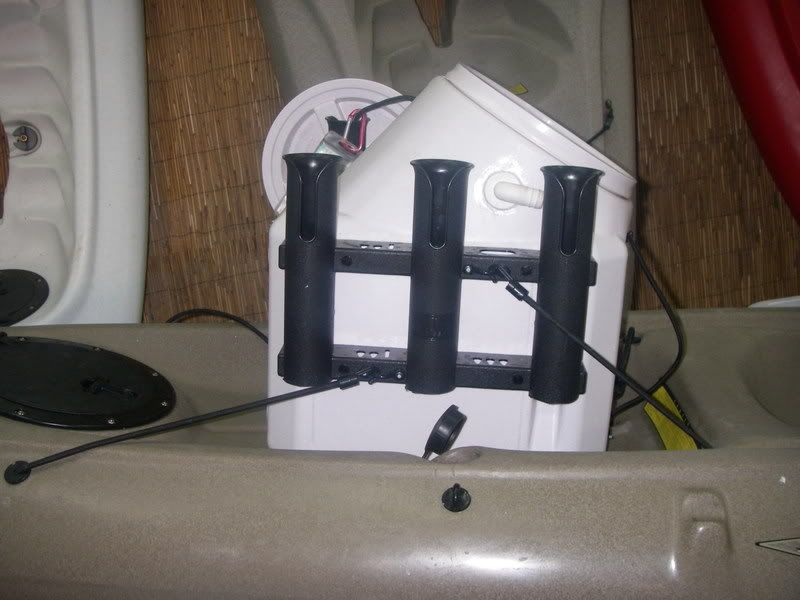
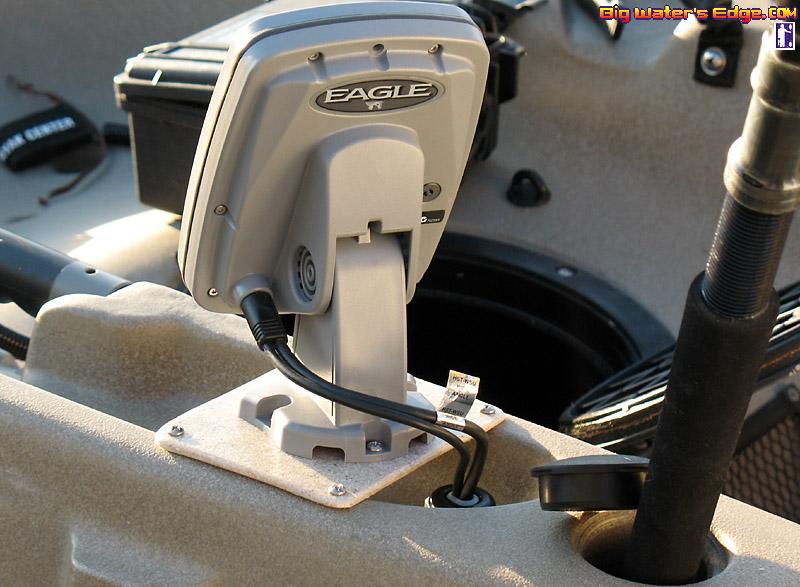
Here is one I did today. customers idea, I guess he is not worried about location interfering with paddling.
__________________
 
|
|
|
|
|
01-16-2008, 06:57 PM
|
#14 |
|
bing!
Join Date: Mar 2007
Location: socal
Posts: 246
|
Any pics on how you guys route the wires thru the mast pipe? I am very interested. How do you seal it?
/bing |
|
|
|
|
01-16-2008, 07:17 PM
|
#15 |
|
Member
Join Date: Mar 2007
Location: Long Beach / Lakewood
Posts: 85
|
The mast pipe is behind the hatch and normally isn't going under water so it doesn't have to be watertight (at least I don't think so ). I use a couple of turns of electrical tape to keep water out and make a tighter seal but not perfect.
I have no pics of the kayak, since I just recently had a warranty replacement from Hobie. When I do the install, again, I will take pix this time. MikeG
__________________
Hobie Mirage Revolution Prowler 13 - Look ma no hands |
|
|
|
|
01-17-2008, 11:21 AM
|
#16 |
|
Senior Member
Join Date: Nov 2007
Location: San Diego
Posts: 279
|
I like the weights on the peddles. I'll have to do that.
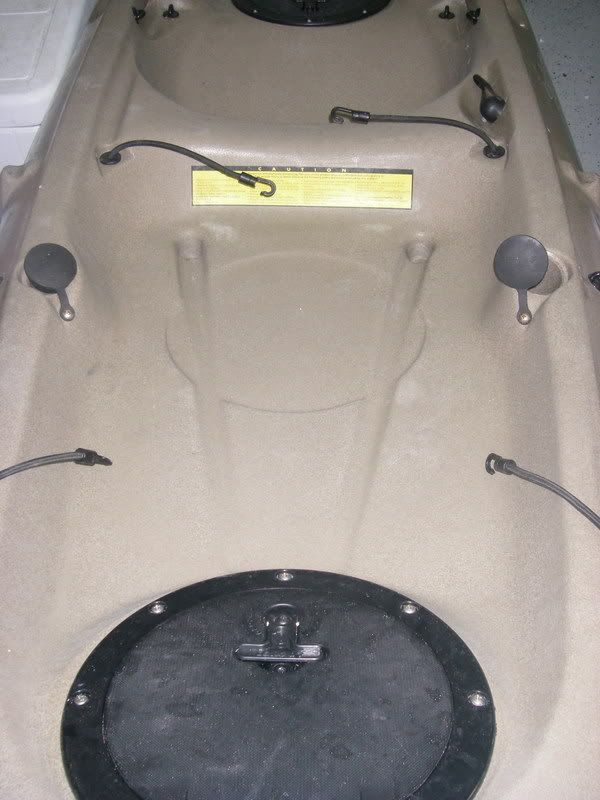
You have to love the mast receptacles in the hobie as it allows for easy set up and removal. I need to have that ease for loading my yak on top of my Explorer. Here is how I have mine set up. I use the PVC to keep my nets from sliding off and I can have a light as well as room for the fish finder (when finances allow).
__________________
Don't try to confuse me with facts! I hereby reject your reality and submit my own. |
|
|
|
|
01-18-2008, 09:26 PM
|
#17 |
|
Administrator
Join Date: May 2007
Posts: 209
|
Nate
You and Brian should have a "RIG OFF" OEXO vs OEXPL We are working on the yakerator just need more power to keep the keg cold.  B |
|
|
|
|
01-21-2008, 02:43 PM
|
#18 |
|
Member
Join Date: Mar 2006
Location: Torrance. ca
Posts: 76
|
Hobie also makes a rubber cover that zip ties and goes over the top of the peddle drive to keep water from coming up thru the peddle drive well. It is supposed to make it a little faster. Just another gadget you might want to add.
Take it easy! Aaron |
|
|
|
|
01-21-2008, 06:40 PM
|
#19 |
|
Member
Join Date: Nov 2007
Location: Riverside County
Posts: 30
|
One of the other things that I did was to make the rod holders actually usable on my Adventure. I had some 1 1/2" PVC in the garage. I cut it down to approximately 14" lengths, used a dremmel to slice 8 cuts approximately 6" up from the bottom parallel to the centerline of the pipe and sanded the ends down so there were no sharp edges. I put the end with the slices into the molded rod holder for rod holder extensions. They fit good and snug without going quite all the way to the bottom of the molded in rod holder. I picked up some black spray paint specifically for plastic and they look like they are supposed to be there and work great.
|
|
|
|
|
01-22-2008, 06:23 AM
|
#20 |
|
Junior Member
Join Date: Jun 2007
Location: fallbrook ca.
Posts: 8
|
hey guys thanks for the info.
|
|
|
|
|
|
|


 Linear Mode

