|
|
 02-18-2012, 08:51 PM
|
#1 |
|
Senior Member
Join Date: Sep 2005
Posts: 1,921
|
Pimp My Yak
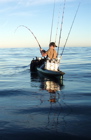
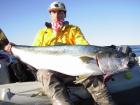
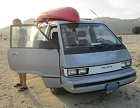
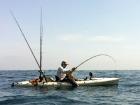
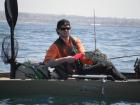
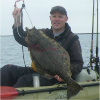
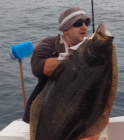
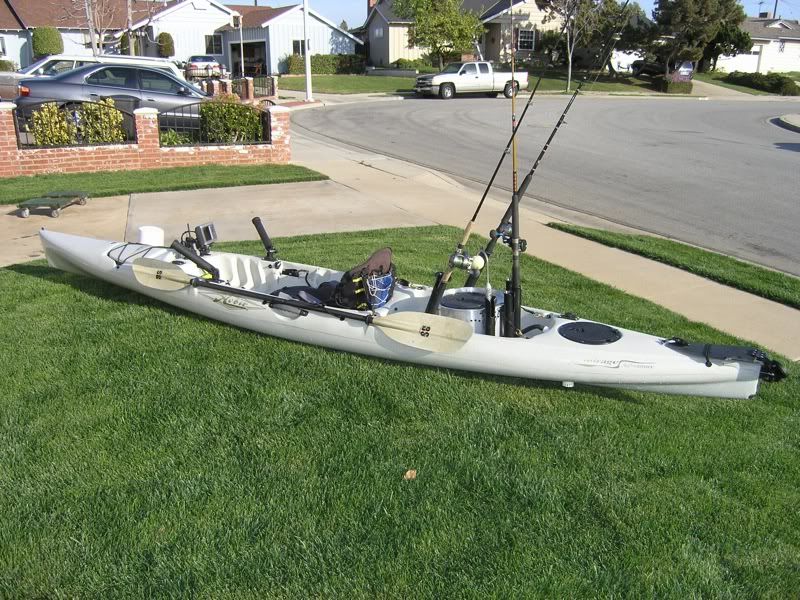 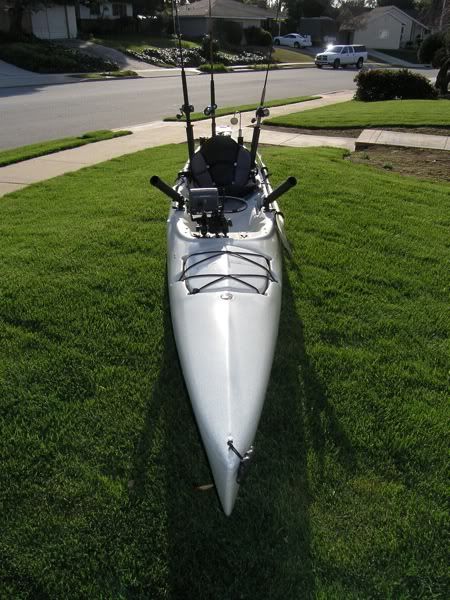 A few months back I got a phone call from Andy at OEX Sunset Beach with those magical words we all love to hear “ Your new kayak is here at the shop”. Sweet! Upgraded from the Hobie Adventure to the Hobie Adventure. Actually, this is my 5th Hobie adventure. I like it for a few reasons. 1) It has lots of legroom 2) Big tankwell with lots of storage 3) Its FAST! 16 feet long, only 27.5 inches wide, the hull is really built for speed. 4) It paddles better than most paddle yaks I’ve tested. If I ever break a mirage drive (I’ve broken 4), I know its not going to be that big a deal to paddle back. Plus, if I ever get a decent fish, I like to put it in my lap and do a legit “happy paddle” back to shore. The main reason I wanted to upgrade to the new one, is that now there is a real cup holder, that holds a beer nice and snug without spilling. Plenty of these were consumed during this process. 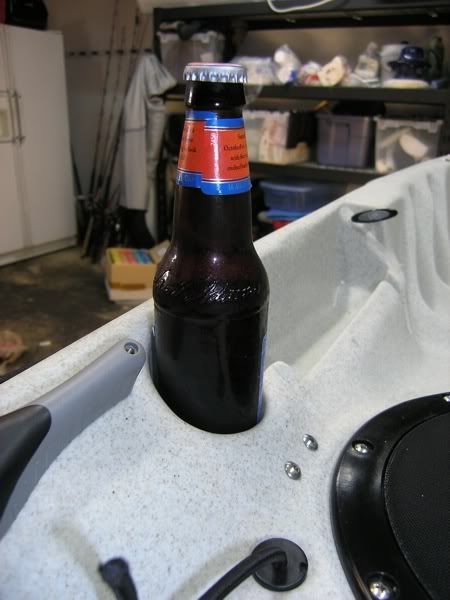 Each one I get I rig a little different, tweaking things so that they are perfectly where I want them on the kayak. I like this one, but who knows- I’m sure the next one I’ll switch a few things around. My goal when I rig, is to simply make it easier out on the water. I really don’t do anything ground breaking, but here are the mods I do, which may get the wheels turning for you as you get the itch to tinker. This one took me about 20 visits to Andy’s shop in Sunset Beach. I never really knew what I wanted, but inevitably, I would find exactly what I needed. Warning, this won’t be a short post. First thing I do is remove rigging. I get rid of this bungee, it just gets in the way. 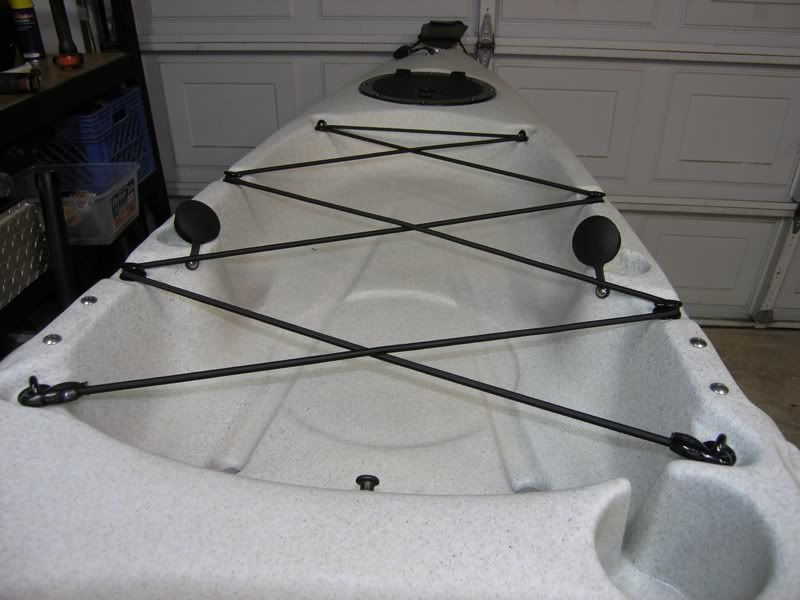 I also get rid of the rod holder caps. I can’t ever see myself wanting to cap a rod holder? 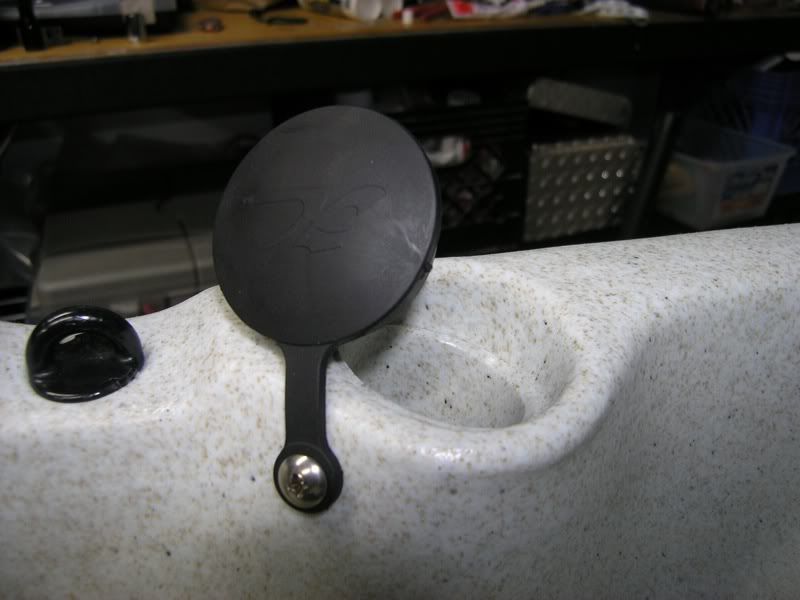 I get rid of the mesh side pockets, or sabiki snaggers as I like to call them. After a few months in the sun and salt, they look like crap anyways. 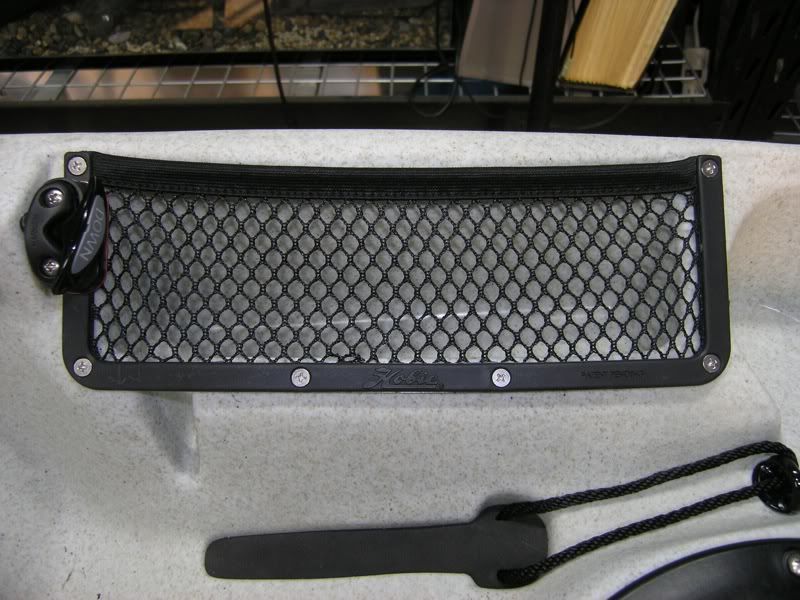 I never use the peddle clip, so I get rid of it.  I put in one of these in its place. 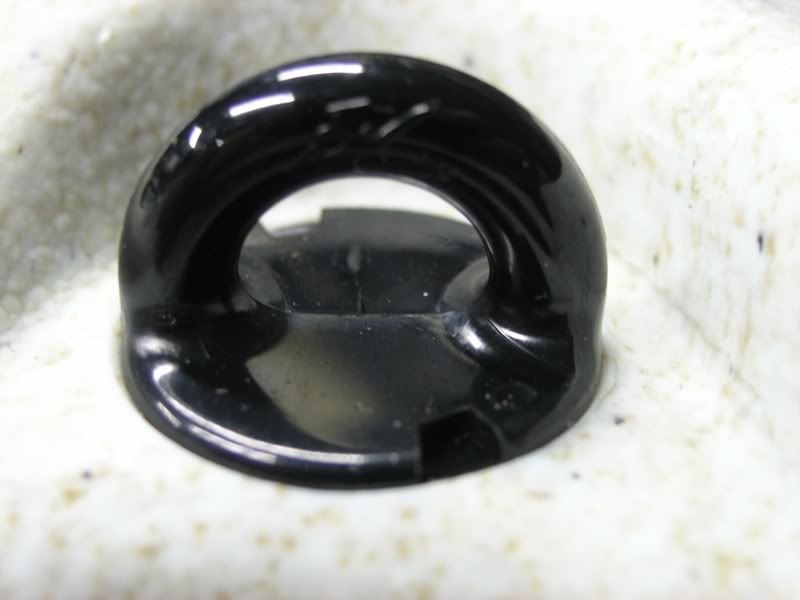 Since I got rid of all the bungles, I swap out every one of these 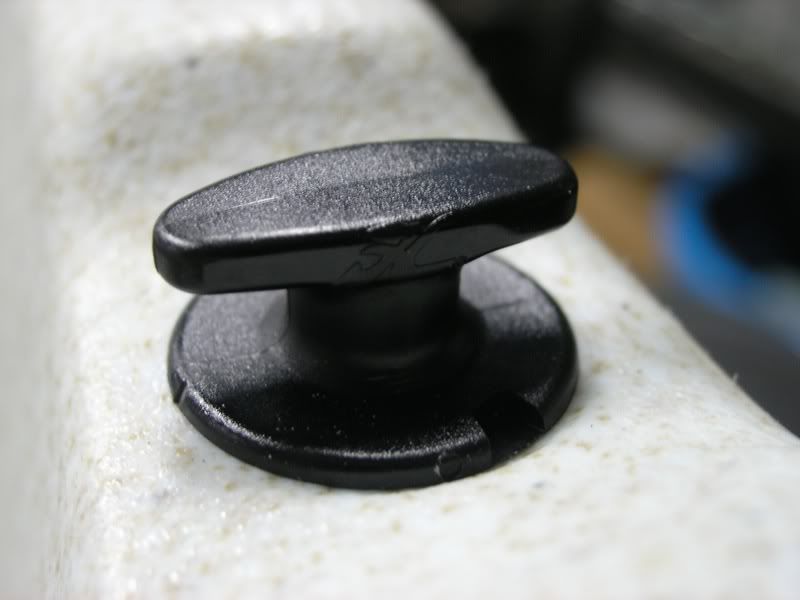 For one of these. Now I have a few more places clip my bait tank, game clip, and rod leash, ect. In the place of where the side pockets were, I permanently mount my knife  And My pliers. 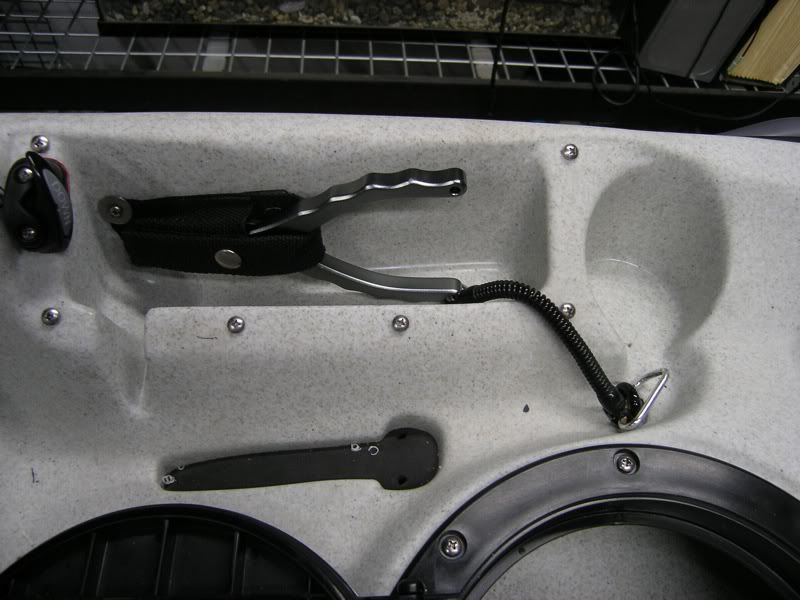 I added a stainless snap onto the pliers sheath, so I don’t ever worry about losing them. I always leave both the knife and pliers on the yak, even when I transport it. That way I know I always have them both otw with me, and they will always be in the same exact place. Swap the dinky stock rudder for the sailing rudder. Makes the 16’ adventure turn on a dime. 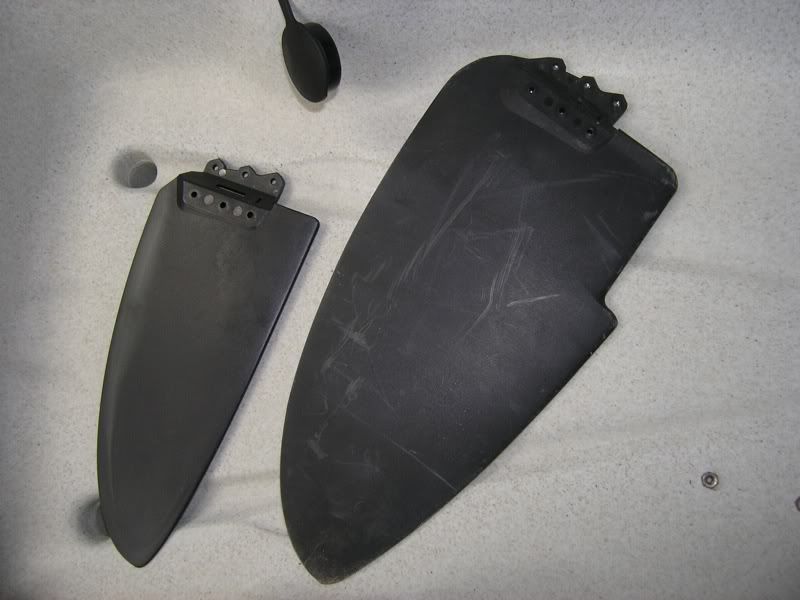 Take off this little mast cap 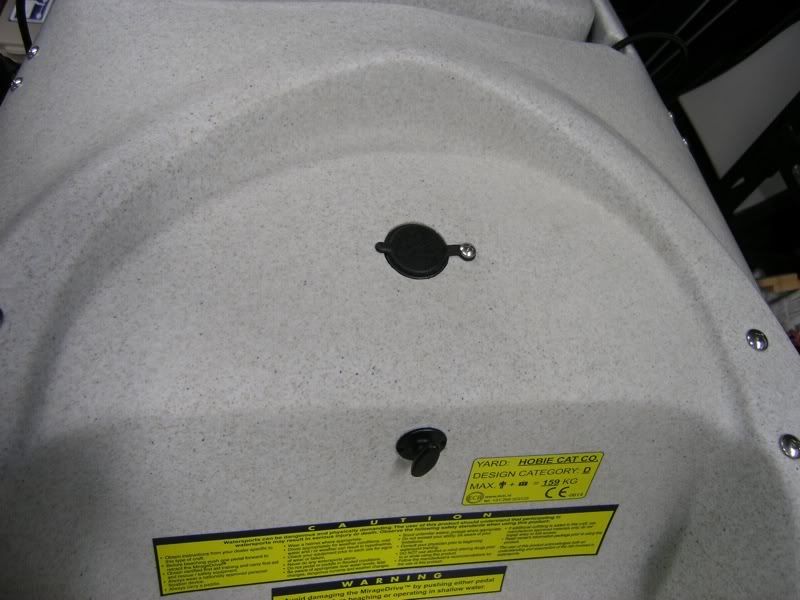 Put this in its place. Looks like a lot, but it is all there by design. Right to left- Ram ball for fishfinder, power cable for fishfinder, Ram wedgeball for my vhf, on/off switch for bait tank, Scotty for lights/camera/rodholders. I also use a Scotty clip to keep the power cable secured while not in use. Most days, I just bring my fishfinder out with me.  I use plenty of Marine Goop in this whole process. First use is to mount clips for my bilge pump. It always will be in the same spot if I ever need it. 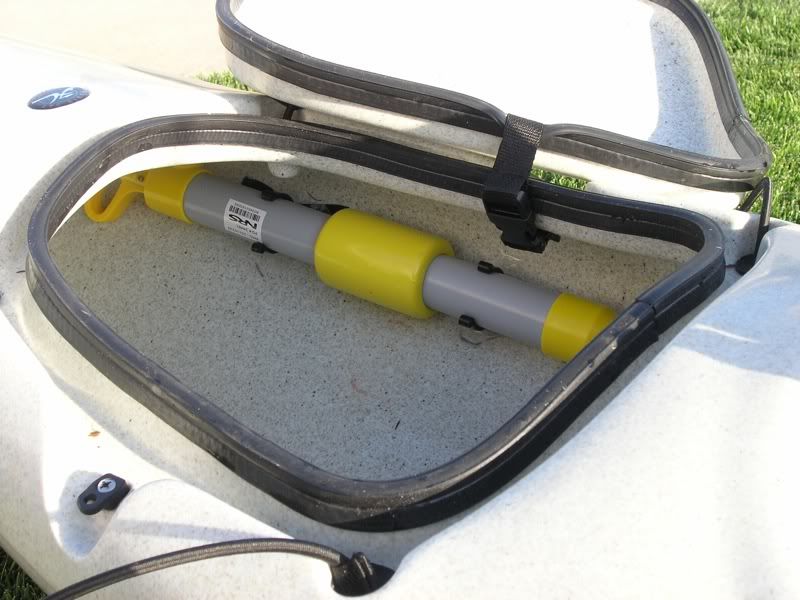 I use plenty of marine Goop when I install the flush mount Scotty’s. This one was a little tricky, because I had the rudder adjustment line to deal with. 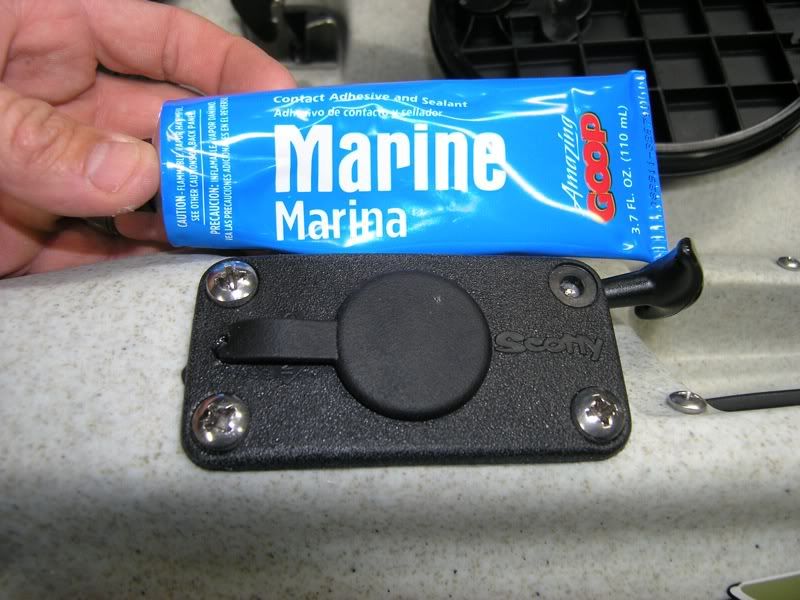 Here are the Scotty rocket launchers that go there. I only use these if I am fishing for Hali’s. Otherwise, they stay on shore. 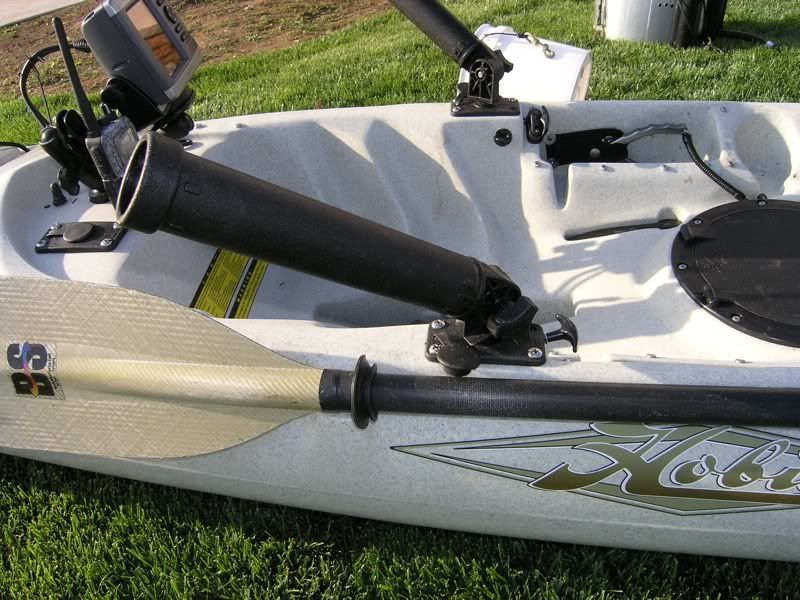 This is where most people turn into a pussy. Take your brand new, never been in the water kayak, and cut a gaping 2” hole in the bottom. 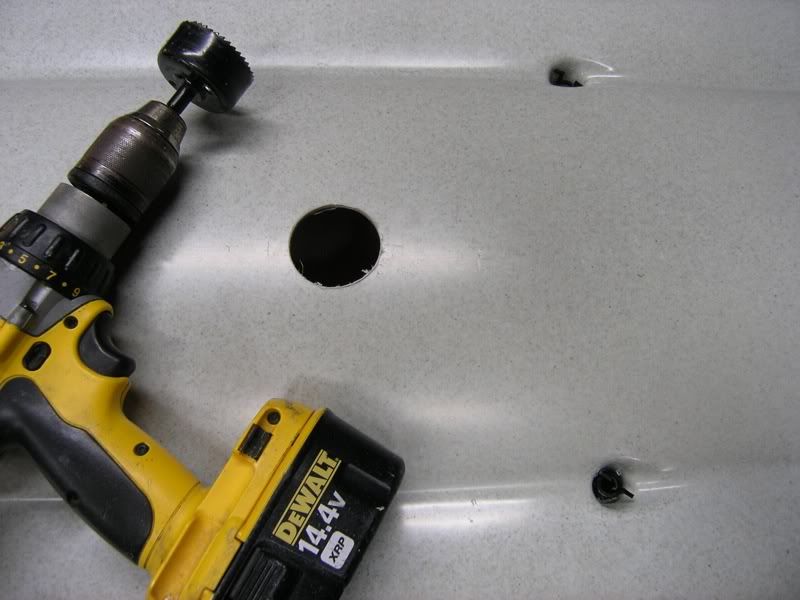 Here is the transducer. Dual beam, gets perfect water temps, super clear picture, and it stays flush with the kayak. 3rd yak I’ve done this on, and I’ve never leaked a drop of water. 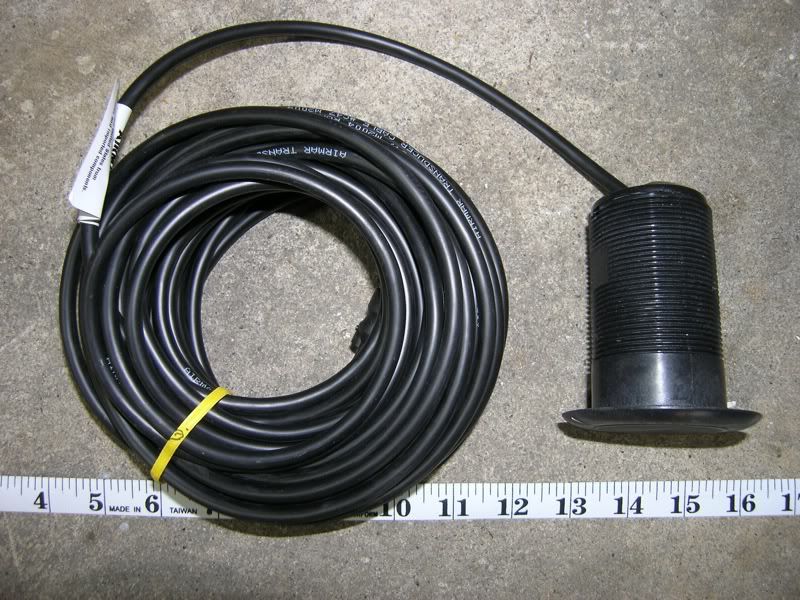 Here is the clean finished product. Wet mounts can suck it. 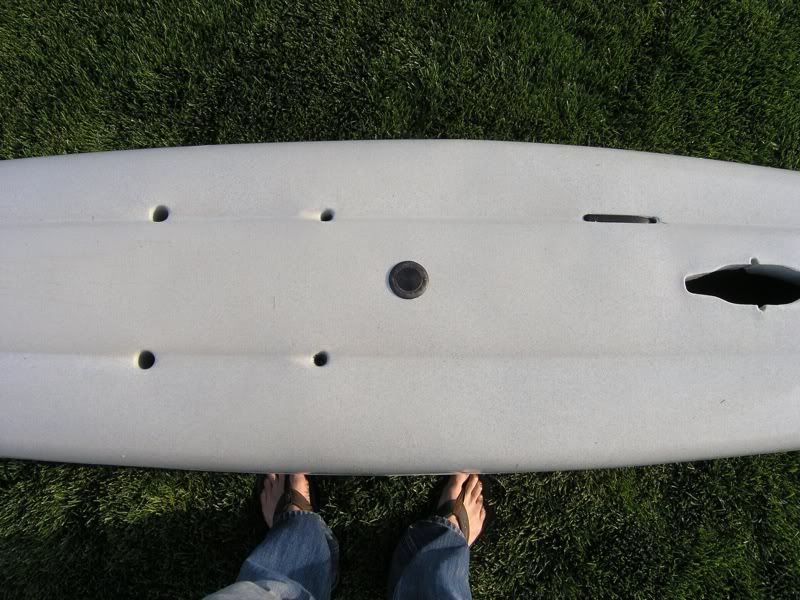 Next use for Goop. I don’t ever feel the need to pull my fishfinder cables apart on the water, and I hate corrosion. Started doing this a while back after I had some corrosion problems. After I coat the terminals with some dielectric grease I goop the fishfinder connections together, so there is not ever a chance that saltwater can get in to corrode. Been doing this for 5 years, no issues. 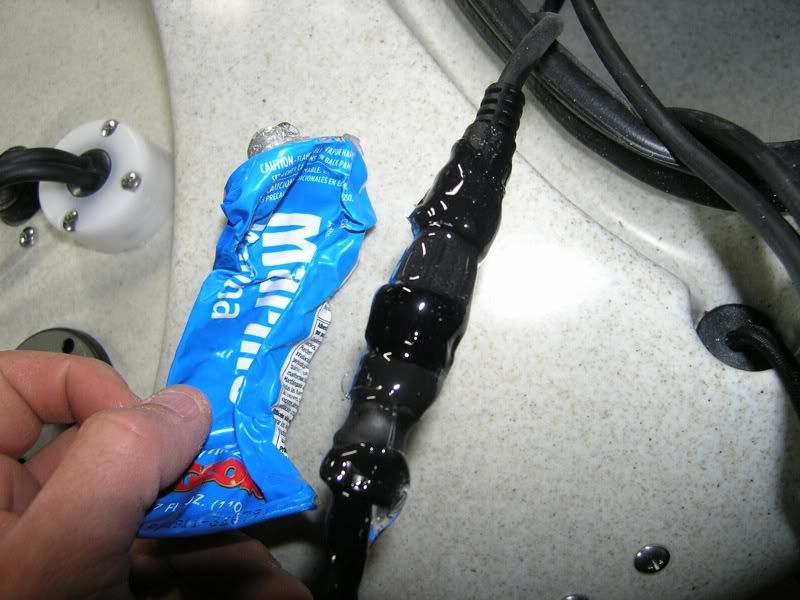 I also do a similar thing for all my electrical connections in the yak. It’s a little unconventional, but it works good. I’ve had past issues with corrosion when I use wire crimps, liquid tape, and di-electric grease. Now, when I do My electric connections, I simply tie the 2 wires together. 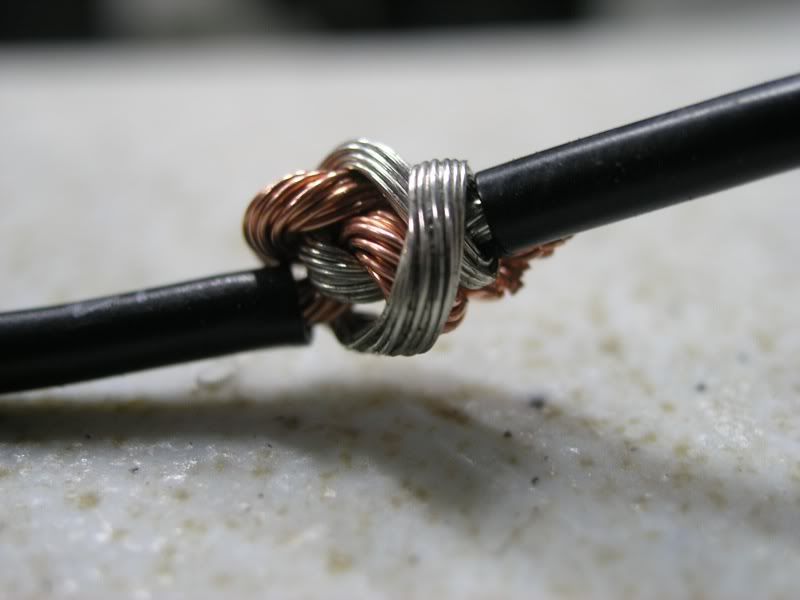 Then I coat them with some Marine Goop. Not the prettiest way, but it prevents corrosion. 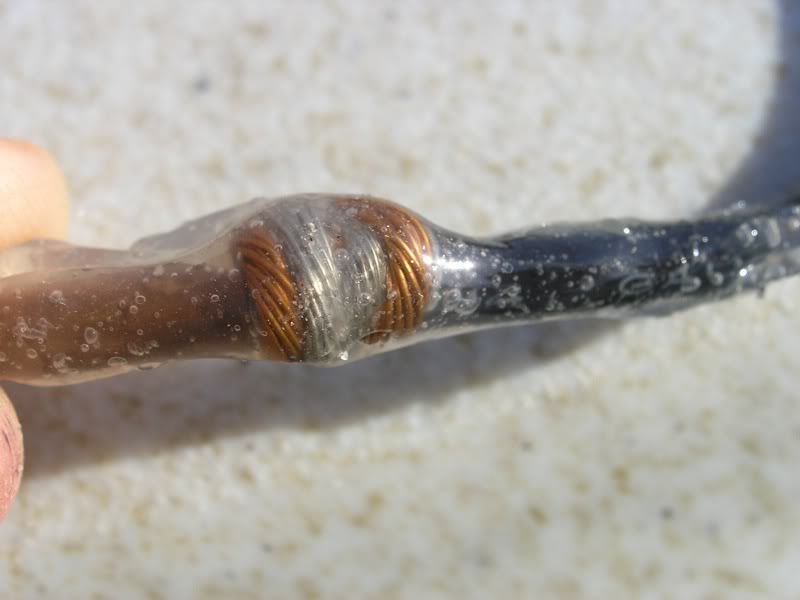 Since the first hole in the bottom of the yak went so smooth, lets cut another. 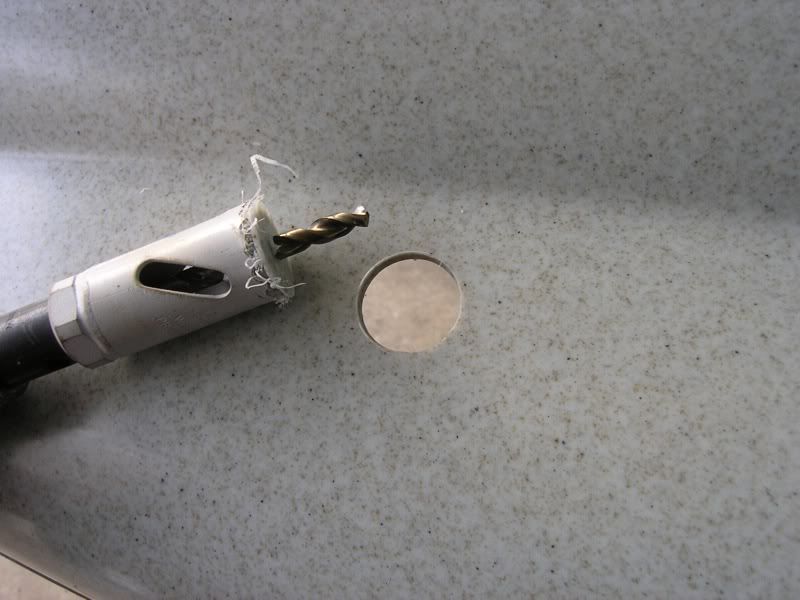 This one is for the through hull bait pump. Here is the internal plumbing 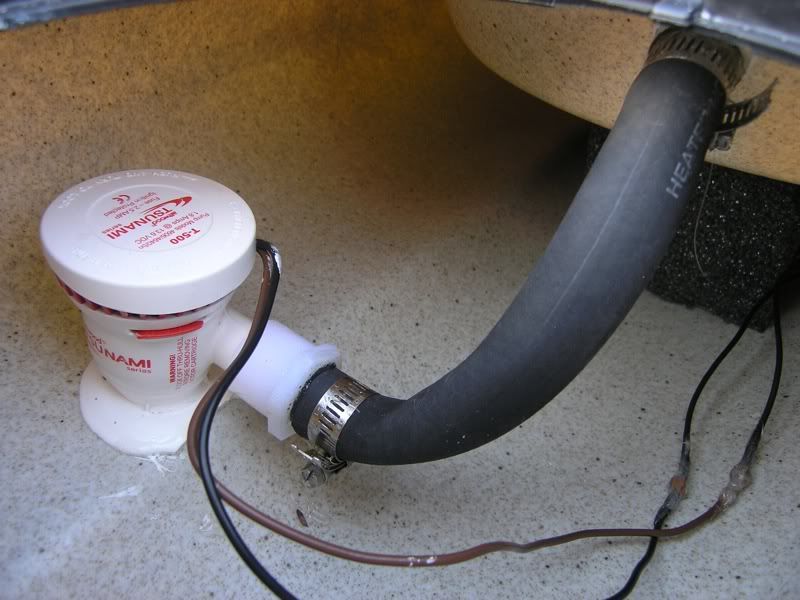 I put it in a place that is does not rub when I drag the yak across the sand. 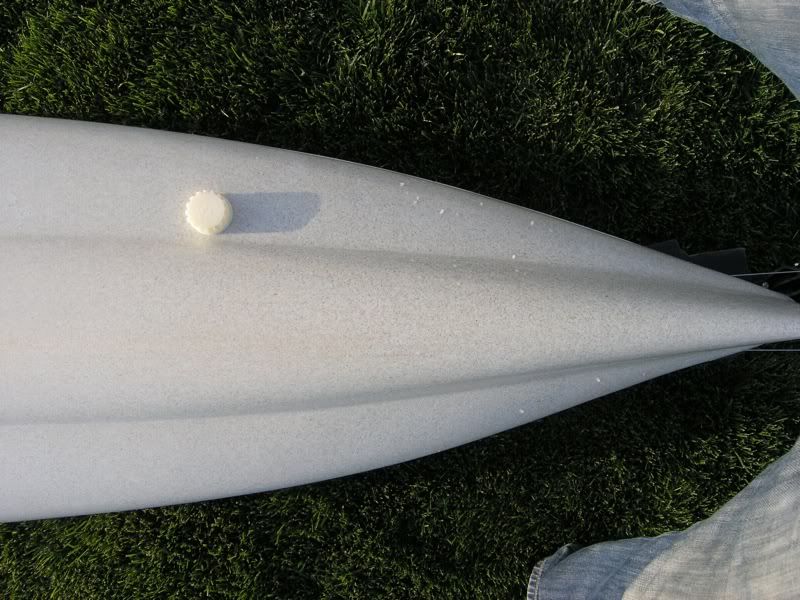 Here is where is exits out of the kayak, with a male garden hose attachment. Also I added a Scotty mount back there for a light or camera. 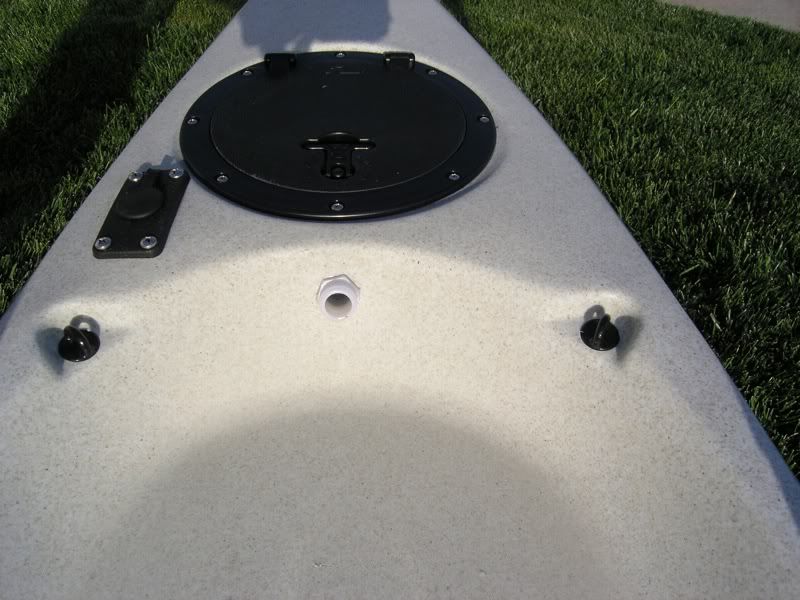 Speaking of bait, here is the start of my tank. 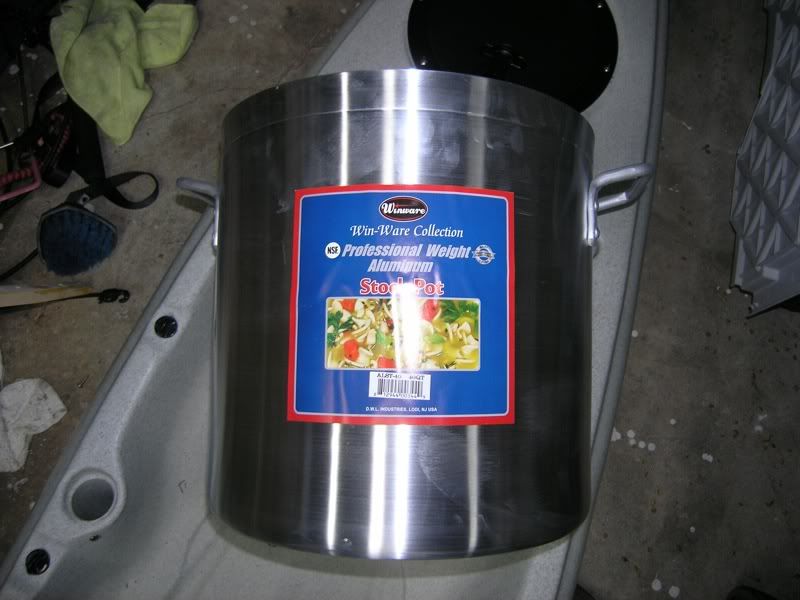 I wanted a few different things out of my bait tank. I wanted to hold about 5 gallons. I wanted it round. I didn’t want much protruding into the bait tank like nozzles or screw heads. I wanted it to be low profile, to keep the center of gravity down and to avoid the wind. After a little time with the sawzall, here is what I ended up with. I like it so far. I know the aluminum will hold up pretty well. Its actually deceptively big. Almost 5 gallons right now, I might drill the holes down a little lower to get it to 4 gal. 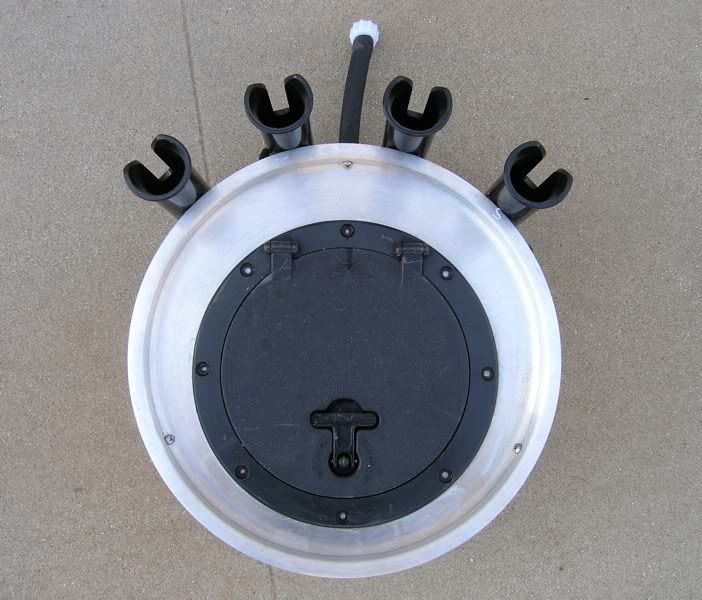 Here is the back of the tank. 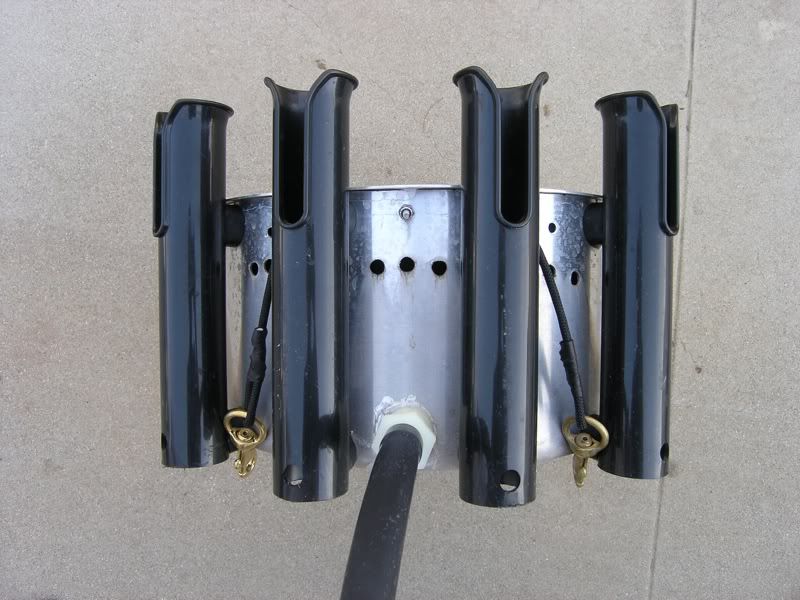 Here it is strapped into the yak 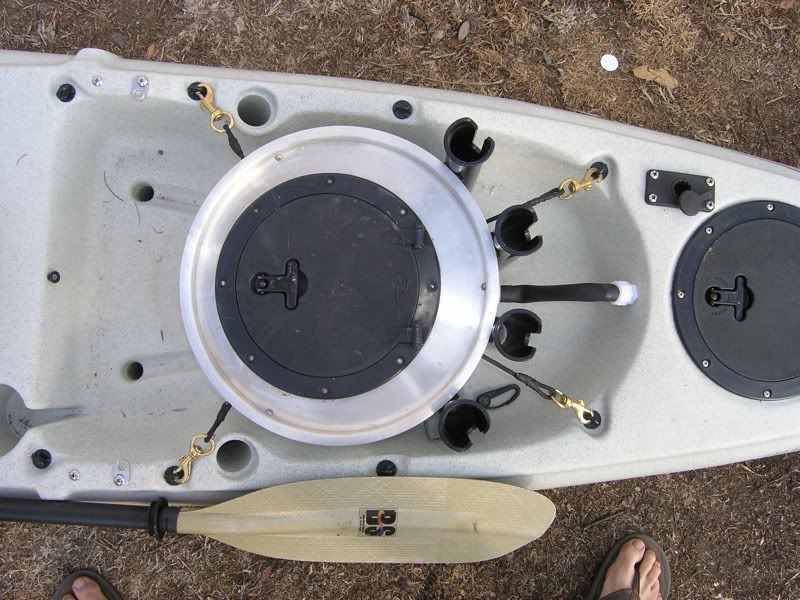 Only 8 Inches tall, so it shouldn't pick up to much wind drag 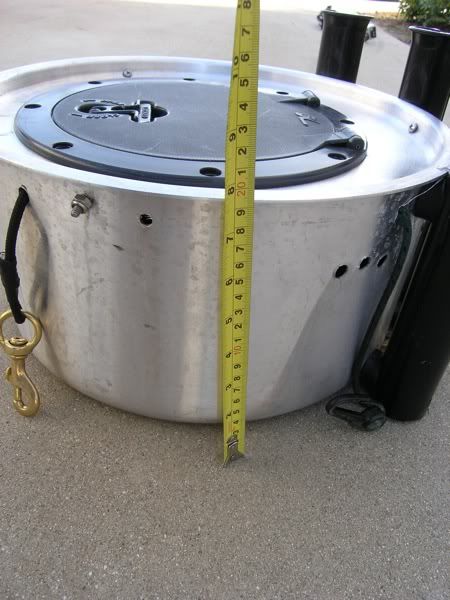 Here is the interior. Notice, not much protruding into the tank to kill the bait. 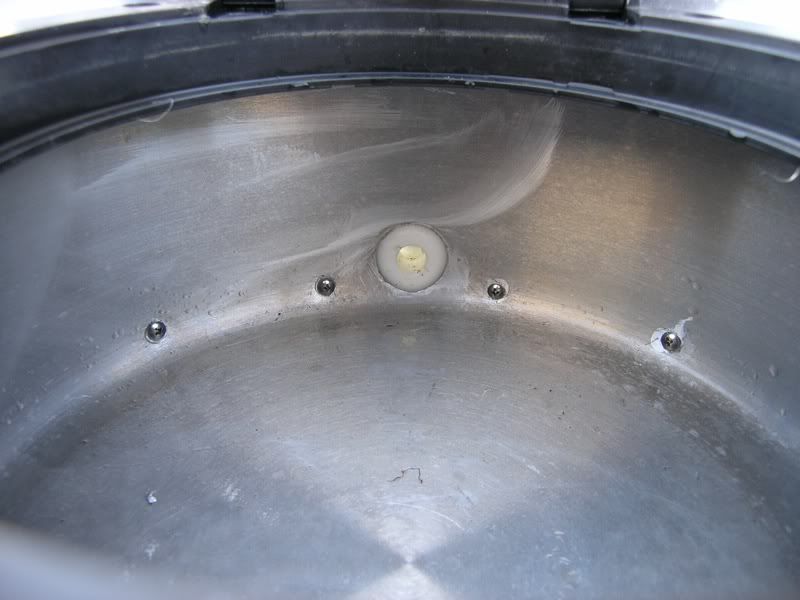 Here is the garden hose connection going to the back of the tank. 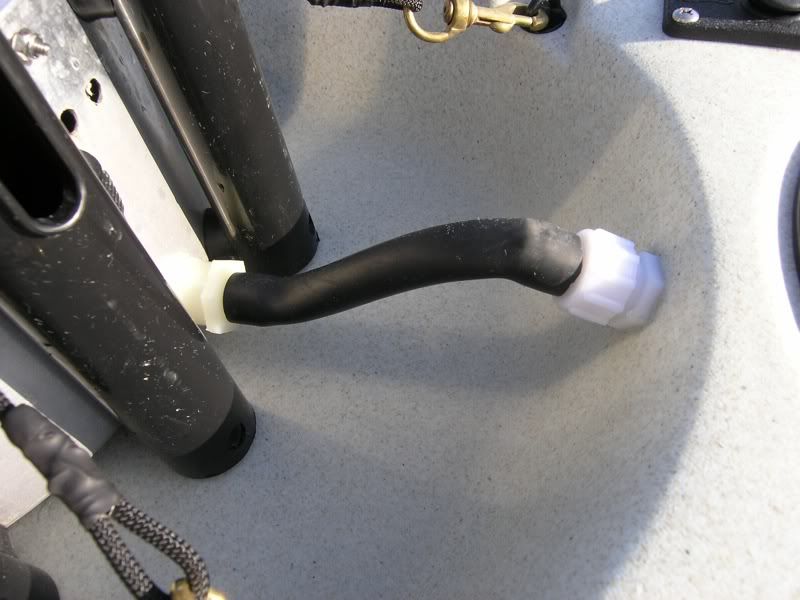 There are a few reasons why I like doing the through hull bait pump. One reason, is that I don’t drag a pump in the water. The other reason is that I can switch bait tanks for different days. If I know I will load up on a ton of fin bait, the aluminum tank is good. If I know I only need a couple pieces of squirts, and would prefer to keep the majority of the tankwell open for fish, I have this little 1 gallon tank. I know, technology at its finest. 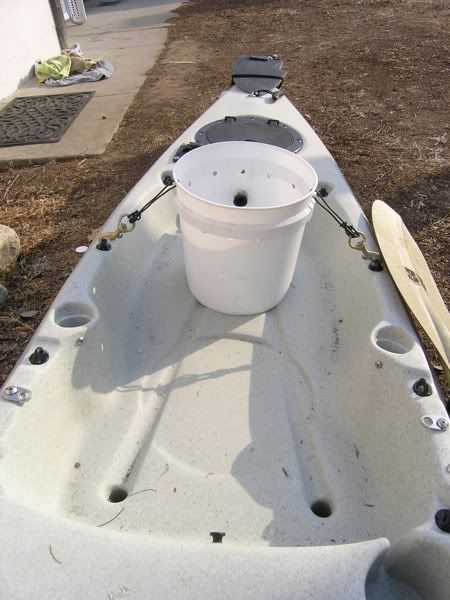 Here is one bigger that I’m contemplating. It can hold 7.5 gal, which might be good if I know I'm only going to get a scoop of sardines and pound the sand. I’ll probably never get around to it though. 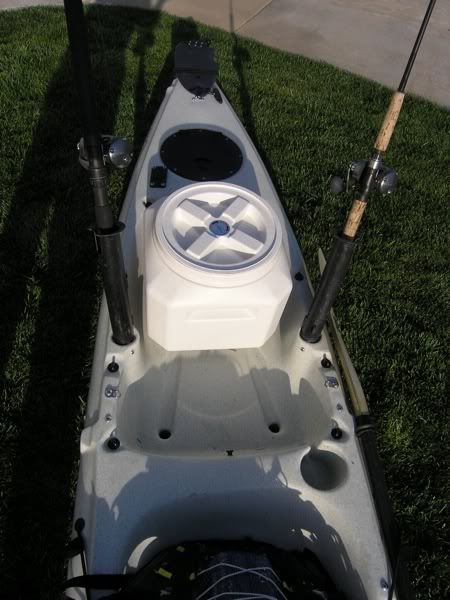 Instead of straps or bungees to attach the bait tank I found some 4mm rock climbing cord at REI. It tests out at almost 2000 lbs, which I think will be plenty. It also should do a decent job of avoiding hook snags. To make the attachment I loop it around the brass clip and tie it up with some stainless trolling wire. 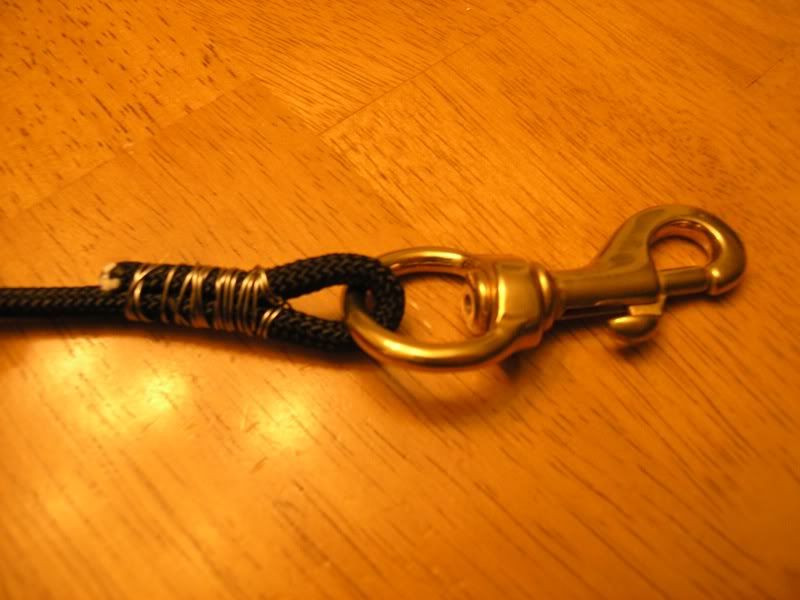 Then I use a little heat shrink to make it look better. 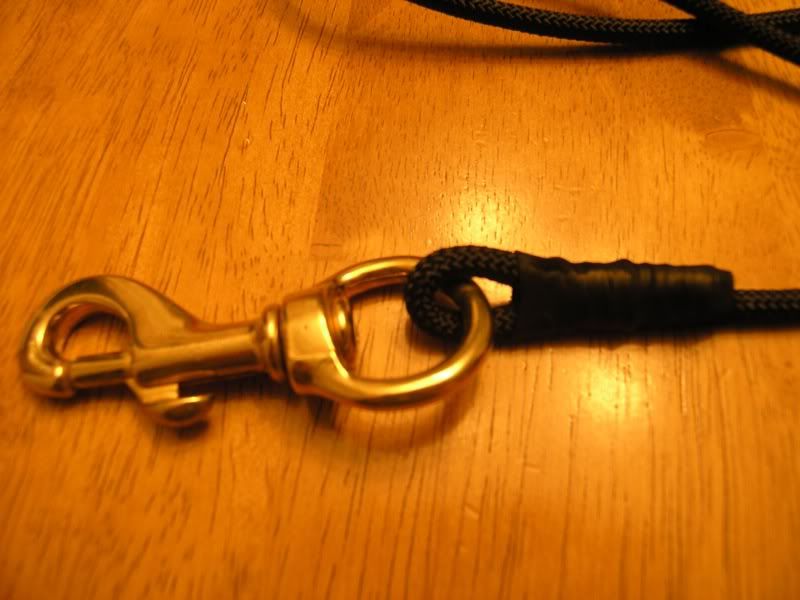 I also make a 5’ section of this to use as my rod leash. Instead of individual rod leashes while surf landing, I loop this once around the rod & reel of each rig I have on board. Clip each side in, and everything is more than secure. 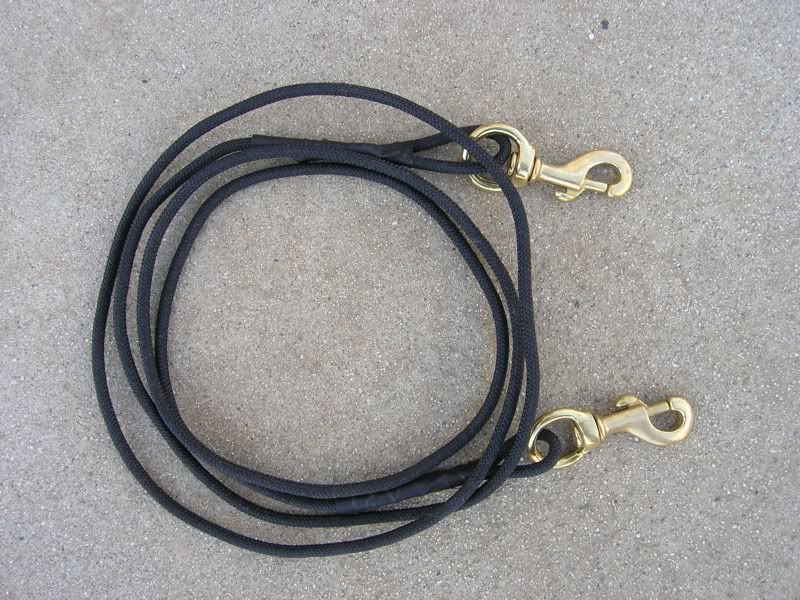 Here is my electrical system on the yak. I run a 12V battery for the FF, and a 6V pump for the bait tank. Both batteries are in this. 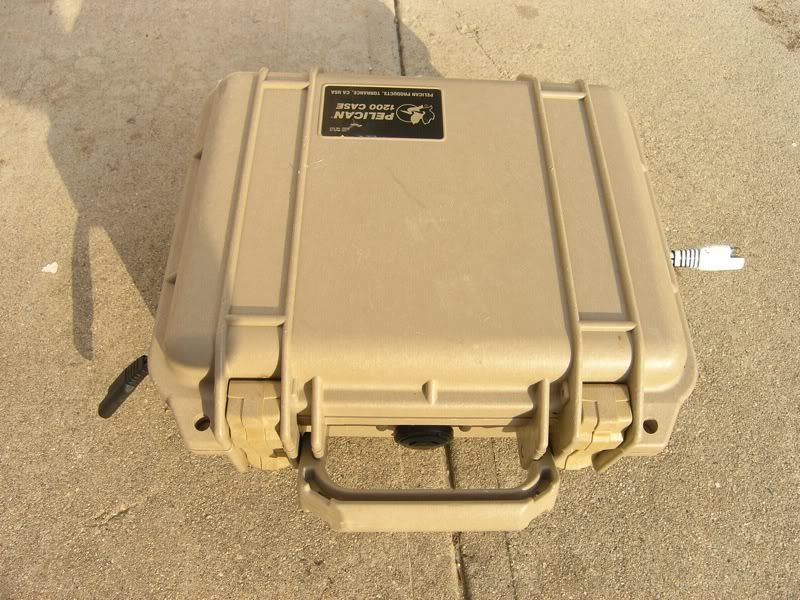 Here it is open. 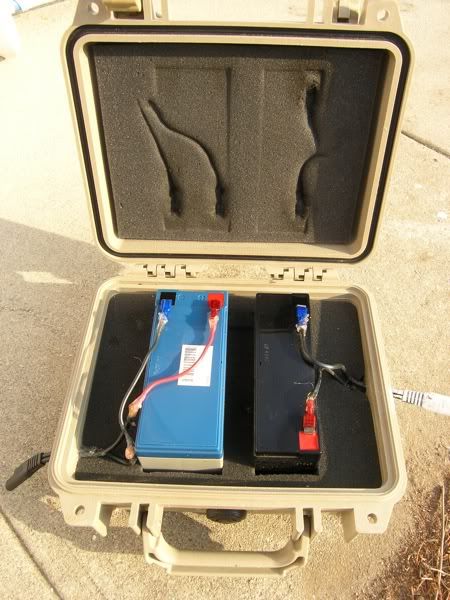 I use a 2 pin trailer connection outside the box. A dab of Goop seals the hole up. The 12V is black, the 6V is painted white. 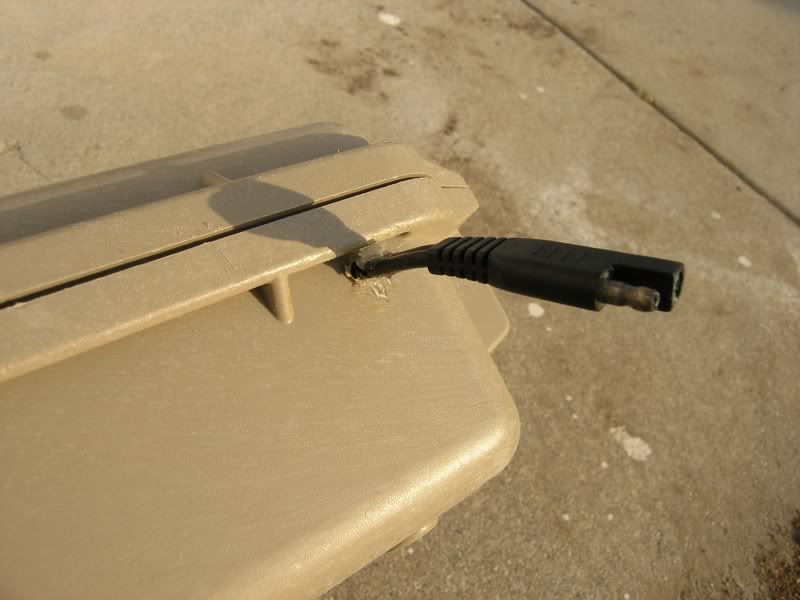 Here are the wires inside the yak. 12V Black, 6V White  My charger has the same 2 pin connection. I just plug the battery box straight to the charger, no messing around with alligator clips or anything. 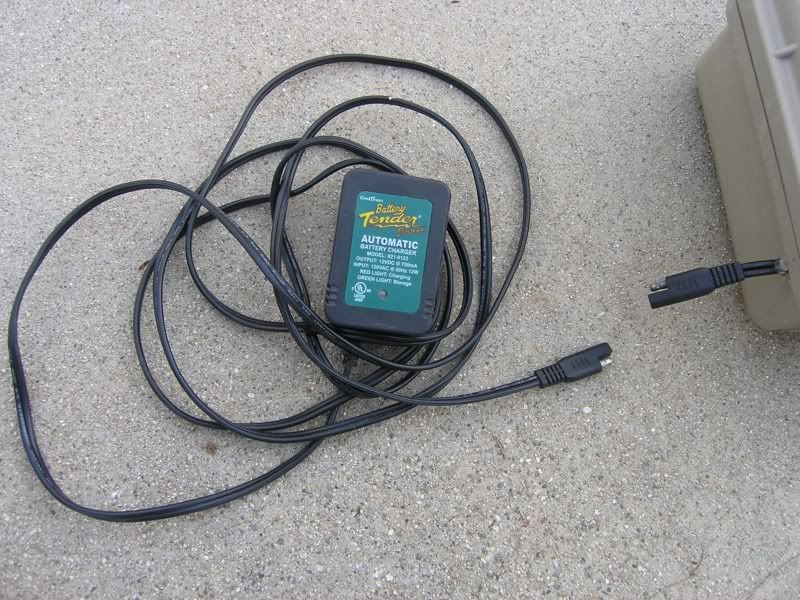 Here are a few other add on items. For those that don’t like the Hobie seats, aftermarket seats should strap right in. 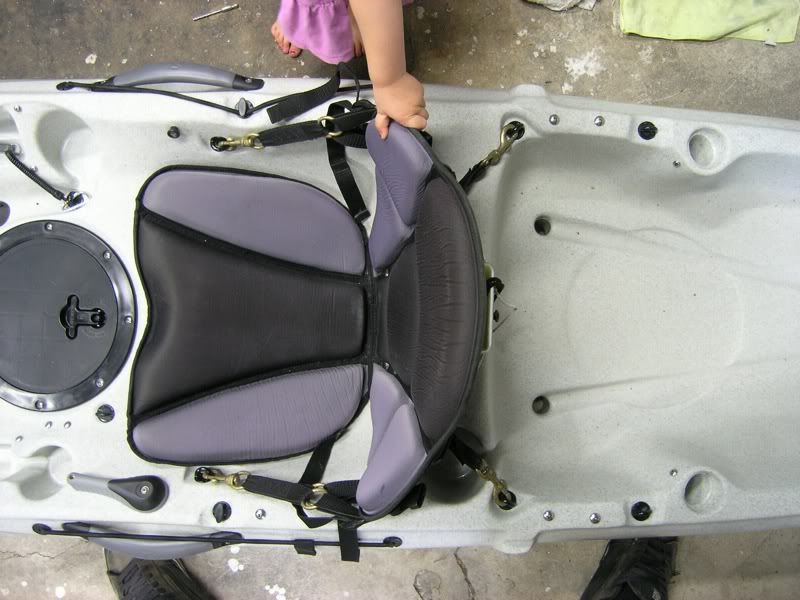 I always keep a leash on my mirage drive, and it is always attached to the yak. That way, if I ever take out the peddles OTW, I’m not worried about sending them into the drink. 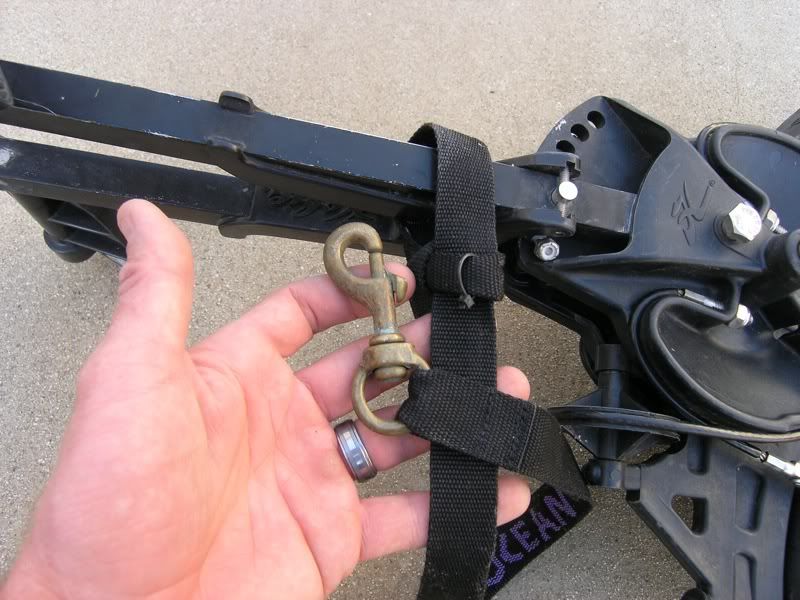 A few people have asked how I mount my camera. Here is my set up. I run a Ram ball to a Scotty extension arm. 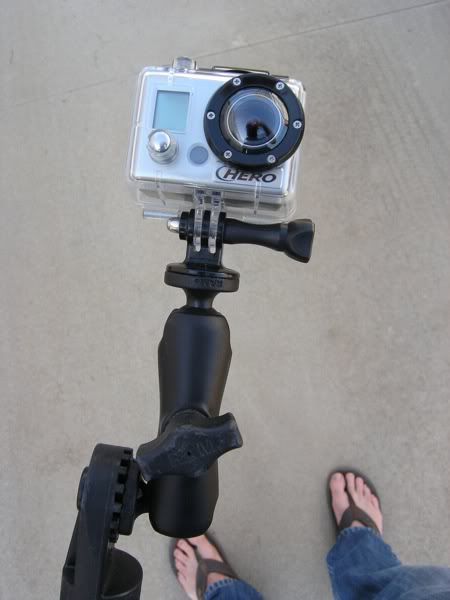 Here is the whole setup. I have a couple different Scotty mounts on the yak, so this system allows me the flexibility to put the camera in a few different locations on the yak. I think the PVC method looks a little cleaner though. 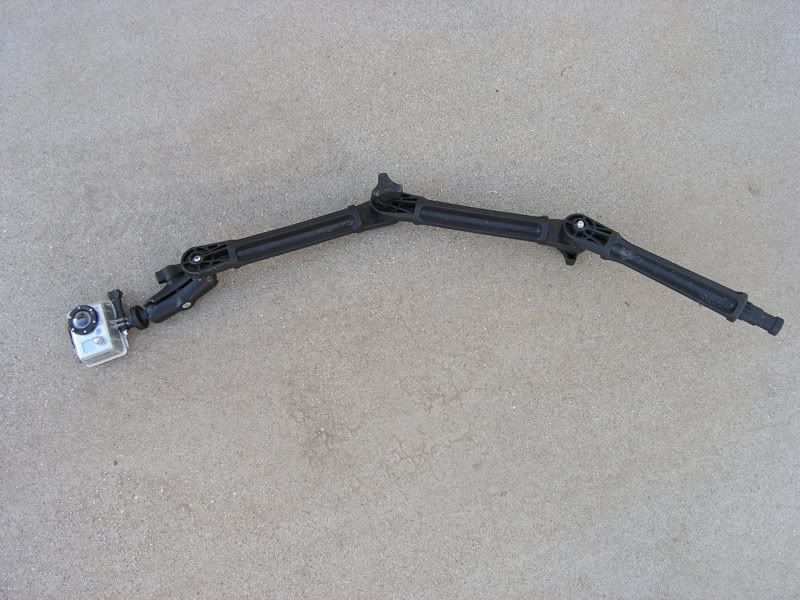 Lastly, here is what I use to get my yak junk from point A to point B. This has been a lifesaver since I downsized my vehicle from a big truck, to a 35mpg gas saver. Not rocket science, but I do have lots of guys ask about it. It fits my peddles, seat, waders, and anything else that isn’t permanently attached to the yak. Wal-mart has them. 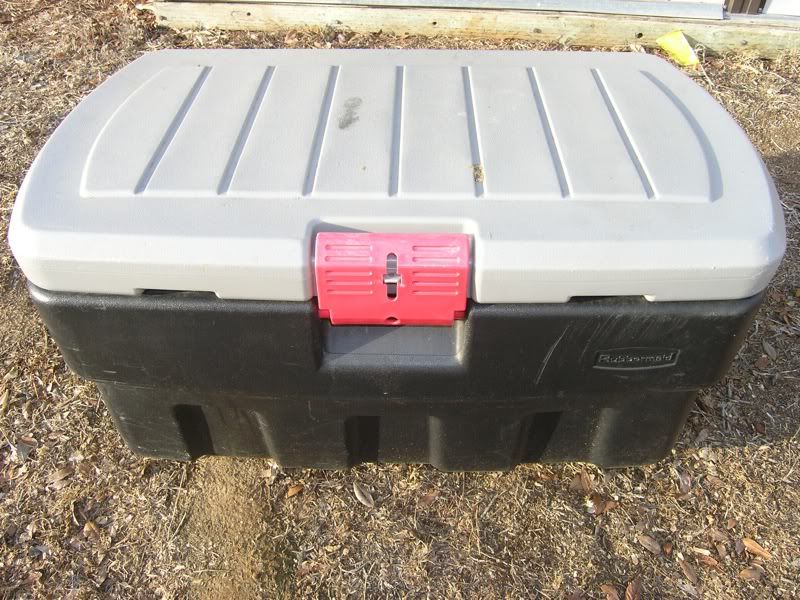 Plus, they double as a cooler when you forget yours... 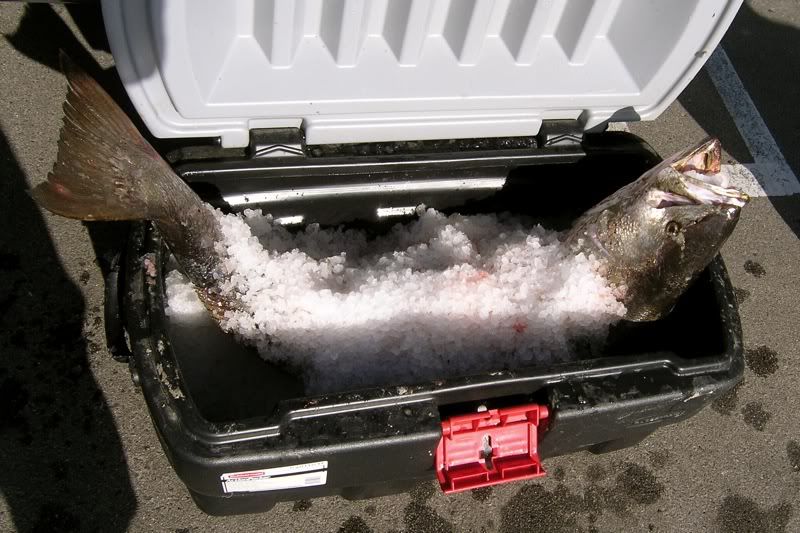 That’s about it. I’ve been meaning to put a post together like this for a while, because I have guys ask about my set-up pretty frequently. That, and now I have a little record of what I did. If you are unsure of what you need for rigging your yak up, I'd go see Andy at OEX Sunset beach. He's got plenty of supplies, and has rigged up a few yaks as well, so I'm sure he can help you out. Congratulations if you have made it this far into the post... Steve
Last edited by steveooo; 02-19-2012 at 06:43 AM. |

|

|
|
02-18-2012, 09:08 PM
|
#2 | |
|
Senior Member
Join Date: Feb 2011
Location: Temecula, CA
Posts: 111
|
Quote:
 Nice rig, and some nice work! |
|
|
|
|
|
02-18-2012, 09:20 PM
|
#3 |
|
Float Tuber

Join Date: Mar 2005
Posts: 243
|
Nice work , great tutorial !

|
|
|
|
|
02-18-2012, 09:37 PM
|
#4 |
|
Loves Surface Irons
Join Date: Jun 2008
Location: San Diego
Posts: 455
|
I just witnessed the birth of a fishing monster!
|
|
|
|
|
02-18-2012, 10:09 PM
|
#5 |
|
Senior Member

Join Date: Feb 2011
Location: Wrightwood
Posts: 623
|
Damn Steveooo, that thing is sick

|
|
|
|
|
02-18-2012, 10:56 PM
|
#6 |
|
Ironman
Join Date: Sep 2011
Location: Inland empire
Posts: 175
|
When my balls grow bigger I will make a 2" hole and rig my hobie more professional.
|
|
|
|
|
02-18-2012, 09:17 PM
|
#7 |
|
Damn Hippy
Join Date: Nov 2011
Location: Riverside
Posts: 311
|
Fun post for sure man
|
|
|
|
|
02-19-2012, 06:04 AM
|
#8 |
|
Senior Member

Join Date: Mar 2010
Location: San Diego
Posts: 2,385
|
Great work Steve, that was a fun post to read first thing in the morning, now I'm going to try and get out today. Very Motivating.
__________________
No better time than being on the water, God Bless, JimmyZ 
|
|
|
|
|
02-19-2012, 06:11 PM
|
#9 |
|
Senior Member
Join Date: Aug 2009
Location: Point Loma
Posts: 584
|
Damn Steve, that is a serious fish killer. Only 20 trips to OEX? Thanks for taking the time to post all your innovations, you have a very well thought out kayak and have given me lots of great ideas.
|
|
|
|
|
02-19-2012, 06:47 PM
|
#10 |
|
Senior Member
Join Date: Mar 2009
Posts: 2,384
|
Very nice, even if it is in a HOBIE. Very clean work and lots of good ideas. Do you have an anti-backflow in your pump setup?
|
|
|
|
|
02-20-2012, 03:49 PM
|
#11 |
|
Senior Member
Join Date: Mar 2007
Location: Seven minutes from the launch!
Posts: 987
|
Wow...
Someone has a lot of spare time on their hands. Or, should be doing kayak installation for a living!
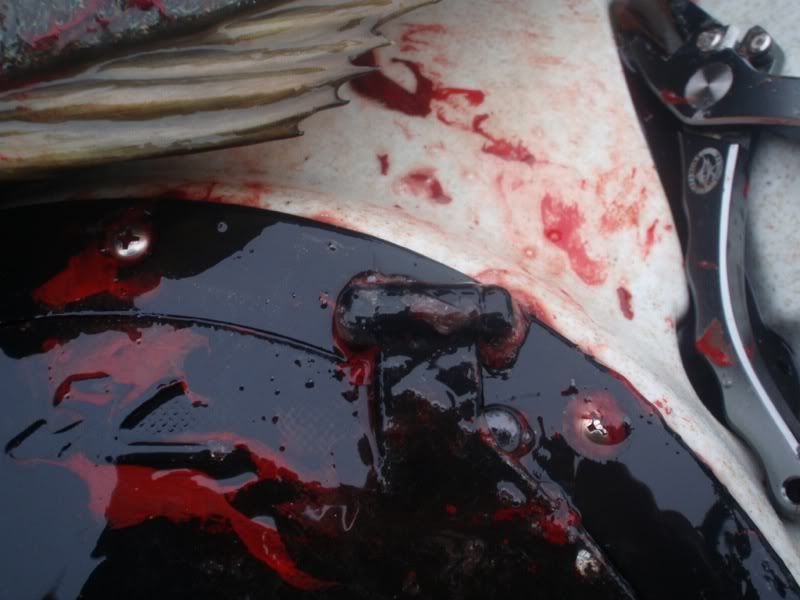
 . . Nice work, Steve. That skinny boat looks ready for battle. Way too damn clean if you asked me, though. . . Here's to your next happy paddle...and a deck that resembles a horror flick more than a showroom floor.
__________________
  
|
|
|
|
|
04-20-2012, 06:53 AM
|
#12 | |
|
Senior Member
Join Date: Sep 2005
Posts: 1,921
|
Quote:
|
|
|
|
|
|
04-20-2012, 07:19 AM
|
#13 | |
|
Senior Member
Join Date: Mar 2012
Location: San Bernardino, CA
Posts: 913
|
Quote:
__________________
Remember There are Many Fish in the Sea MEANS MORE TO EAT!!! |
|
|
|
|
|
02-22-2012, 09:21 PM
|
#14 |
|
Member
Join Date: Mar 2011
Location: San Diego, CA
Posts: 89
|
Aftermarket seats
Great post! Where did you get your aftermarket seat? and how much was it?
|
|
|
|
|
02-22-2012, 10:36 PM
|
#15 | |
|
Senior Member

Join Date: Apr 2010
Posts: 6,855
|
Quote:
HAHAHAHAHAHAHA....he called most of us pussies!!!! Some great ideas here. When and if I get a new FF I will mount the transducer the same way but for now it'll have to stay where its at.......in pussy territory.  I have that same knife, I believe I paid close to $40 for it roughly 3years ago. To this day, no rust and it still cuts.
__________________
 www.facebook.com/Teamsewer |
|
|
|
|
|
03-06-2012, 08:43 AM
|
#16 | ||
|
Senior Member
Join Date: Nov 2010
Location: IE
Posts: 171
|
Quote:
Quote:
|
||
|
|
|
|
03-24-2012, 07:00 PM
|
#17 |
|
Senior Member
Join Date: Apr 2010
Location: OC
Posts: 146
|
Where'd you find those clips? Dig this post btw 
|
|
|
|
|
03-24-2012, 07:57 PM
|
#18 |
|
Senior Member
Join Date: Mar 2005
Posts: 2,563
|
Wow Steve,
I don't know how I managed to miss this one, but it makes me wont to get a new kayak and start rigging! NICE RIDE, great ideas, thanks for sharing!!
__________________
 [------------------------ [------------------------ <)))< ....b-a-a-a-a |
|
|
|
 |
|
|


 Hybrid Mode
