|
|||||||
| Home | Forum | Online Store | Information | LJ Webcam | Gallery | Register | FAQ | Community | Calendar | Today's Posts | Search |
 |
|
|
Thread Tools | Display Modes |
 03-30-2011, 12:08 AM
|
#141 | |
|
.......

Join Date: Jan 2009
Posts: 1,509
|
Quote:
It's not a big deal but I think you have some basic misconceptions. First off the original hoopnets were all flat two ring nets made for the sail powered commercial crab fishery in San Francisco bay. They predate the use of traps back to the 1800s. The Danielson cone nets are a more modern net designed for dungeness crab, but built for the rec crab fishery with a rigged structure more like a trap, then a traditional hoop. When Guys started using them for lobster down here there was a big shakeup. Some in the DFG said they were illegal for lobster, some guys got tickets for using them, and the official word was that they essentually were traps. The deal was the regs did not have a clear definition of what a hoopnet was so legally there was a loophole and for a while it was pretty much anything goes. The DFG siad they were going to remake the regs, and part of it would state that all hoopnets had to be flat nets. That they had to lie flat on the bottom, and be under 36 inches in diameter. Since it was obvious that cone nets did not lie flat they were going to be illegal for lobster, but still legal for crab. That said cones had some advantages, so some of us started playing with alternative flat nets, that had cone properties. Here's one of mine from back then.  That extra expandable ring caused the net lay flat with the bait cage centered, but also when pulled changed the net to a cone shape. The idea being if nets just had to lie flat that net would be legal but it also functioned like a cone net. I used those nets for one season and they worked great, but had a lot of drag in the water. Though legal back when I made them, it's my understanding that they would now be illegal because it has too many rings according to the new regs. Promar in anticipation of the Flat net reg held back on making conical nets and instead introduced the larger 36 inch flat nets to get a jump on Danielson, who was only making 32's. For a while 36 flat nets were the hot item, in anticipation of the reg change, but they are dogs to pull, and some of us switched to motorized pullers. (I made my own) Bottom line we were all trying to figure out how to legally maximize our catches, and wanted to know what the new regs would be so we could build nets to fit them in anticipation of their arrival. The rub for Promar though was the DFG did not change the regs, but stalled out on it, and started talking about doing a study. That put Promar in a bind. Danielson was making a cone net, legally selling it, it was getting popular, the DFG quit writing citations, so Promar needed to compete, or they were going to loose some of their business. Now I don't know what Promar officially says but after waiting for a few years for the DFG to act on the flat net regs Promar in my opinion just had enough and they made a even bigger cone net the eclipse net to essentually challenge the law. Like Promar I had held back on making a cone net for years because I'd heard they were going to be illegal but when I heard about the Promar eclipse going into production I was like screw this I'm going to make my own cones as well. At the time I just started kayak hooping, so I started playing around with a low drag kayak friendly cone hoop design. I had a friend in the DFG who warned me against doing it, because he said they still were considering a reg change, but I figured WTF I could use them for a season or two, and since the DFG would either have to outlaw cones altogether, or that they would have to permit both production cone nets to keep being made, that if I built my nets with net specs that lay right smack between the two production cones, I could maximize the chance that my nets would still be legal when and if the DFG finally did actually change the regs. Of course if I was wrong I'd of just changed the nets, or scrapped them, I mean I have maybe six net designs around here, some in full sets, but the day the DFG came up with the new regs I got a call from someone closely involved in the process and they assured me that my nets were still going to be legal. So it worked, and you could say I have checked, or do have confirmation that my nets are legal. Bottom line you can build your own nets as long as they fit the specifications spelled out by the DFG, and my nets fit those specs even though they are easier to pull from a kayak then the current D and PM designs. Jim Last edited by Fiskadoro; 03-30-2011 at 07:17 AM. |
|

|

|
|
04-01-2011, 07:30 PM
|
#142 |
|
Senior Member

Join Date: Oct 2009
Location: Wildomar, CA.
Posts: 294
|
Truck rack
While checking out some other yak forums, I came across this unique idea on loading and unloading on a Ute down under. It has a flip down rear rack with a roller. Check it out
http://yakass.net/forum/yakkity-yak/...anagement-mods |
|
|
|
|
04-02-2011, 09:10 AM
|
#143 |
|
CEO of Team Roby

Join Date: Sep 2010
Posts: 905
|
I got this idea from yakass...I like switching the hatch to open on the side because it allows me to keep pedalling while looking for things in the hatch. I though it might be a safety mod as well. If the Hobie ever swamps, I could still pump the kayak while pedalling to safety. In the original way, you could never pedal the kayak with the hatch open....The switch is really easy to do and you could change it back if you don't like it...
Before the change... 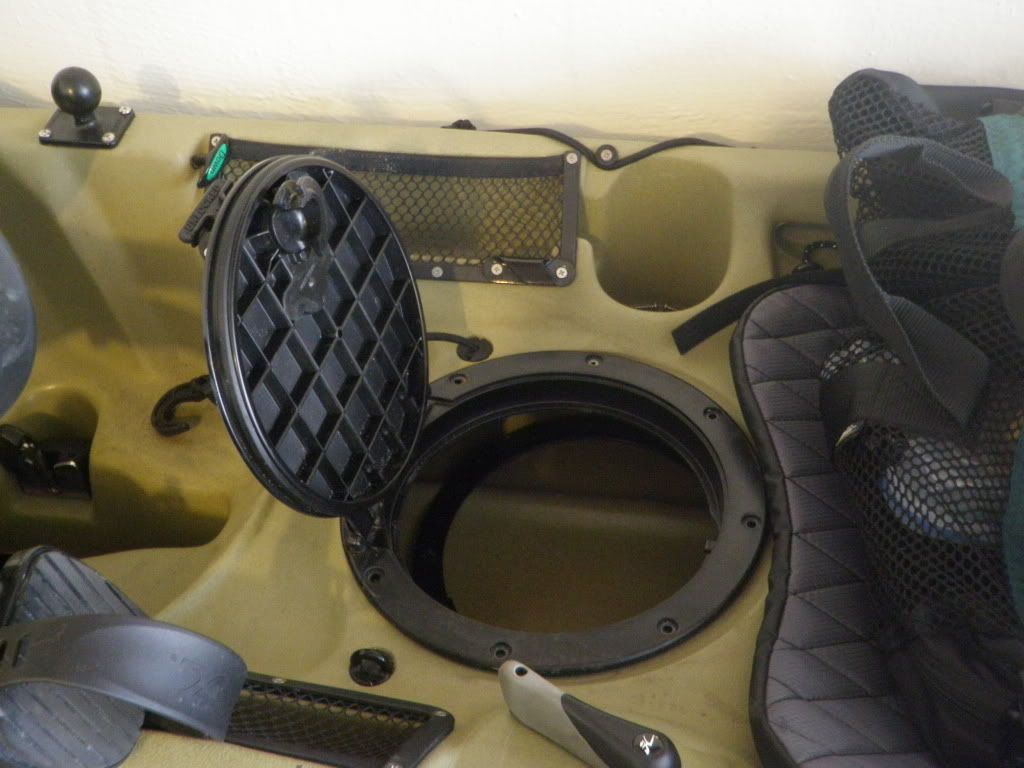 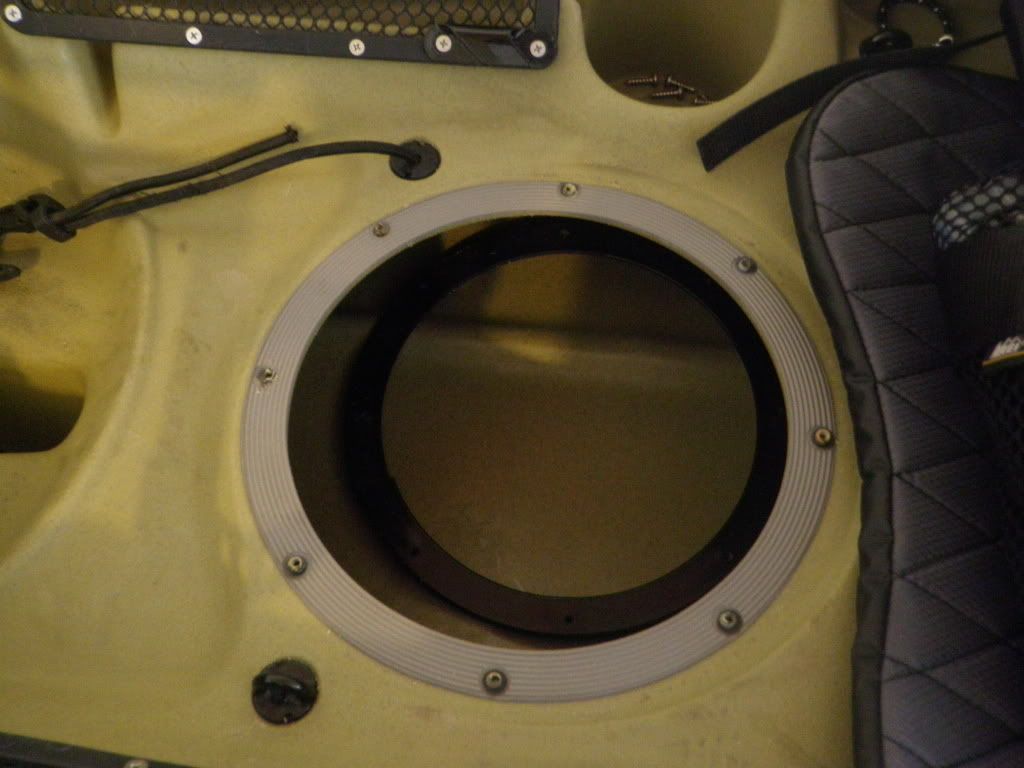 The hatch lid hits the water bottle, so it does not fully open. Another negative is you have to move the mirage bungee every time you open and close the lid. 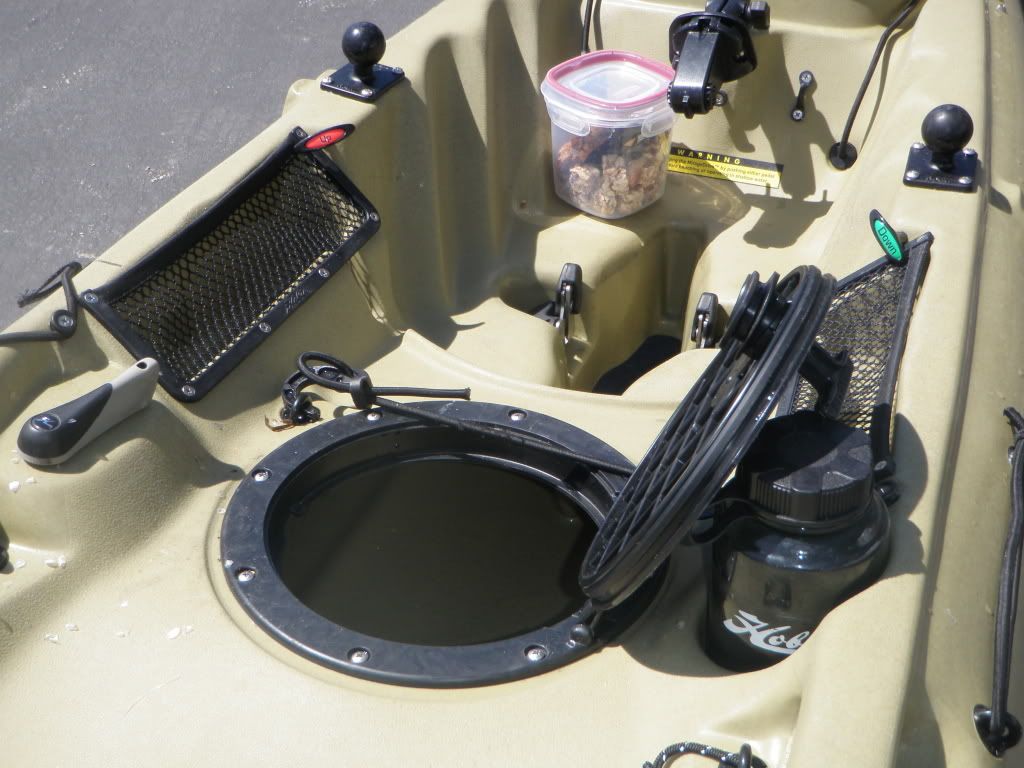 
|
|
|
|
|
04-02-2011, 07:25 PM
|
#144 |
|
Member
Join Date: Feb 2011
Location: La Mirada
Posts: 52
|
Wet Mount Install
Well, I couldn't make it out this weekend, so with the little time I had, I finally installed the fishfinder.
I took a Sterilite waterproof container from Target...cut the bottom off and shaped it to the contour of the bottom of kayak. Rough sand, cleaned, then sealed with goop. Then I cut a hole for the transducer wire through the lid and scored it so the big connector to the unit would fit through then gooped that. I also added 2 rubber spacers 1/4", so the transducer would be inline with the bottom of kayak. Let everything dry and filled it with h20....no leaks...even when I flipped it upside down.   Then I took an extra rod tube and riveted 2 'L' brackets to mount the head unit bracket. I drilled/dremeled a hole big enough to fit the wire fitting through it and ran the wire from the unit through the tube.   Buttoned everything down with zip ties (2) to the sail mount post. I added a quick connect to the battery    Here is a few shots of the final install. Big thanks to everyone on this site for sharing their innovations...most of what I did was taken from earlier posts but with a few modifications of my own. I will re-post when I get a chance to take it for a trial run. Thanks Iceman for the supplies needed to get this done...If anyone needs 3" and 4" clear tubing, I have some in 6" lenghts....I was planning on using the clear tubing, but this transducer is huge and would not fit...  Now if I can catch some.... 
|
|
|
|
|
04-04-2011, 12:29 PM
|
#145 |
|
Senior Member
Join Date: Apr 2010
Location: OC
Posts: 146
|
Makeshift rulers are not a new concept I'm sure but I found that the little dimples on Malibu hatches line up pretty good and can serve as a nice ballpark ruler. I painted some of the dots, 1 dot (11"), 2 dot (12"), etc. Nice for a quick OTW measure for a legal bass and beyond. My hatch is good up to 15 1/2".
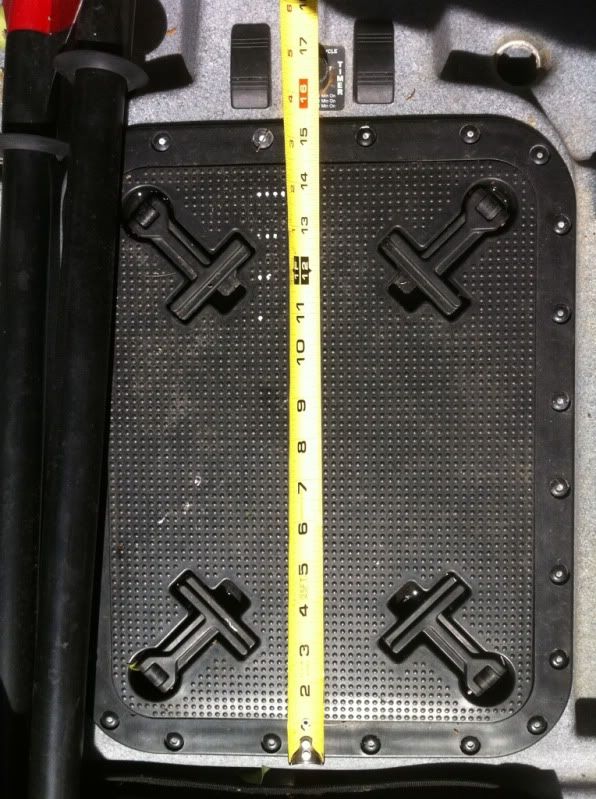 Just bring a tape for the bigger ones  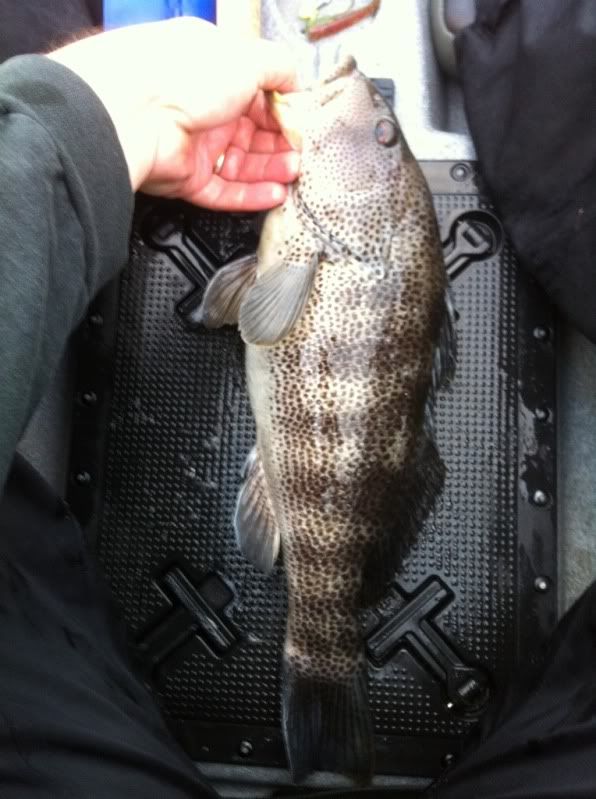
|
|
|
|
|
04-05-2011, 09:16 AM
|
#146 | |
|
Senior Member

Join Date: Jun 2010
Location: Alhambra
Posts: 506
|
Quote:
also what type of lowrance did you mount? |
|
|
|
|
|
04-05-2011, 11:37 AM
|
#147 | |
|
Member
Join Date: Feb 2011
Location: La Mirada
Posts: 52
|
Quote:
I got the Lowrance HDS 5 with nautic chart. I have my dad's outback setup with the transducer at the same location with a Hummingbird and have not had an issue with the turbulence. That one is mounted directly with goop to the hull. If the wet mount works well, I'm thinking about redoing the HB to a wet mount. If it doesn't work for my HDS, then all I have to do is get a bottom and glue one down towards the front and use the back one for dry storage. I tried to make this unit portable, so I can use it on different kayaks...all I need is the bottom and I can move the entire unit from yak to yak. I'm hopefully going to be able to make it out this sunday, so I will post the results then. Last edited by steveoh; 04-05-2011 at 12:41 PM. |
|
|
|
|
|
04-10-2011, 08:55 PM
|
#148 |
|
Senior Member
Join Date: Jun 2010
Location: Alhambra
Posts: 506
|
hobie bait tank switch
well i finally got tired with fiddling with my bait tank switch. i was in san diego this past weekend and got a chance to stop by west marine. i picked up a new switch a plasticized on/off toggle switch with a rubber boot. i picked this one since it had a rubber boot and hopefully it will keep the water from seeping into the wiring.
first i removed the old switch. simply turn the knob with adjustable pliers and it will unscrew and come off. do the same with the nut. i had to make the hole bigger on the bait tank to accomodate the new toggle switch. i ended up using a 31/64 bit. then i adjusted the length of the wires and soldered the ends and also used heat shrink. i am not sure if it is marine grade heat shrink so i also used marine goop. once the connections were soldered and the goop was dry i installed the toggle switch to the bait tank. after i had tightened it down, i also applied some goop to the outside of the toggle switch before i attached the rubber boot. i ended up placing the toggle switch "on" position facing down and toggle switch "off" facing up. i had noticed that when i had the old switch my elbow would knock into it and turn it off. i am hoping that with the switch "on" position facing down that i won't have this issue any more. the last pictures shows my intake tube. i heard from others that they had experienced theirs getting clogged. i had placed some wire screen into mine. i used the ones from the 99 cent stores that you would buy to use in your bathroom sinks at home. just worked my fingers to push out and form a nice shape that would just fit into the intake. then used a stick to push it into the bottom of the intake. after each time coming back i rinse water thru the tube and also spray wd-40 onto the screen. it has helped from it rusting out so fast. hope that this makes sense to you guys. if you need more details let me know. |
|
|
|
|
04-10-2011, 09:20 PM
|
#149 |
|
Olivenhain Bob

Join Date: May 2008
Location: Olivenhain, CA
Posts: 1,121
|
Nice switch upgrade. I am not sure if it will last any longer than the stock Hobie switch but you have probably solved the problem of turning off the pump with an inadvertent elbow bump.
In my experience, the screens on the intake tube only help a little. Sometimes they make things worse if there is a lot of slime in the water that gets caked on the intake. I got rid of my screen and and installed a bit of flexible tubing to the output end of the pump inside the tank, (see an earlier post in this thread). When my pump gets clogged I insert a small piece of sprinkler riser into the tubing and blow some air into the system. Whatever is clogging the intake gets dislodged and the unit starts working again. It works great. Bob |
|
|
|
|
04-11-2011, 08:17 PM
|
#150 | |
|
Member
Join Date: Feb 2011
Location: La Mirada
Posts: 52
|
Quote:
Got all my settings dialed in and metered some fish, but they didn't want to cooperate  Till next time... 
|
|
|
|
|
|
04-20-2011, 01:33 AM
|
#151 | |
|
Junior
Join Date: Apr 2011
Posts: 1
|
Quote:
__________________ watch movies online for free |
|
|
|
|
|
04-22-2011, 02:47 AM
|
#152 |
|
Junior
Join Date: Apr 2011
Posts: 3
|
Nice thread,
 good for the informations. good for the informations.I love it 
|
|
|
|
|
05-08-2011, 05:29 PM
|
#153 |
|
Junior

Join Date: May 2011
Location: Bakersfield
Posts: 9
|
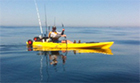
ocean kayak ff mount mod..(echo..echo..echo)
Just in case anyone out there rides one of these awesome fishing machines here ya go..
Basically its an extending arm mount for a fishfinder. It is completely watertight and mounted in the back of the sonar compartment on Ocean Kayaks. I found that ff screens are easier to read up close and that they dont like being flopped on by fish! All the cables are mounted through the shaft of the extending portion. The internal housing consist of a sealed, straight flush mount rod holder. The tube rests on top of the battery bag. The tube extends down at an angle but does not contact the hull or Fishing rods that may be stored inside it. Easily tucks in with one hand while fighting fish with the other. Last edited by superpoly76; 05-08-2011 at 06:26 PM. |
|
|
|
|
05-08-2011, 05:33 PM
|
#154 |
|
Junior
Join Date: May 2011
Location: Bakersfield
Posts: 9
|
pics
Hope this helps...somebody? |
|
|
|
|
05-15-2011, 08:10 AM
|
#155 |
|
Member
Join Date: Jan 2009
Location: Los Angeles
Posts: 69
|
This not really an innovation, it's cheap and keeps things real simple and functional.
All that's needed is black Sharpie marker and tape measure. Makes for easy fish measuring.  I'm right handed so I just put the measurements on the right hand side. I might ad the measurements lines on the other side of the Xfactor as well. |
|
|
|
|
05-24-2011, 02:27 PM
|
#156 |
|
Member
Join Date: Jan 2009
Location: Los Angeles
Posts: 69
|
These are just some things I've seen and read about on this site and others. Lots of cool innovations for sure. I wish I could have contributed some of my own ideas, but I'm just not one of the creative type. Anyhow I hope these photos can help others out as past images and instructions have helped me out.
Bait tank battery box mounted directly onto the crate with zip ties. I drilled out two holes for each zip tie on the inside of the box (a total of four zip ties were used), once the zip ties were through the battery box and tight to the box I added marine goop to keep the water from entering through the holes.  I'm using this type of deck connector from the bait pump to the battery box. It seem like it could come unplugged really easy but we'll just wait and see how it works out.   The other side of the battery box has a toggle switch for turning the power on and off as needed.  ABS pipe cut to about twelve inches and then zip tied to the crate. The small cord is for tying down the rods just in case I roll while out on the water, so hopefully I will not loose any of my gear.  On the Vittles Vault bait tank I drilled some small drain holes, these work perfect with the Rule 360 bilge/bait pump and a 6v 7ah battery with the Mojo timer set at a fifteen seconds on and fifteen seconds off cycle.  On the lid of the bait tank I drilled out a small hole to put the cord through so that I will not accidentally loose the lid while on the water or land for that matter.  This just a small knot tied on the inside of the lid, simple yet effective.  Thanks for the great ideas guys! Last edited by Flyfisher70; 05-24-2011 at 02:56 PM. |
|
|
|
|
05-27-2011, 07:45 PM
|
#157 |
|
Currently @ MLO Territory

Join Date: Dec 2010
Location: Under the Shadow
Posts: 2,290
|
Yard Sales
Well being the professional yard sales man that i am.
I started thinking of new ways to stow my gear on my X-factor when i am launching and landing. 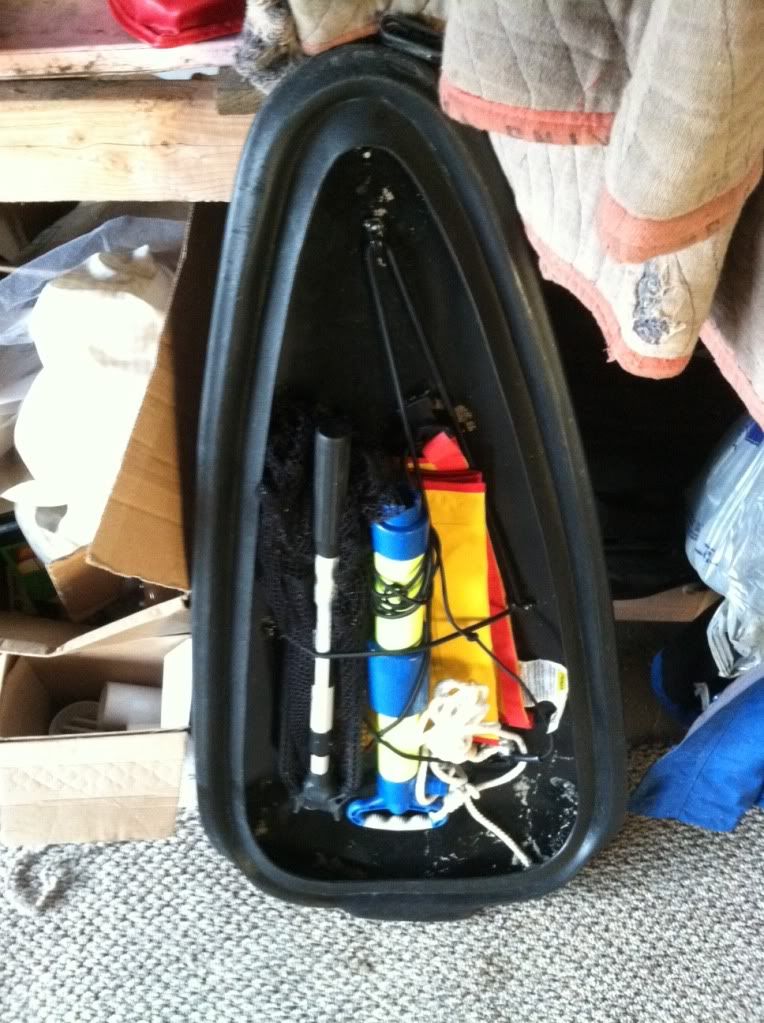 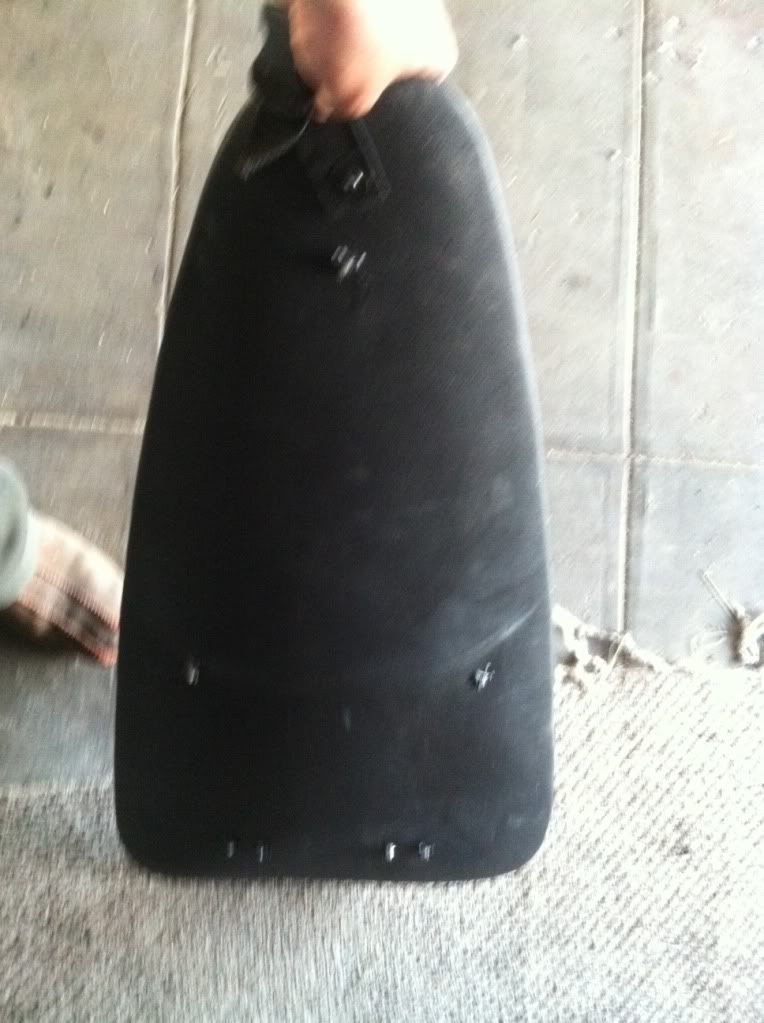 After i got tired of my transducer falling off while carrying it upside down i made my transducer act exactly like a rudder i even attached a pull string to come up when landing and launching. 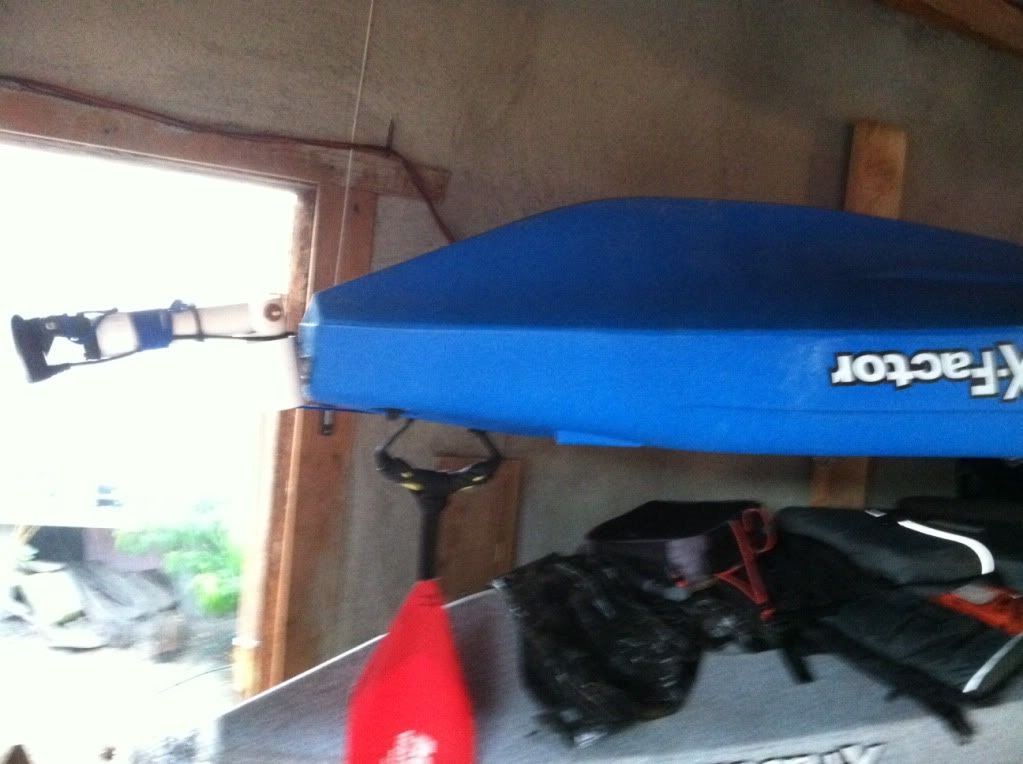 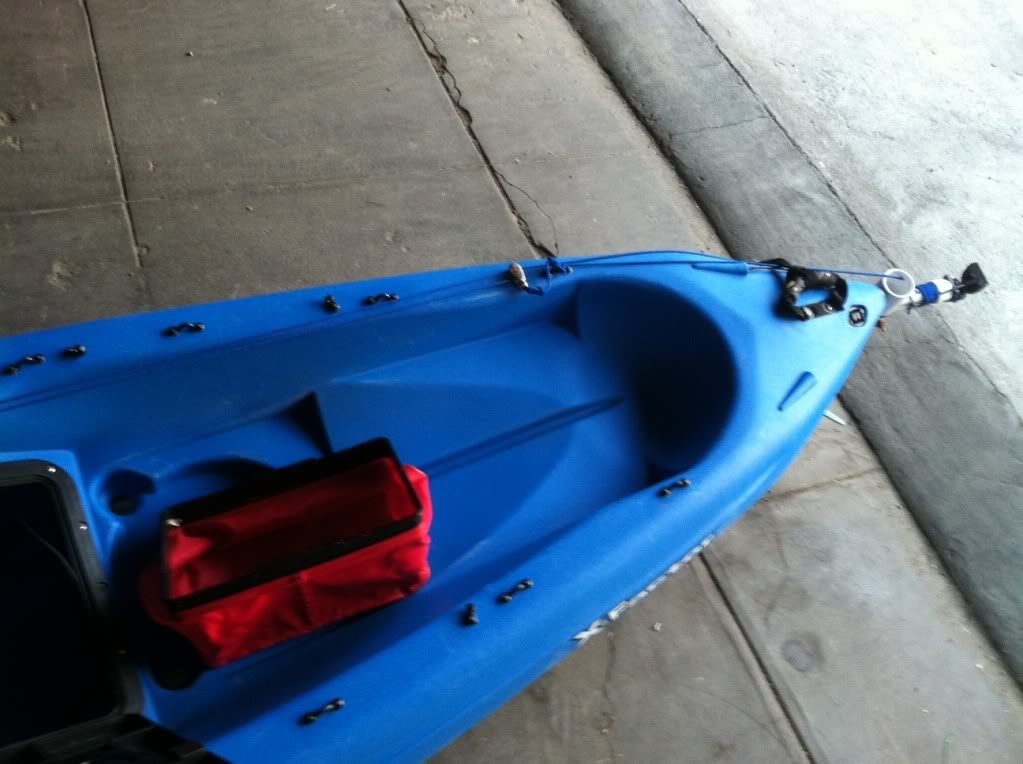
|
|
|
|
|
05-27-2011, 08:56 PM
|
#158 |
|
Senior Member
Join Date: Mar 2010
Location: Santee
Posts: 904
|
Cool. I like the under hatch stowage area. I am your apprentice in landing yard sales.
Where do you get the bungie strings? |
|
|
|
|
05-27-2011, 09:17 PM
|
#159 |
|
Currently @ MLO Territory
Join Date: Dec 2010
Location: Under the Shadow
Posts: 2,290
|
You get it by the foot from. Andy at oex or oex in San diego
|
|
|
|
|
05-30-2011, 08:17 PM
|
#160 |
|
Senior Member
Join Date: Jun 2010
Location: Alhambra
Posts: 506
|
i like how you have a deployment system for the transducer.
it looks great, but most people say that you would want the transducer up front rather than in the back. this way it would show the fish that you are going over rather the fish that you already had passed???? unless of course if they are coming from behind you..... |
|
|
|
|
| Tags |
| kayak fishing inovations, kayak rigging ideas |
|
|


 Linear Mode

