|
|||||||
| Home | Forum | Online Store | Information | LJ Webcam | Gallery | Register | FAQ | Community | Calendar | Today's Posts | Search |
|
|
Thread Tools | Display Modes |
 08-13-2011, 06:17 PM
|
#11 |
|
Senior Member

Join Date: Jul 2007
Location: San Pedro
Posts: 999
|
My New Vittles Vault Bait Tank / Live Well
After 4 years with the Shimano Bristlol Bay Bag / live well, it was time for a change.
The Shimano bag was great but it was starting to show its age, the plastic liner had gotten a little soft and would flex and sway if I had to heavy a rod load, the clear lid had dried out and after some modifications the lively Macks were still occasionally able to wiggle their way to freedom. What I wanted: A stiff container that would not flex. A rod holder that would accommodate the larger butts of a jig stick A simple and secure lid that was easy to open A portable rig that could be used on any kayak A tank with a smooth uncluttered interior and the ability to change the battery and trouble shoot on the water. I had thought about other containers, ice chest, buckets etc. and I was almost sold on the smaller Vittles Vaults box but decided to go big. I like what I have seen others do with these containers, and just added a few of my own ideas... I thought long about a thru the hull pump, then a thru the scupper pump. but decided on the old standard "over the side" pump for simplicity. Then I wanted to be able to remove the pump and hose for transport, But decided against an exposed plug at the battery. I like the way the pump stores on top of the tank so I don't think transport will be a problem. Wrapping the hose back into the tank on the Shimano Tank kinked the hose and I was always frustrated with that. So here you go: These are the secret fasteners, they are called Connective Cap Nuts, they are made to work with Shoulder Bolts, sometimes called Sex Nuts: 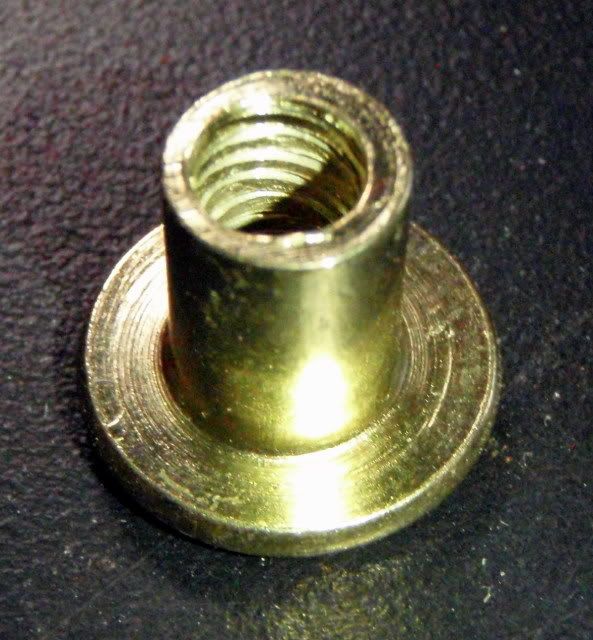 Side View: 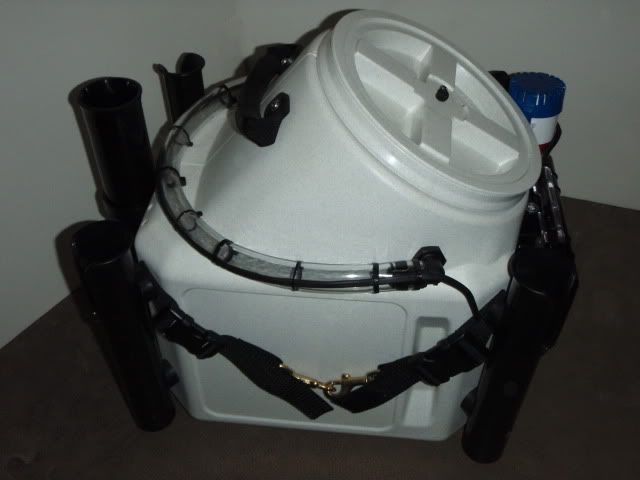 Adding the tie down straps, melted a hole in the strap with a soldering iron, bolted thru the rod holder: 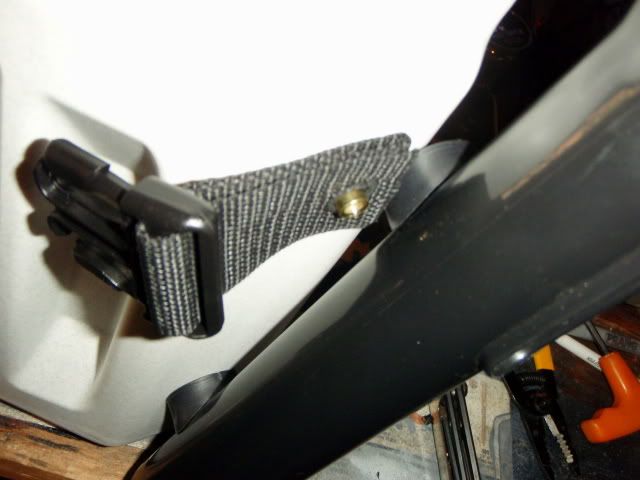 Finished strap with hose fitting and wire loom, a continuous length of shrink wrap over the wire harness from the pump into the battery box: 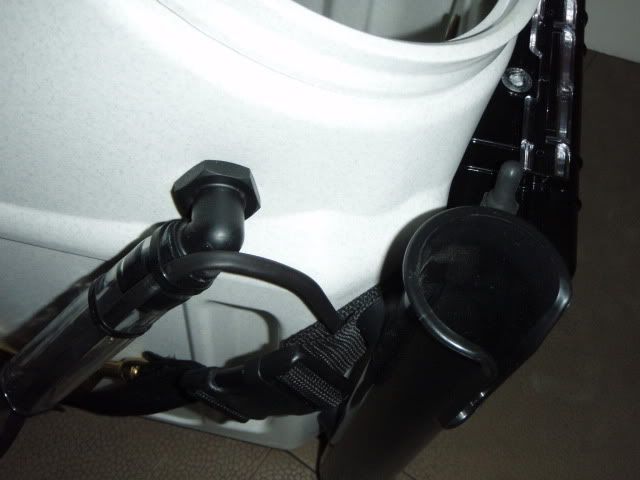 Detail of Pelican battery box install: 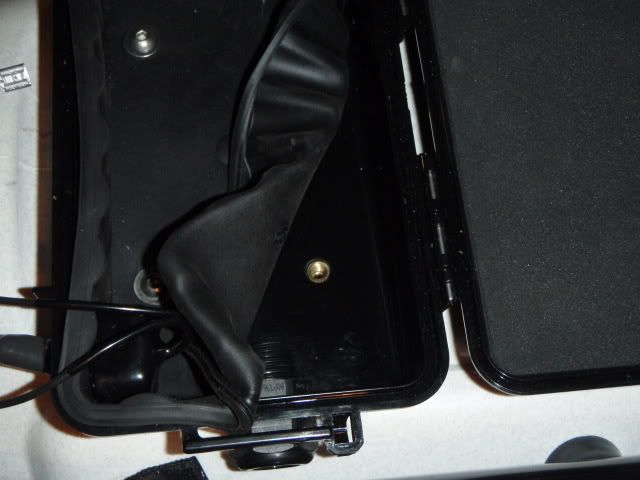 Top View, I may look into a round hatch mounted to the lid, so I don't need to "unscrew" the lid all day. 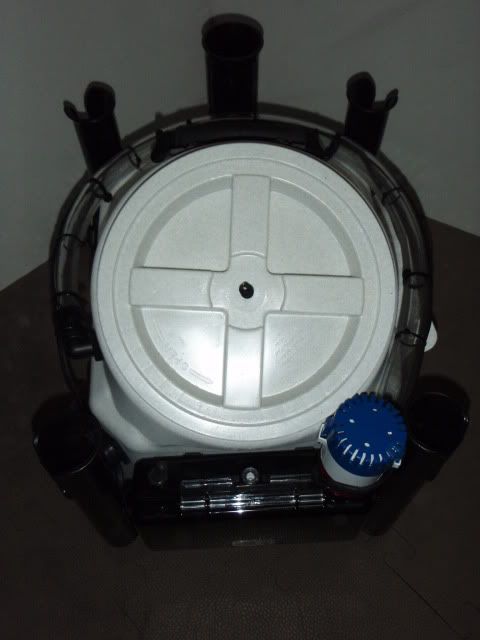 Front View, showing Pelican battery box, water proof switch, and 6V / 10Amp battery: 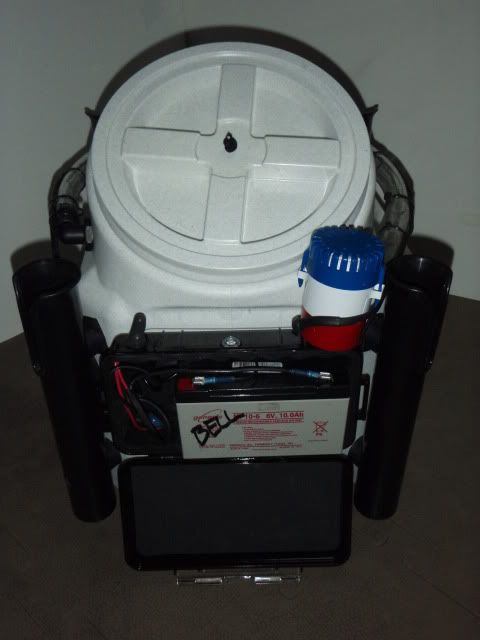 Back View, used regular rod holders at 4 corners and a 2 inch ABS pipe that I flared with heat gun, then made mounting brackets from a coupler that I cut in half and slid into position: 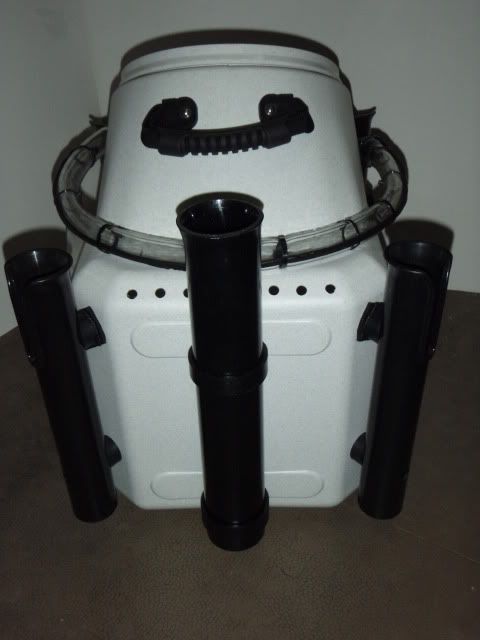 Inside View, I got the smooth surface I wanted, I may had a hose to fill the tank from the bottom, I may also add a fitting so I can adjust water level and drain the tank at rear, but for now I wanted to start simple: 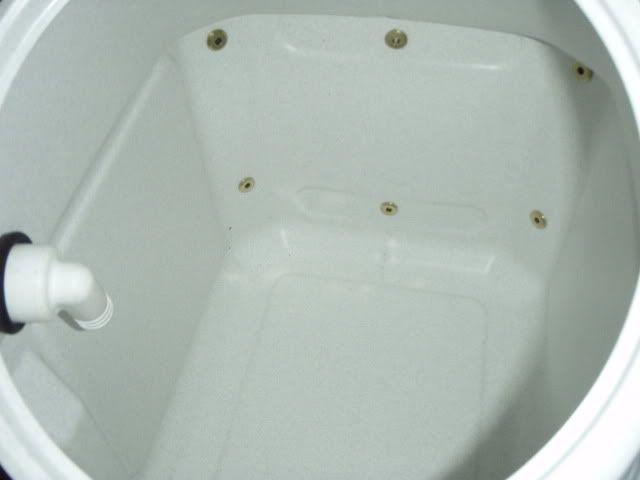 In the Trident: 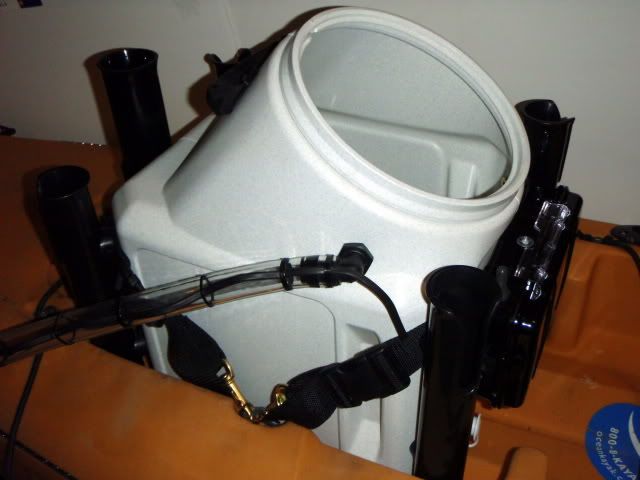 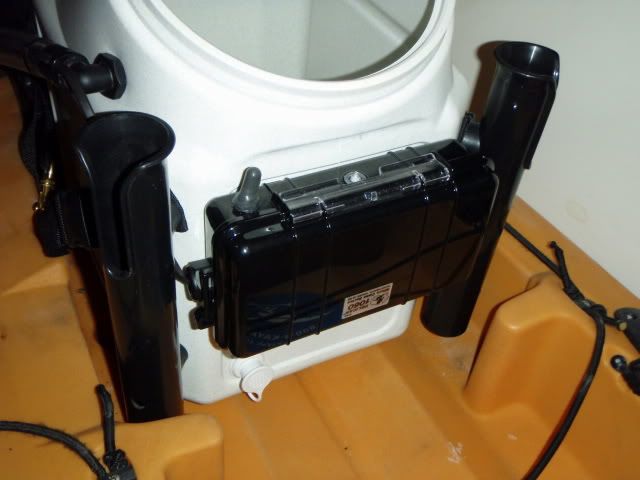 Only took about an hour to build, One visit to Andy to OEX Sunset and one or 2 trips to the hardware store... (BS  ) )I like it I wonder if it will fit in a Hobie some day? 
__________________
  
|

|

|
| Tags |
| kayak fishing inovations, kayak rigging ideas |
|
|


 Threaded Mode