![]() |
|
Home | Forum | Online Store | Information | LJ Webcam | Gallery | Register | FAQ | Community | Calendar | Today's Posts | Search |
![]() |
|
Thread Tools | Display Modes |
|
![]() |
#1 |
Currently @ MLO Territory
Join Date: Dec 2010
Location: Under the Shadow
Posts: 2,290
|
Yard Sales
Well being the professional yard sales man that i am.
I started thinking of new ways to stow my gear on my X-factor when i am launching and landing. ![]() ![]() 
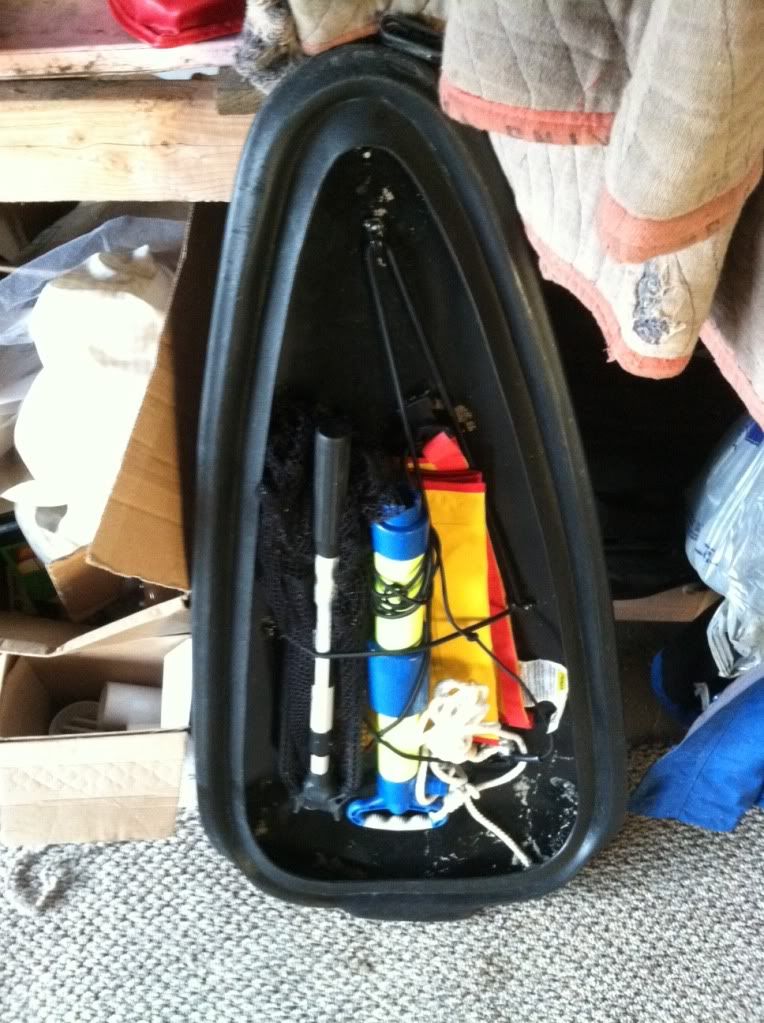
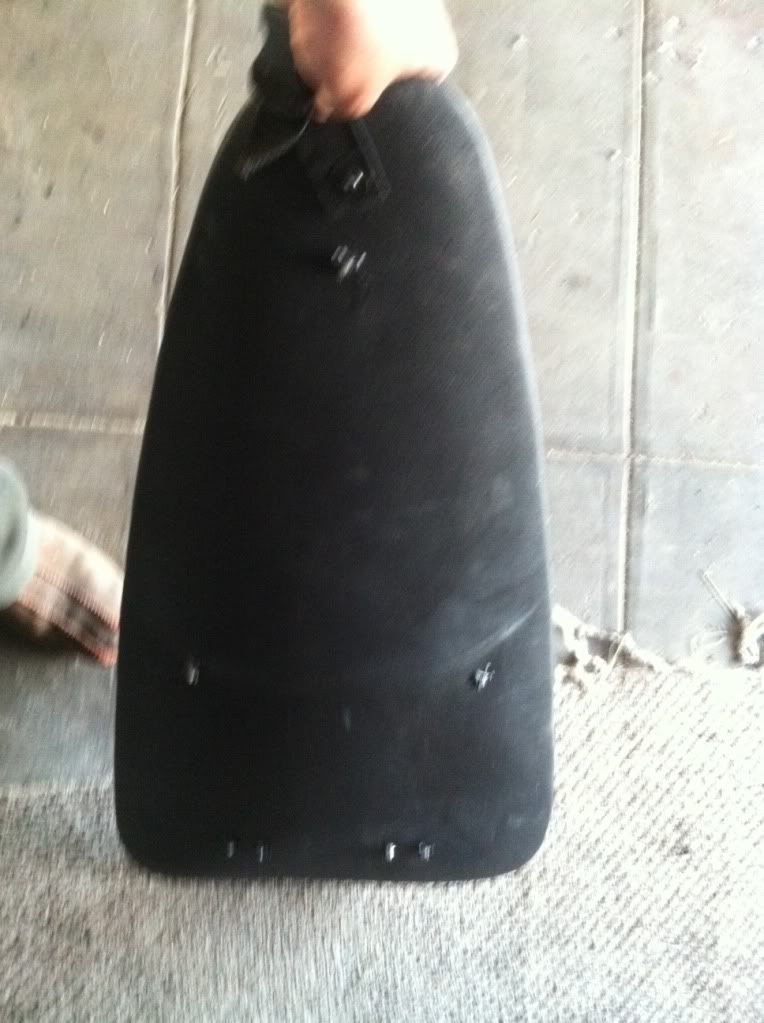
After i got tired of my transducer falling off while carrying it upside down i made my transducer act exactly like a rudder i even attached a pull string to come up when landing and launching. ![]() ![]() |
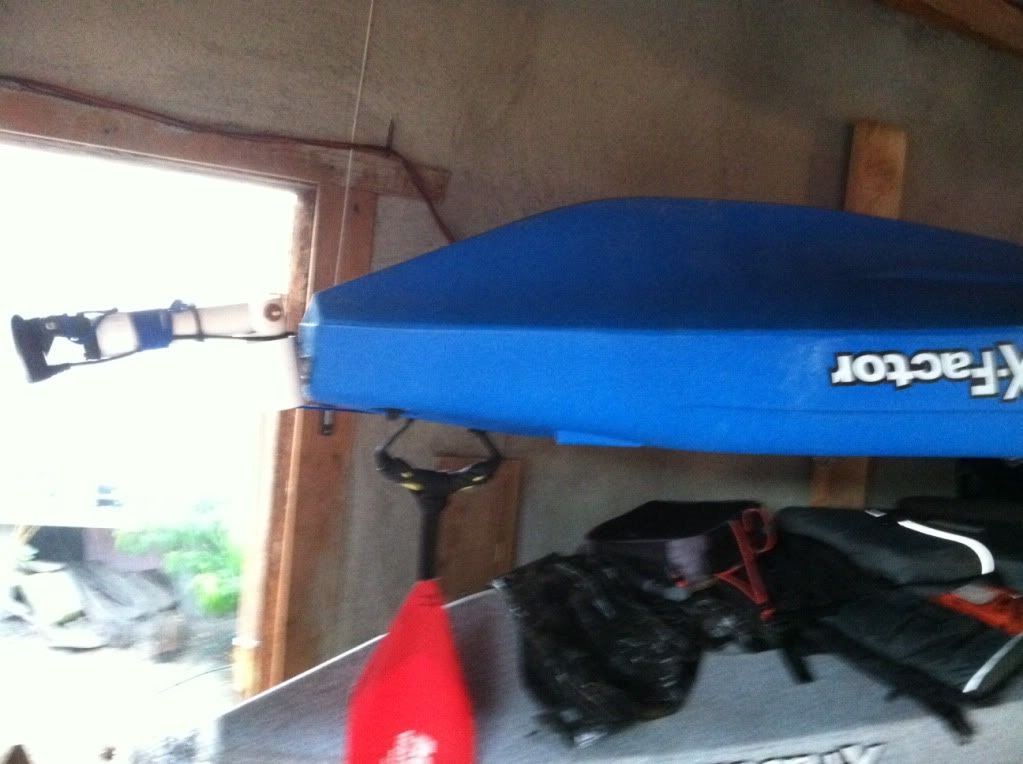
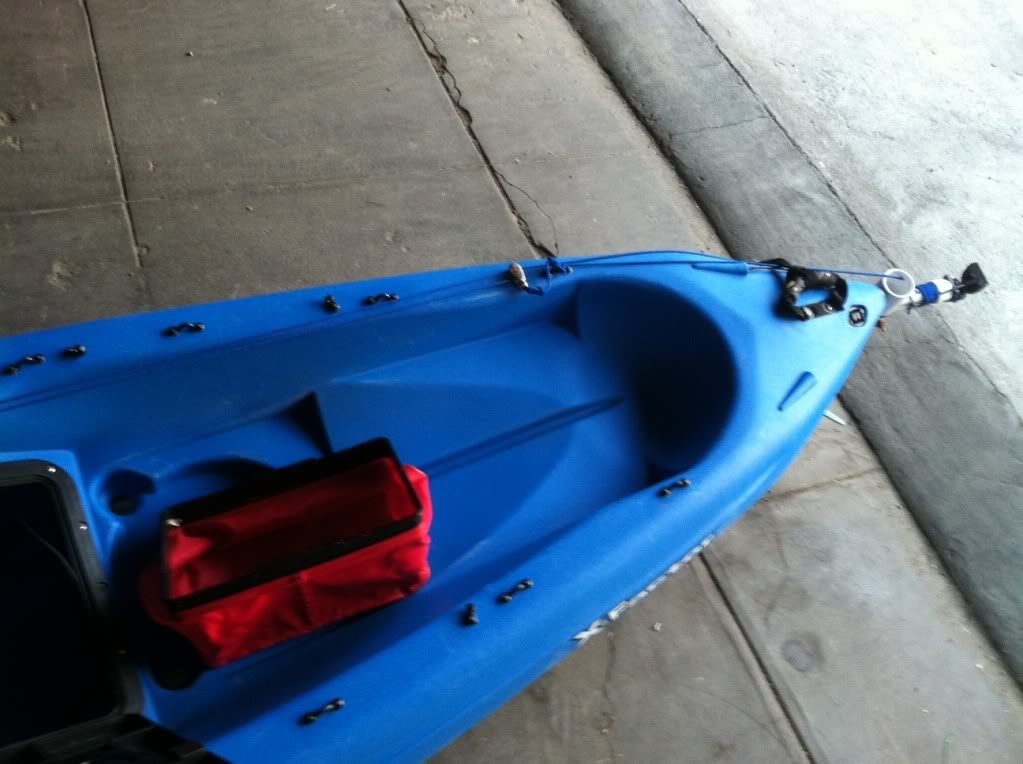
![]() |
![]() |
![]() |
#2 |
Senior Member
Join Date: Mar 2010
Location: Santee
Posts: 904
|
Cool. I like the under hatch stowage area. I am your apprentice in landing yard sales.
Where do you get the bungie strings? |
![]() |
![]() |
![]() |
#3 |
Currently @ MLO Territory
Join Date: Dec 2010
Location: Under the Shadow
Posts: 2,290
|
You get it by the foot from. Andy at oex or oex in San diego
|
![]() |
![]() |
![]() |
#4 |
Senior Member
Join Date: Jun 2010
Location: Alhambra
Posts: 506
|
i like how you have a deployment system for the transducer.
it looks great, but most people say that you would want the transducer up front rather than in the back. this way it would show the fish that you are going over rather the fish that you already had passed???? unless of course if they are coming from behind you..... |
![]() |
![]() |
![]() |
#5 | |
Member
Join Date: Apr 2010
Location: CAMARILLO
Posts: 60
|
Quote:
When I got my boat, the transducer was also mounted on the back. I questioned that too, but most FF have a WIDE sonar, so it wont really matter of the location. I would rather have mind in the water, reading the Temp, and getting the best reading out of it. This is the way went about it, work great. http://palmettokayakfishing.blogspot...-for-2012.html |
|
![]() |
![]() |
![]() |
#6 | |
Senior Member
Join Date: Feb 2011
Location: Wrightwood
Posts: 623
|
Quote:
|
|
![]() |
![]() |
![]() |
#7 |
Senior Member
Join Date: Feb 2007
Location: O.C.
Posts: 352
|
Hali Gaff
Firstly, the best advice I've seen on how to gaff a hali was written some time ago by Adi:
http://www.bigwatersedge.com/bwevb/s...alibut+gaffing However, for me personally, on the kayak I like to float them by horizontally (rather than letting them "hang with their head above their tail") and hit them with an upward, vertical stroke, hopefully hitting them in the brain or, on the other side, in the stomach. With that in mind, I've redesigned my gaff incorporating two distinct features: and ergonomic handle to keep my wrist from getting tweaked, and a somewhat different shape of the hook itself. For that vertical upward shot with the gaff I think the piercing part of the hook penetrates better being completely straight, and the sharply angled bend seems to keep a thrashing hali from easily sliding off. Also, it's a bit wider in gap than a standard hook so, theoritically, I can get nearer their center line. Time will tell...
__________________
"I Brake for Halibut" |
![]() |
![]() |
![]() |
#8 |
Senior Member
Join Date: Nov 2011
Location: Escondido CA
Posts: 114
|
PVC Kayak Cart for Cobra Navigator XF
copied design from another blog (Palmetto). Excellent instructions with step by step photos. Works great EXCEPT using a 10.5 Inch top support is a little narrow for this particular boat and positions the cart a little too far aft which is not a problem but having the width about 4 to 6 inches wider would enable you to cradle the hull better and more towards the middle/balance point. Having the cart that far back, the tie straps kept sliding back should I happen to lock a wheel in an obstacle. I solved the problem by taking two tie straps from each side of the axel and ran them up to the bow handle, (nothing to buckle, just hold on to the straps) this keeps them taut and the cart does not slide off. A great little project for a cart that comes apart to store in an "A" hatch. and costs about $33 to build. just a FYI....
|
![]() |
![]() |
![]() |
#9 |
Junior
Join Date: Dec 2010
Posts: 2
|
Here's some easy ones to keep this thing going... No where near as impressive or useful, but you know know how it goes.
Leader spool - reuse a braid spool, ziptie to frame, and add snap hook = done. Rod leash attachment point. Here's one for use when you have the rod out of the holder. Seat pad, yoga mats work great too... and let's face it women have their own hobbies full of equipment that doesn't get used... so you all probably have a few of these laying around too! Goop has held it in place for over a year. |
![]() |
![]() |
![]() |
#10 |
Senior Member
Join Date: Apr 2010
Posts: 6,856
|
I like the idea but I would use something with a higher breaking point, 15lbs seems a little to weak. Why not try some of that black bungee cord?
__________________
![]() www.facebook.com/Teamsewer |
![]() |
![]() |
![]() |
#11 |
Senior Member
Join Date: Sep 2011
Posts: 598
|
|
![]() |
![]() |
![]() |
#12 |
Senior Member
Join Date: Apr 2010
Posts: 6,856
|
Kayak Storage
Meant to post this a while ago.
This is how I store my kayak ![]() The red rope keep is hooked to the two lines, this helps keep the straps from sliding off when I'm lifting the kayak up. ![]() ![]() ![]()
__________________
![]() www.facebook.com/Teamsewer |
![]() |
![]() |
![]() |
#13 |
Senior Member
Join Date: Apr 2010
Posts: 6,856
|
Measuring Device
After trying several ways to come up with the easiest way to measure my fish while on the water I finally decided to go out and buy a sticker. Not wanting to under measure a fish I decided to take one extra simple step.
Step 1 Stick sticker on paddle, place the sticker on the side that DOES NOT have the paddle release button ![]() Step 2 Place a ring of Goop around the entire paddle right around the 1/2" mark. Slide the paddle drip ring over, as you're sliding it over keep turning the drip ring so that it will evenly distribute the Goop. ![]() Final product I placed the ring about 1/2" over to avoid under measuring ![]()
__________________
![]() www.facebook.com/Teamsewer Last edited by jorluivil; 03-02-2012 at 07:30 PM. |
![]() |
![]() |
![]() |
#14 |
Senior Member
Join Date: Mar 2009
Posts: 2,384
|
George, my inner carpenter is on tilt. You should have set the drip ring 5/8" off the end of the tape to accomplish what you intended. The way you have it set, all of your fish measurements will seem longer than they are by 5/8". I use the same type of stick on measuring tape and have considered fixing my drip ring off of the low end for fish longer than the tape. I centered mine on my paddle and just cut out the release button and cut it along the separation between the two ends. Another couple of things to remember when you affix the sticker is to have your paddle positioned as it will sit on your yak as you use it. My paddle has a right and left side and on it's own rolls to a certain side up based on my blade offset. I have wasted a couple stickers that roll to the underside of my paddle when I try to use them.
|
![]() |
![]() |
![]() |
#15 | |
CEO of Team Roby
Join Date: Sep 2010
Posts: 905
|
Quote:
I wanted to save this post for future reference...... |
|
![]() |
![]() |
![]() |
#16 |
Senior Member
Join Date: Nov 2011
Location: Laguna Hills, Ca
Posts: 309
|
Bass Pro seat
I recently added a new seat to my kayak. It consists of a Bass Pro folding boat seat with a boat seat swivel. Then I put a Wise Quick connect boat seat mount on the kayak.
materials used- Bass Pro Folding boat seat-24.99 Bass Pro Boat seat swivel- 9.99 Wise Quick Connect Boat seat mount 20.99 screws/bolt/washers- like $15 (had to go back and get longer bolts) scrap wood tube of Marine Goop Screws/bolts/washers were 1/4 in by 5 in X 4 1/4 in by 3 in X 4 1/4 in bolts X 8 washers X 24 Ok now to how it all went together- I cut the scrap wood to fit the match the Wise Quick connect. Then drilled the holes to mount the quick connect to the wood. I used the wood with holes drilled as a guide and drilled the holes into the kayak. once this was done I placed the wood block and Quick connect together and used over 3/4 of the Marine Goop on the bottom of the wood and placed the weather stripping around the edges of the wood. then bolted it all in to where the seat would go. On the top of the Wise quick connect I had to unscrew the top lip and place washers under the piece of metal to allow the base for the seat to slip in. I drilled out the holes in the seat to connect the seat to the swivel base to allow for a better hold (the screws that come with the seat seem weak to me) For the Stealth 14 because of the bait tank hatch I had to cut out a little bit of the front center of the seat to beable to open the hatch. Then put it all together and here is the end result. I used a Drimal tool to sand down all the edges that were still touching the kayak and causing friction.(pretty much just the back of the folding seat and the back corners on the bottom. I took it out to Dana Point last weekend to test it out. The seat didn'e really change the center of Gravity. It felt the same as before I installed the seat as far as stability goes. I caught a 18 lb Halibut and never felt that I was going to tip over. Another good thing i found is by Installing the seat this way it creates a space below the seat for more storage. My Nalgene bottle will fit under the seat perfectly. Hope this helps those that had questions and feel free to ask all the questions you want. Next project is a trolling motor and I WILL be asking lots of Questions. My Goal is to make this stealth 14 better than a Pro Angler!! ![]() |
![]() |
![]() |
![]() |
#17 |
Team Keine Zugehörigkeit
Join Date: Nov 2010
Location: Way out there
Posts: 2,854
|
Nice work on the seat, did you use any type of sealer on the wood like varnish or Thompsons?
__________________
Não alimente os trolls------------Don't feed the trolls---------------インタネット荒らしを無視しろ ![]() |
![]() |
![]() |
![]() |
#18 |
Senior Member
Join Date: Nov 2011
Location: Laguna Hills, Ca
Posts: 309
|
|
![]() |
![]() |
![]() |
#19 |
Senior Member
Join Date: Sep 2011
Posts: 598
|
So I broke a pole at DP kelp bed. Saw a innovation someone did so I deiced to follow.
and... working on a new bait tank. |
![]() |
![]() |
![]() |
#20 |
Senior Member
Join Date: Nov 2010
Location: IE
Posts: 171
|
|
![]() |
![]() |
![]() |
Tags |
kayak fishing inovations, kayak rigging ideas |
|
|