
 |
|
|||||||
| Home | Forum | Online Store | Information | LJ Webcam | Gallery | Register | FAQ | Members List | Calendar | Search | Today's Posts | Mark Forums Read |
 |
|
|
Thread Tools | Display Modes |
|
|
|
|
#1 |
|
Paddle, Fish, Repeat
Join Date: Jan 2010
Location: Salt Lake City, UT
Posts: 26
|
Downrigger crate
Not sure if this is an innovation, but my take on adding a downrigger to a crate. I already had a downrigger from my fishing boat (which is used less and less). I didn't want a permanent installation until I see how much I actually use it. I had some leftover cutting boards which bolted on either side of the crate with mounting base on the outside. I was lucky enough to find a crate with a metal ring around the top, so it pretty strong.
downrigger1.jpg downrigger2.jpg Next I needed a way to lock the crate down. I used some U-bolts and pvc and have go into the rod holders behind the seat. They are angled in and do a nice job keeping it down. The one end is not glued shut so I can take it off when I want to. downrigger3.jpg downrigger4.jpg I really enjoy seeing all the different ideas on this forum. Thanks.
__________________
 Paddle, Fish, Repeat. |
|
|

|
|
|
#2 |
|
Senior Member
Join Date: Mar 2009
Posts: 2,384
|
I would love to hear how the downrigger affects the handling of your yak. I was considering the same thing for trout fishing up in Idaho, and was concerned about the drag. Do you peddle or paddle?
|
|
|

|
|
|
#3 |
|
Senior Member
Join Date: Apr 2010
Posts: 6,856
|
OK...lets see if I finally figured out the whole text between pics thing
Here are my innovations...some you might recognize. FF mounted onto a Pelican 1120 waterproof case. The power cord runs from the FF through the FF mount and into the case. The transducer cord runs from the FF into the hull of the yak via a clam style waterproof seal.  I decided to do without the wet mount for the transducer and opted to mount it in one of the scupper holes. The transducer cord runs from the FF into the hull and back out right near the scupper hole.   One of the problems I encountered was that because the top of the transducer sat flush with the bottom of the yak it did not allow water to drain out the scupper hole. I decided to take some 1-1/2" pvc and cut a piece about 1/4" long. I took a rats tails file and make a few notches to allow water to drain between the yak and the top of the transducer....works great!!!  During some of my trips I would have issues closing the hatch that sits right in from of the seat. I'm 5'10" and weigh about 230, I was causing a slight bend on the edge of the hatch and this would prevent me from getting the hatch installed. I decided to take some 1" x 1" angle iron and mounted it both to the yak and the hatch, this helped keep them somewhat straight and prevent most if not all of the bend. I secured the angle iron to the hatch with some aluminum rivets and used the existing nuts and bolts to mount it onto the rim of the hatch.    When I sold my boat I ended up with two gaffs so I decided to take one and cut it down. Not wanting to lose grip of it when and if I ever gaff a large fish I took an old belt and strapped it down using some large zip ties. For comfort reasons I wrapped the belt in a manner that would allow it to stay flush as it wrapped around my hand. Fits better than OJ's glove...much better!    I've got a few more to post but I have to get to work soon so I'll post them tomorrow. Let me know what you think!!! THANKS to BTFDAVID and GREG ANDREW!!! Last edited by jorluivil; 09-16-2010 at 11:05 PM. |
|
|

|
|
|
#4 |
|
"Floater"
Join Date: Sep 2010
Location: so cal
Posts: 164
|
Hobie battery box
I decided to engineer a new box for my outback for the rear 8" hatch since it doesn't get used for anything else. I was using the dry bag method up to now.
All that's needed is a CNC router, Hand held router, table saw, 1/2" and 1/4" ABS plastic, ABS glue and some basic dimensions. Directions; For the rounded part; Program the router using master cam, load drawing into CNC machine operating software. Adhere the 1/2" sheet of ABS to the router. Push the go button. Wait a couple minutes, remove plastic from router. (The round hole in the top serves two purposes; one is to route the power cable, the other is a finger hole to lift it out.) Cut squared pieces to proper dimensions using the table saw. Glue it all together with ABS glue. Let sit for 24 hours to cure. Use the hand router to round off the top edge of the box. The box should fit any Hobie with 8" round hatches. The battery I use is a 12 volt, 14AH. Slightly larger than typical but I can run my FF/GPS for about 3 days without a charge if necessary. If you use a typical battery with the box I made, you can put your keys and wallet in it too. Last edited by Kaijuu; 03-22-2011 at 07:01 AM. |
|
|

|
|
|
#5 |
|
Team Keine Zugehörigkeit
Join Date: Nov 2010
Location: Way out there
Posts: 2,854
|
Hay Kaijuu, being that not everyone here has MC and a CNC or those that do only cut metal, would you consider selling a box or two?
__________________
 Não alimente os trolls------------Don't feed the trolls---------------インタネット荒らしを無視しろ 
|
|
|

|
|
|
#6 |
|
"Floater"
Join Date: Sep 2010
Location: so cal
Posts: 164
|
a box or two
I suppose anything is possible. You should probably check it out first.
Variations are also manageable in most any material. For the Yak, plastic rules; It doesn't oxidize. Any other ideas that need a build, let me know. I live in Vista but go to Oceanside most days unless rain. I can bring it with me. P.S. We can also design and build your CNC router, then you wont need me to build a box. P.S.S. this box can be made using hand tools. A table saw, router, jig saw and a drill. Last edited by Kaijuu; 03-22-2011 at 07:03 AM. |
|
|

|
|
|
#7 |
|
Team Keine Zugehörigkeit
Join Date: Nov 2010
Location: Way out there
Posts: 2,854
|
I have access to all the necessary tooling and machines, but our least expensive CNC runs at $11.00 per minute, yes I typed PER MINUTE. the boss might go ape ca-ca
 if I tossed a G job on the floor. if I tossed a G job on the floor.Pm me what you have to offer as far as a router. I have been looking at the Taig Micro mill for some time now but just cant pull the trigger.
__________________
 Não alimente os trolls------------Don't feed the trolls---------------インタネット荒らしを無視しろ 
Last edited by bus kid; 03-22-2011 at 08:51 AM. Reason: typo correction |
|
|

|
|
|
#9 |
|
"Floater"
Join Date: Sep 2010
Location: so cal
Posts: 164
|
best to call.
Its best just to PM me. Keith
Last edited by Kaijuu; 03-22-2011 at 06:34 PM. |
|
|

|
|
|
#10 |
|
Currently @ MLO Territory
Join Date: Dec 2010
Location: Under the Shadow
Posts: 2,290
|
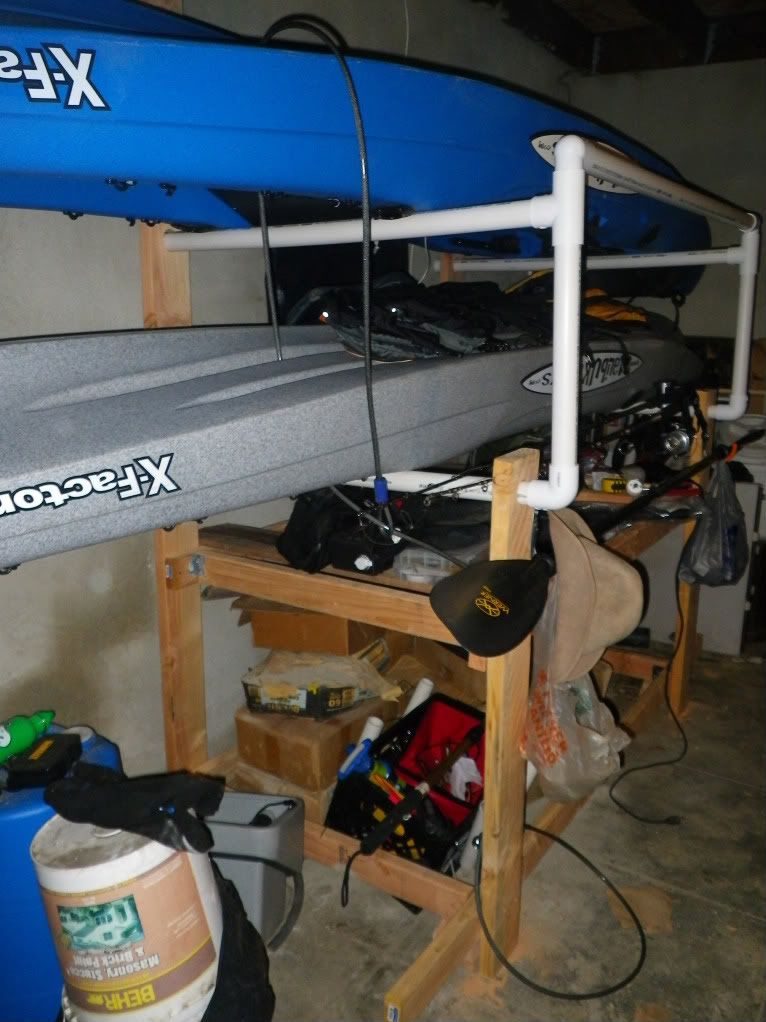
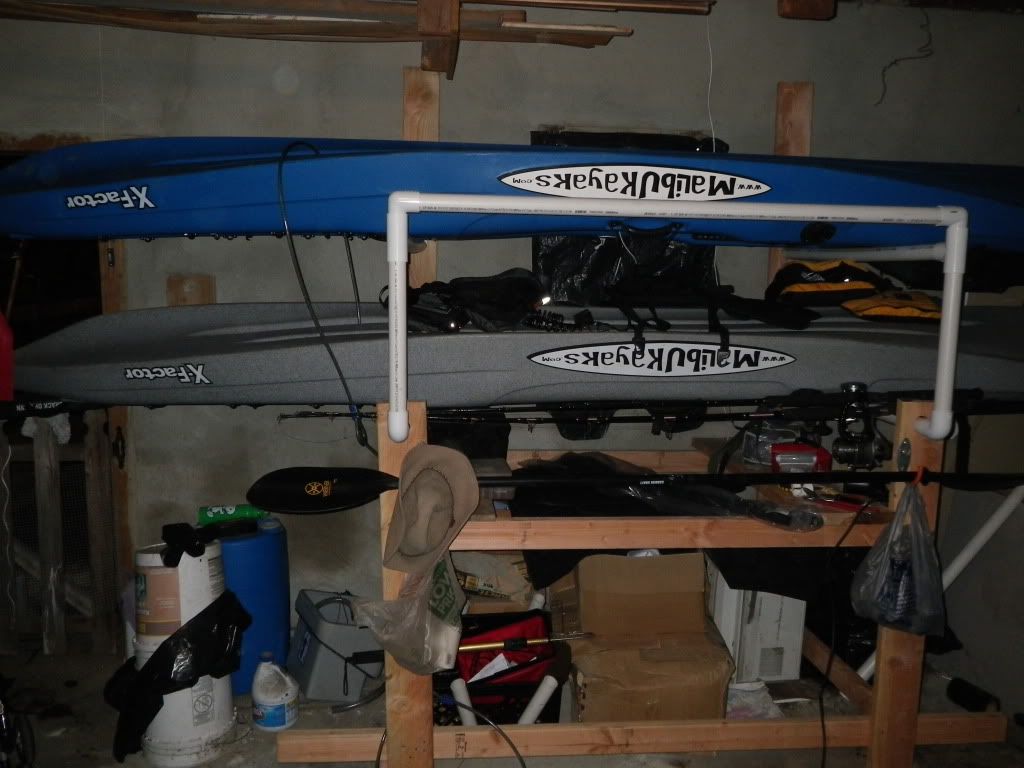
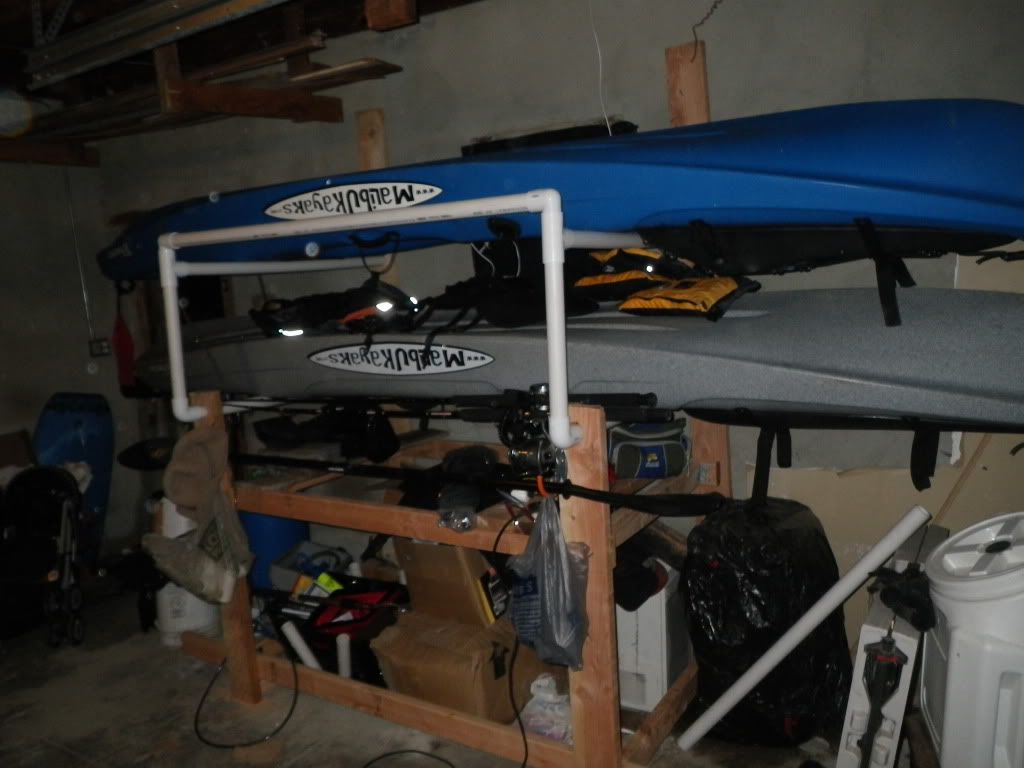
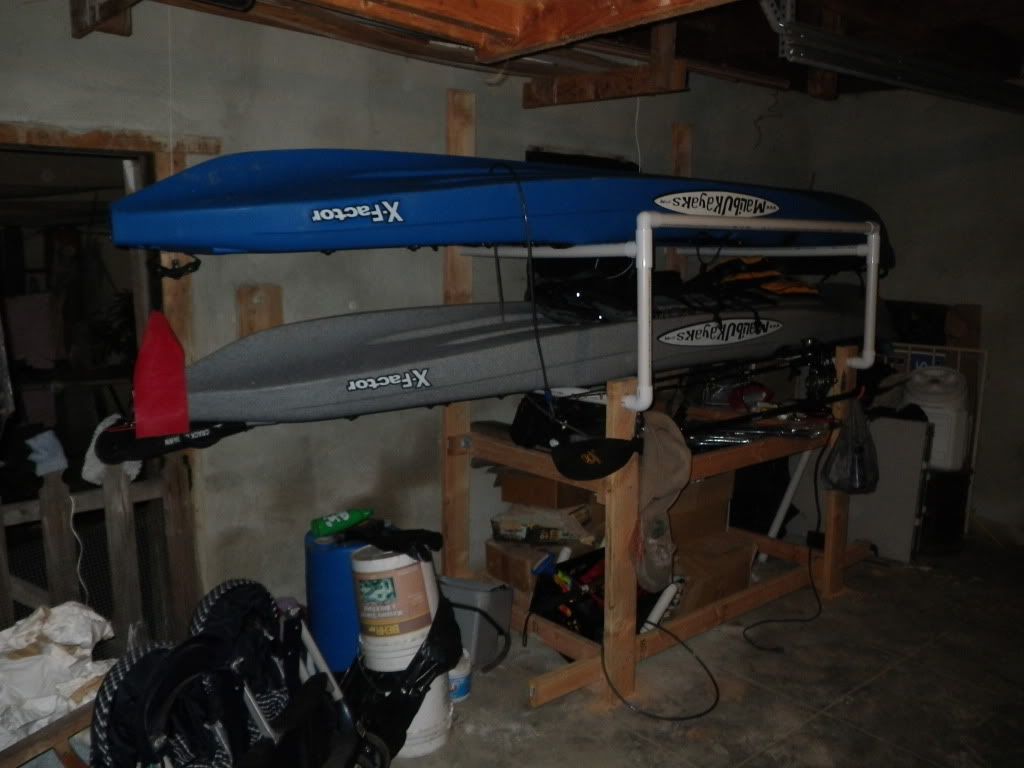
Well after i got tired of seeing all my junk all over the garage, i sat down and doodle some possible way i can store my kayak in the garage. I only could mount the kayak straight on from a perpendicular point since i have one side of the garage for my kayaks to fit. I decided to make a wood frame and use PVC as my rack holders. The first bottom portion is to store all the other junk you have in your garage the second layers is for your fishing bag, batteries then comes the PVC. The top PVC come loose to remove the bottom kayak.
|
|
|

|
|
|
#11 |
|
Junior
Join Date: Apr 2011
Posts: 3
|
Nice thread,
 good for the informations. good for the informations.I love it 
|
|
|

|
|
|
#12 |
|
Senior Member
Join Date: Sep 2011
Posts: 598
|
portable rod holder.
well since I'm stuck on land for awhile. I wanted to update my rod holder. One that can hold more rods and it doesn't' get in the way of my hobie when its loaded on my truck. everything cost under $50 |
|
|

|
|
|
#13 |
|
Senior Member
Join Date: Sep 2011
Posts: 598
|
here are some videos of the new mods.
Fish grip http://www.youtube.com/watch?v=rl9SdS0Z4k8 extra pocket http://www.youtube.com/watch?v=SWazfpWpGB0 |
|
|

|
|
|
#14 |
|
.
Join Date: May 2010
Posts: 1,155
|
Hobie Pro Angler 12 rudder mod
i made a new larger rudder for the PA 12. it was made out of lexan (polycarbonate) the process took about an hour to made and another hour to fit.
sorry for the crappy cell phone pic's 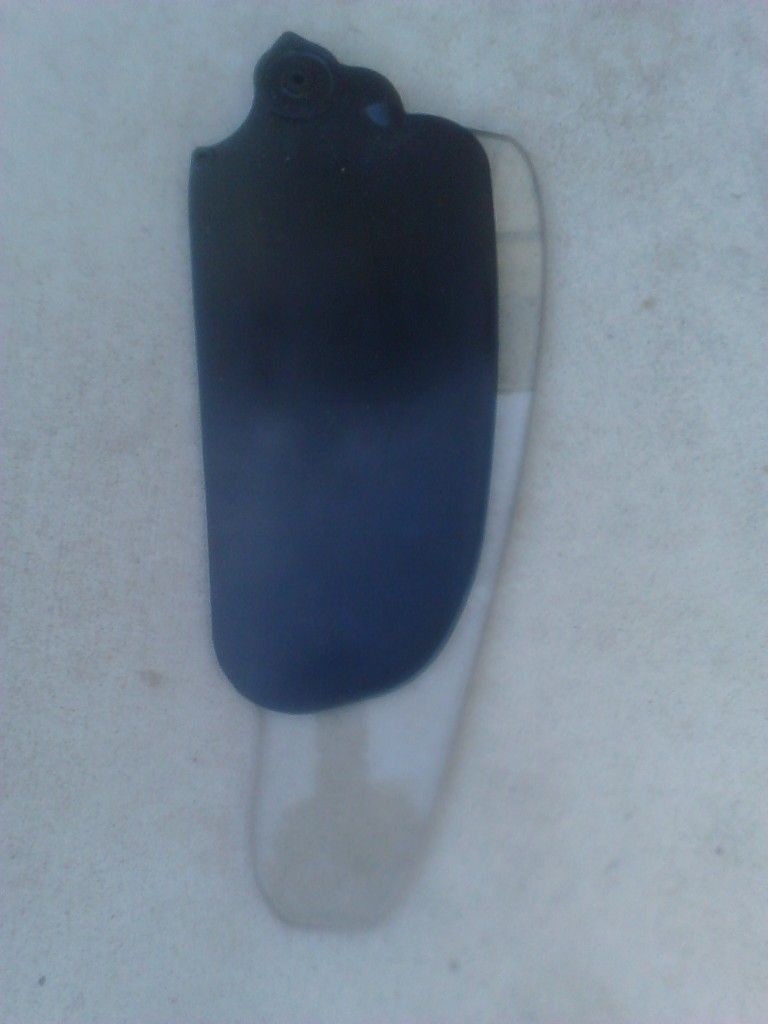 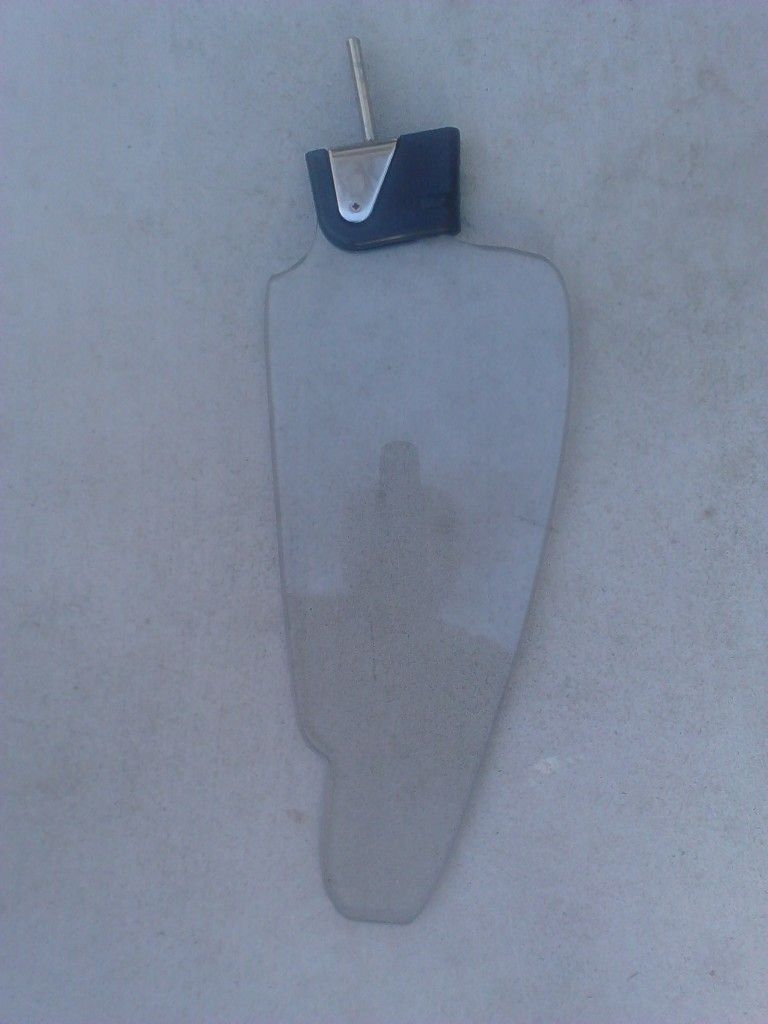 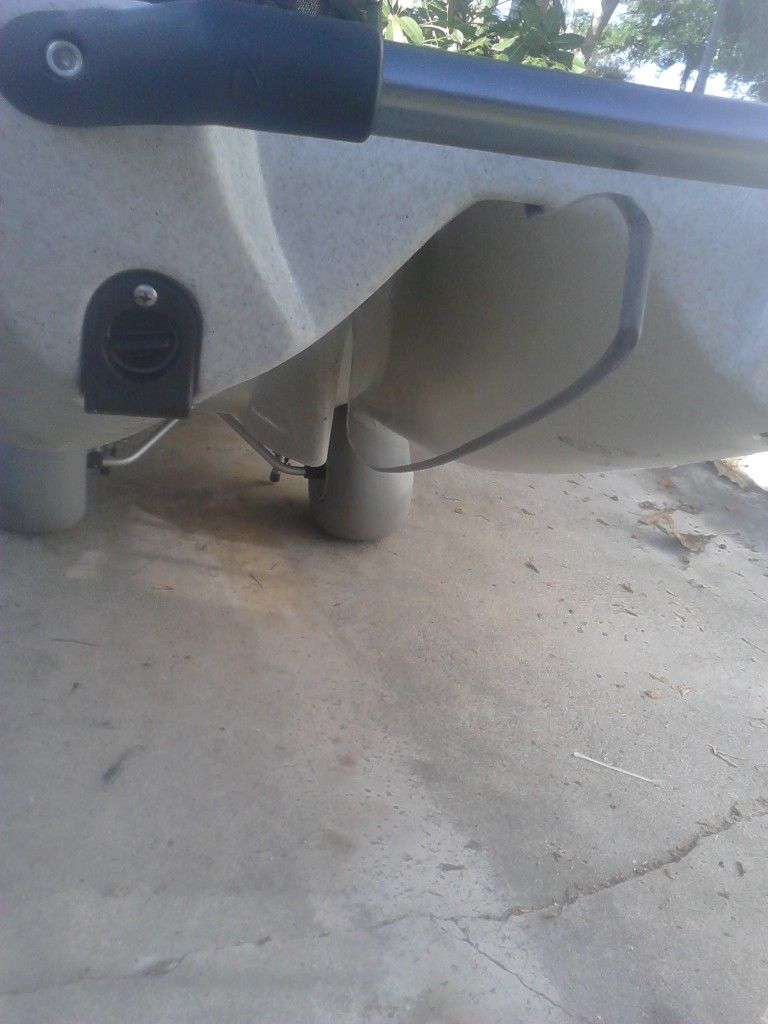 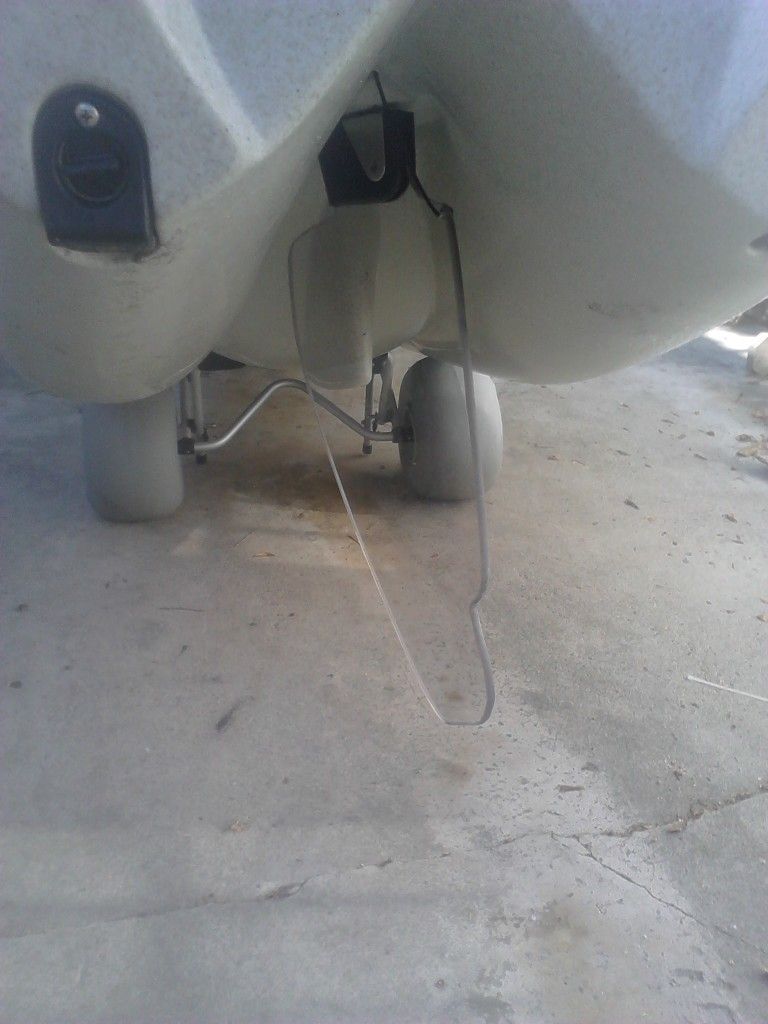 testing it out tomorrow for bug hunt'n
__________________

|
|
|

|
|
|
#15 |
|
Senior Member
Join Date: Sep 2009
Location: newbury park ca
Posts: 2,323
|
Very nice job....I am sure that idea will be borrowed...thanks for sharin'
I don't have a PA...yet, but I would do that
__________________
|
|
|

|
|
|
#16 |
|
Senior Member
Join Date: Feb 2012
Location: Oceanside
Posts: 112
|
x2 on the design.
 Now you got me thinking Now you got me thinking  , And I haven't even had my PA 12 in the water yet. , And I haven't even had my PA 12 in the water yet.
|
|
|

|
|
|
#17 |
|
Member
Join Date: May 2012
Posts: 80
|
Sabiki Rod Issues
Well, I made one of those PVC pipe Sabiki Rods to try and save some money. It turned out OK but larger mackerel have been causing grooves to wear into the PVC. I couldn't find anything to put on the end to alleviate this problem, so I made something. I'll be trying it out in LJ next week. I took a large beer bottle and cut off the top, ground down the edges with emory cloth, and heated the PVC with a heat gun and stuck the beer bottle end inside. It was slightly loose so I put a hose clamp and some duct tape around it. My wife just said, "Go buy a sabiki rod". I guess it was the challenge of making something work that kept me going. With my luck, the glass will break while transporting it to the beach.
|
|
|

|
|
|
#18 | |
|
Senior Member
Join Date: Sep 2012
Location: San Diego
Posts: 732
|
Quote:
Use the rod you made and buy another one that you really want and just call it your Sabiki Rod 
|
|
|
|

|
|
|
#19 |
|
Senior Member
Join Date: Mar 2012
Location: Utah
Posts: 138
|
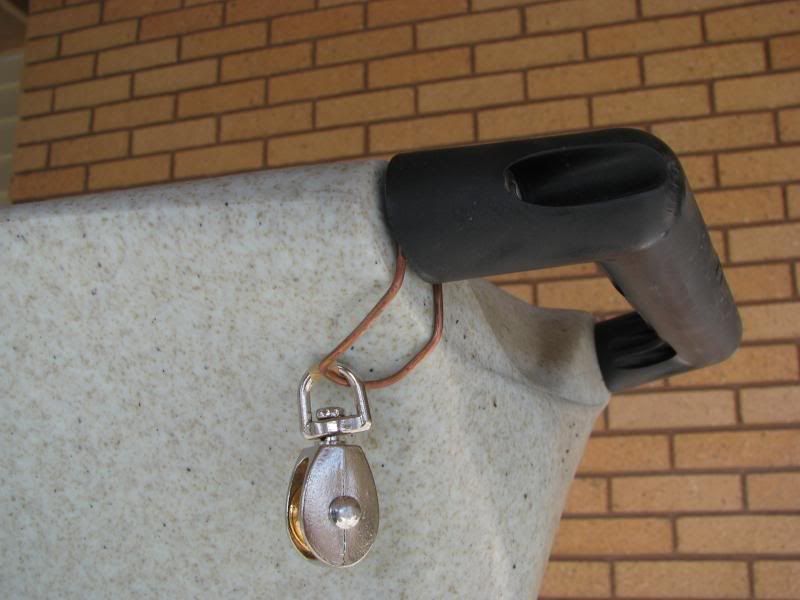
I wanted to install an anchor trolley on my Hobie Prangler 14, but didn't especially want to drill any more holes in it. The front and rear carry handles suggested an option, and a bit of household wiring provided the means. I simply loosened the handle bolt and slipped the hooked ends of a short piece of wire underneath. I got the pulleys at the hardware store for less than three bucks. (I boat only in freshwater, so I didn't need to spring for stainless steel pulleys.) Here's the front handle:
 And here's the rear: 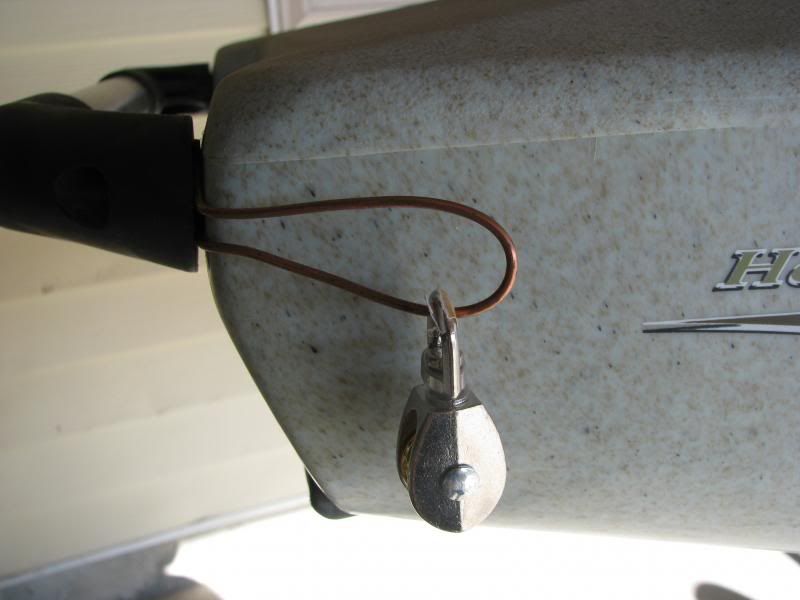 From here on, the rigging is pretty standard. If you are looking for a quick and inexpensive way to rig an anchor trolley, I hope this helps. |
|
|

|
|
|
#20 |
|
I got gas!
Join Date: Mar 2012
Location: Mission Viejo
Posts: 159
|
Not sure if this is an innovation but I put some of that tape for your thumb or fingers 12'', 14'', 22'' and 28'' up on my fishing rod so I can easily determine if the fish are legal or not. Has been on there for about 2 months. Im sure electric tape would work good too.
__________________
TODAY WAS A GOOD DAY
|
|
|

|
 |
| Tags |
| kayak fishing inovations, kayak rigging ideas |
| Thread Tools | |
| Display Modes | |
|
|